Vinyl
Laying of the vinyl has been done in between other jobs. We bought it months ago and it had been sitting on the roll for a long time. We started laying vinyl in the sunken floor area before we put back the painted panels as we had easy access to that area then. As it was the first time for us laying vinyl, it was a bit of a puzzle how to start. But after cutting up a test piece we were confident we could make the vertical walls and the bottom from one piece of vinyl.
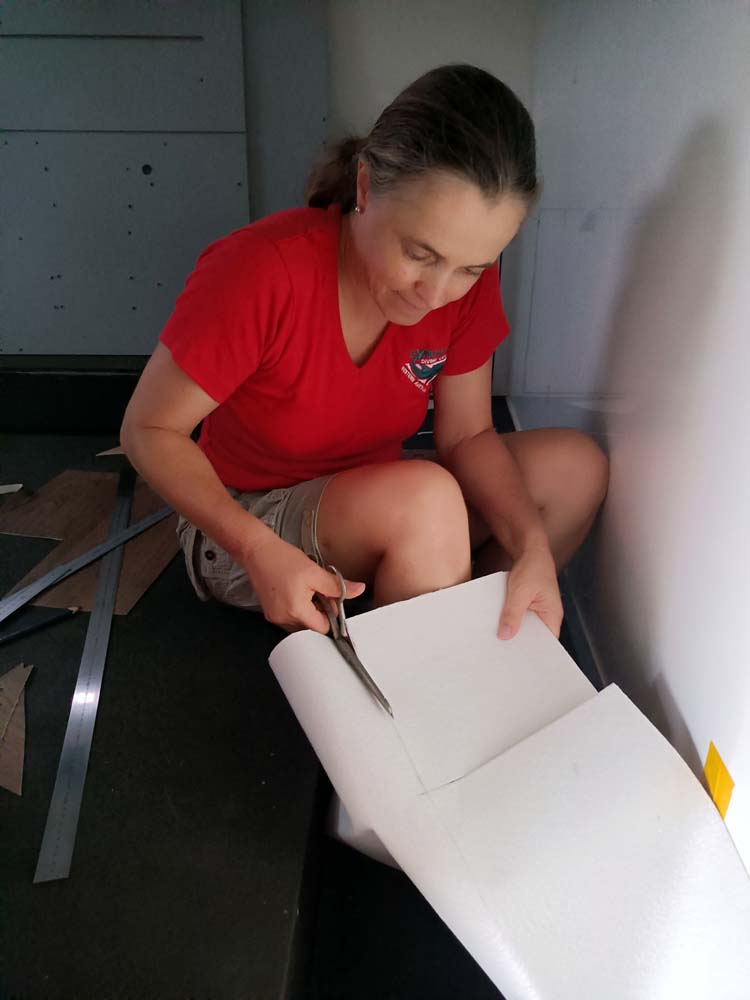
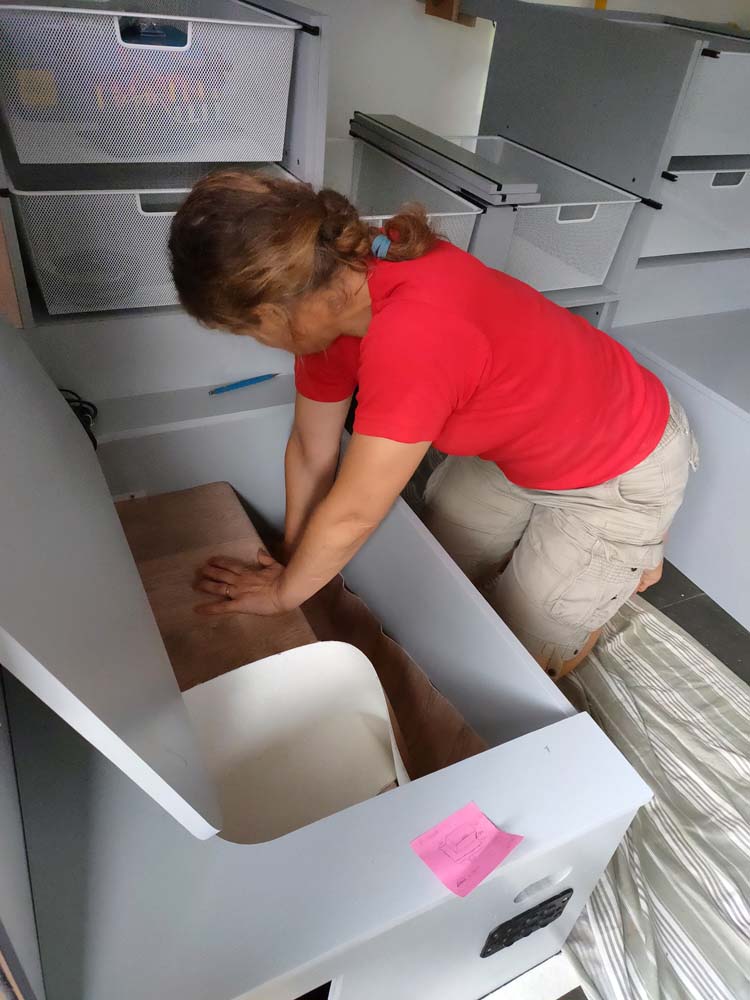
Jude cutting the first piece of vinyl for the sunken floor
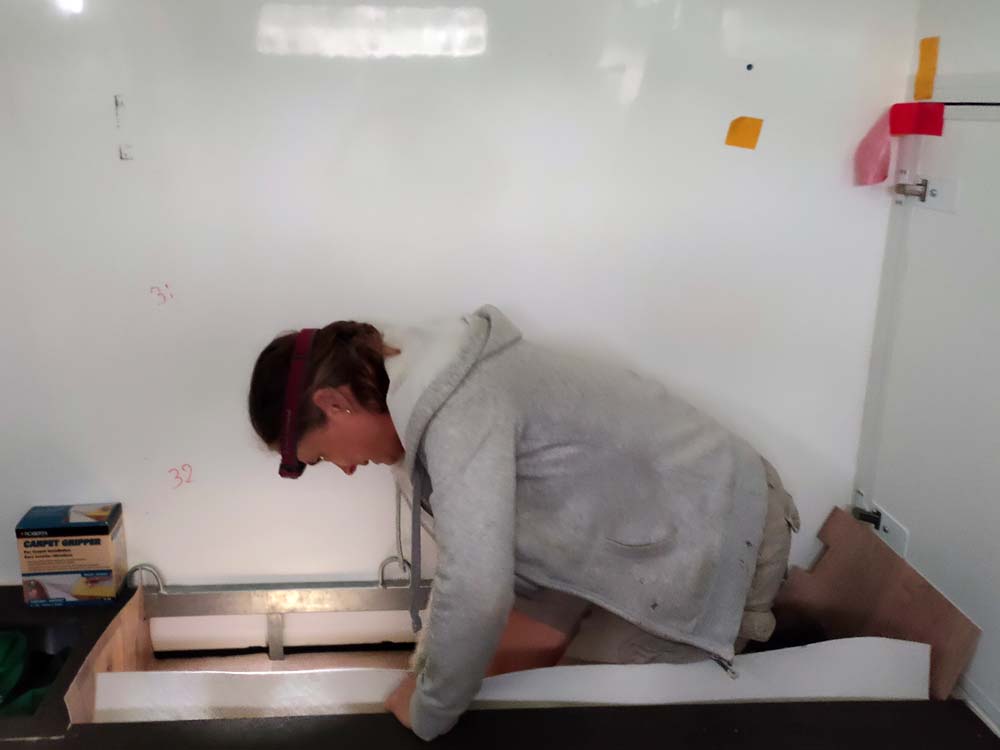
Jude putting the vinyl into the sunken floor
We first tried cutting the vinyl with a Stanley knife as that is what we saw a lot of people use on YouTube. But we quickly realised it was much easier with a pair of scissors for us. Once we had cut our piece we tried to lay it with the double-sided carpet tape we had bought. That didn’t go very well. It might work great for flat pieces in a large room, but when you have smaller pieces with vertical sections the carpet tape just didn’t cut the mustard….
We brought out the glue and tried that. It worked a treat and soon we were bracing the sides with some off-cuts so it could dry. It looked great and we felt very pleased with ourselves.

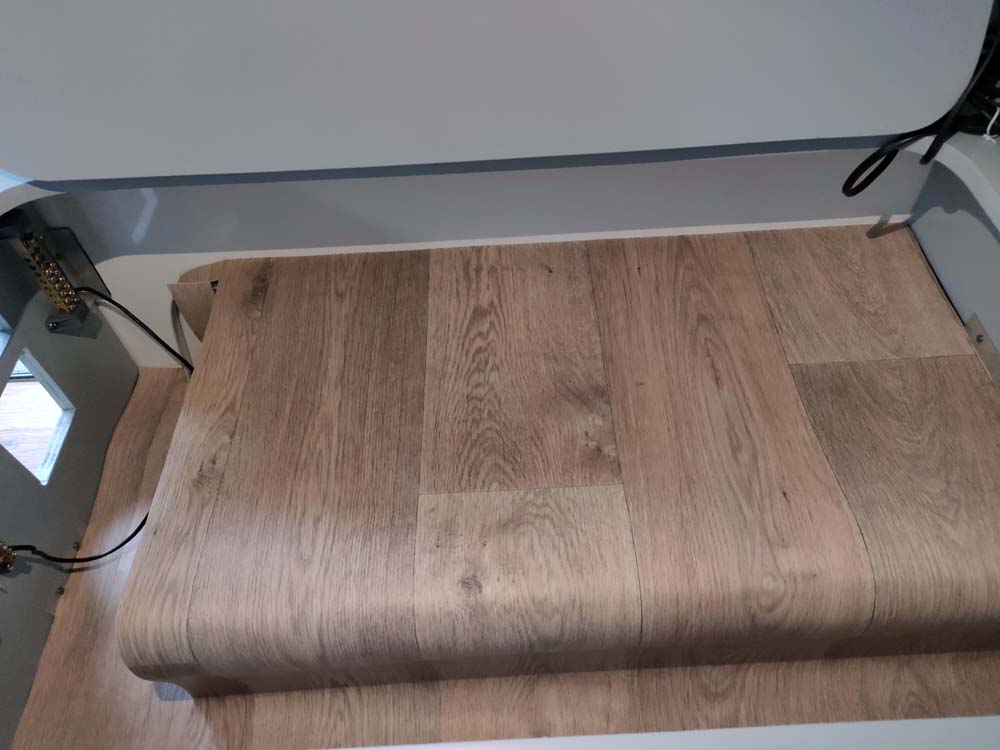
gluing the vinyl to the floorboards
drying….
For a long time that was our only piece of finished flooring as we focused on putting everything back together again after painting, including the electrics. Jude cut out another piece for the seat box on the passenger’s side, but that remained unglued for a long time as we are undecided if we want to split that area in two, creating a support for the seat as it bends slightly when we sit on it (or maybe we just need to loose weight?).
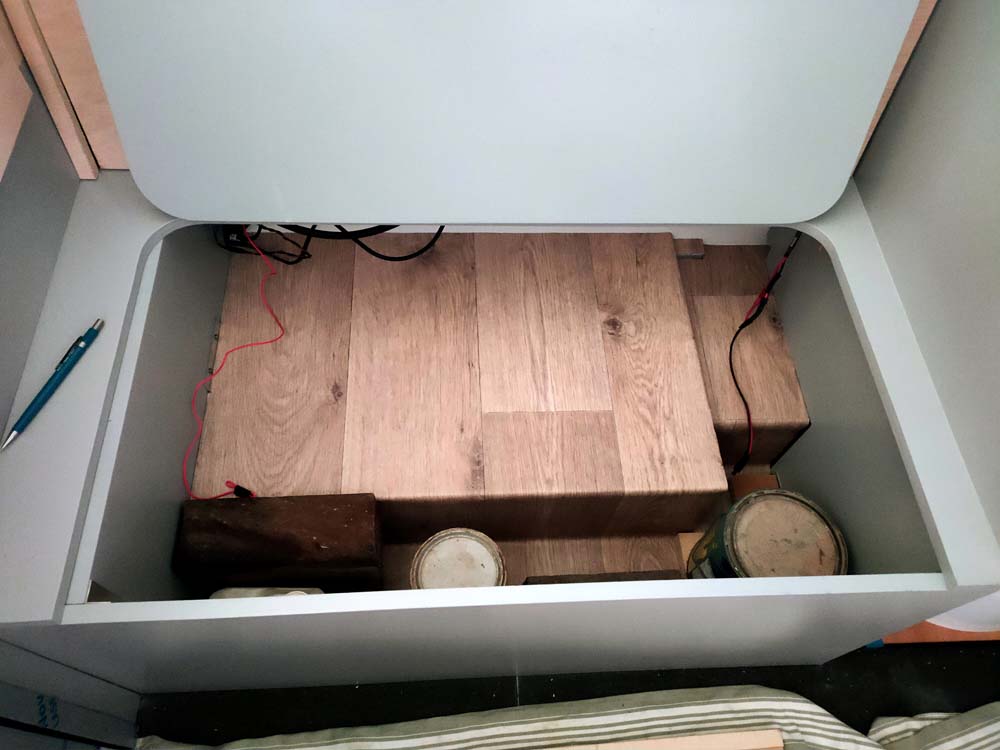
The next piece of vinyl that was cut was the piece for the electrical area. We wanted to add the battery box we had built (see below), so we needed the flooring to be in. We thought it was an easy one, but the section of wheel arch protruding into the electrical area made it another tricky one with vertical sections and small little nooks that needed to be covered. This bit of vinyl was glued down quickly after it was cut.

work in progress on the vinyl in the electric area
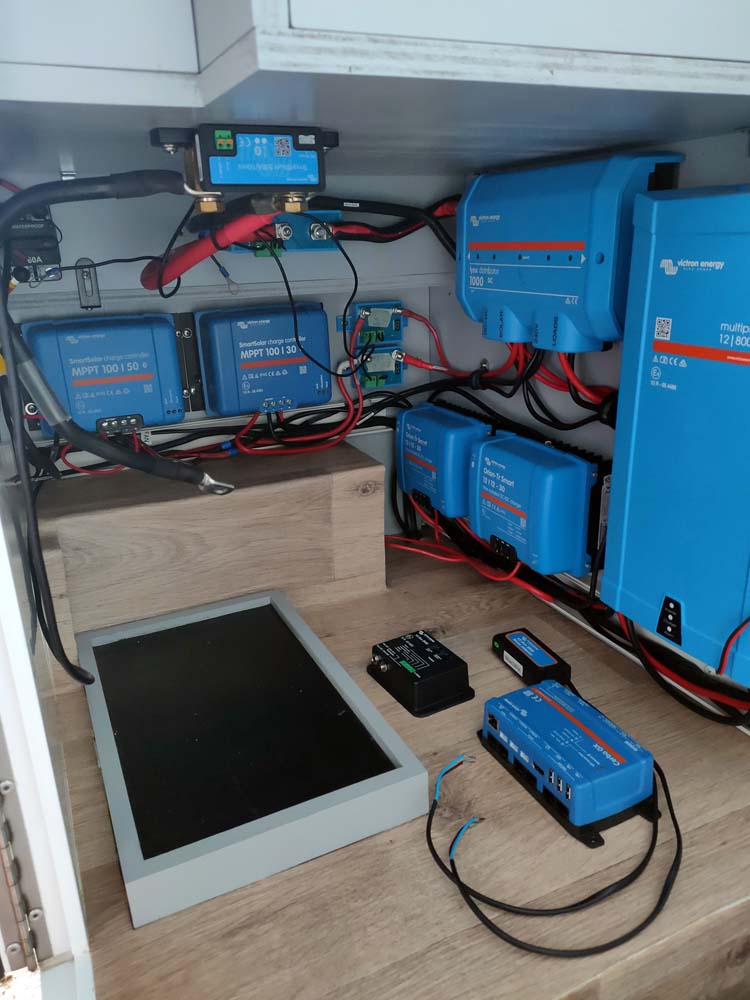
vinyl glued down and the finished battery box in place
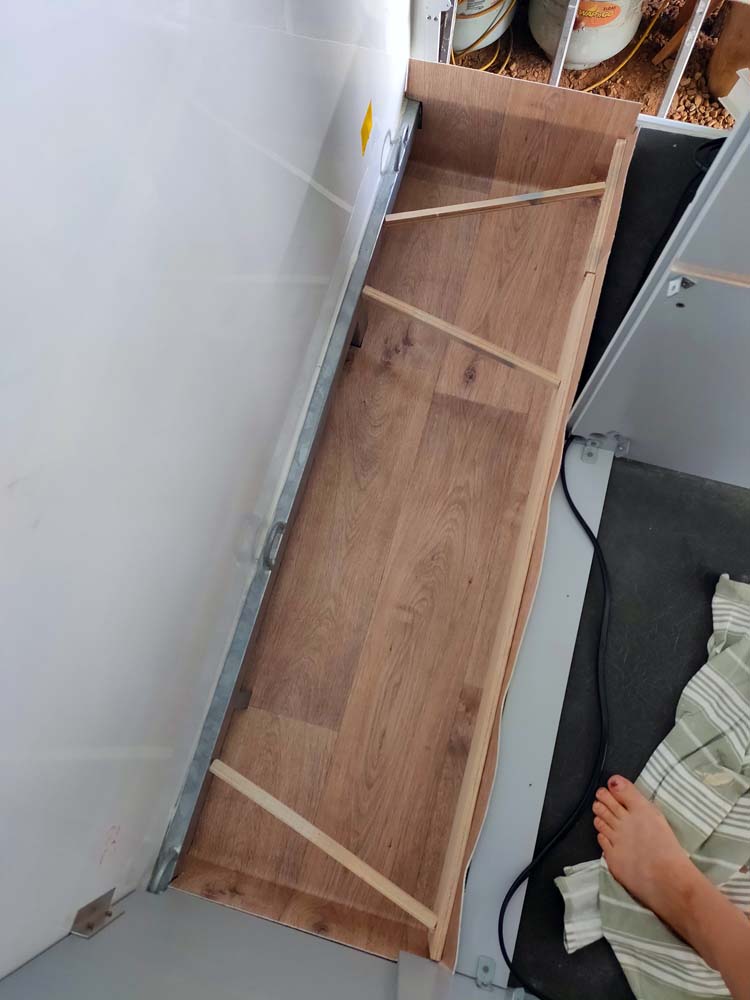
Several weeks later we unrolled the vinyl again. This time we cut the part for the seat box on the driver’s side. As soon as it was cut it was glued down. We can’t divide this seat box into two as we need a space for the solar blanket, and this is the only area where it fits. Another chunk was cut the same night for the rear hatch on the driver’s side as well, finally an easy one as this was literally just a small rectangle. It’s not glued down yet, but it will be done soon (we hope).
measuring the vinyl for the seat box on the passenger side
the vinyl in the passenger seat box still loose, waiting for the next step which might be to cut it into pieces to allow an upright to be added to support the seat
the vinyl in the seat box on the driver’s side is glued down as soon as it is cut
The kitchen box was cut, but after measuring three times and cutting once, we realised we cut it wrong…. oops. When we checked the remaining piece of vinyl (for the living space) we realised we couldn’t re-cut the kitchen box just yet as we only had just enough for the living space. We would need to cut that section first and then see if there was enough leftover to redo the kitchen box…. So that meant the kitchen box wasn’t covered for a long time.

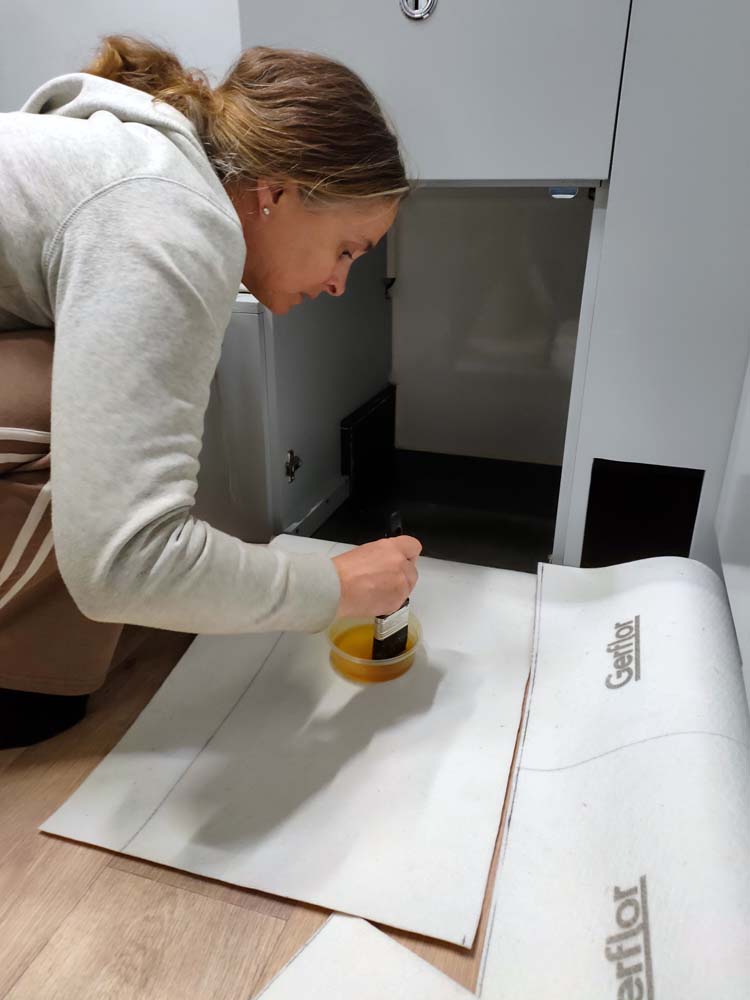
gluing the kitchen vinyl in place
Then, one day we finally got around to cutting the living room vinyl. We waited a long time because we wanted to wait until things were (nearly) finished to avoid damaging the vinyl whilst still working inside.
the big job, gluing the vinyl in place in the living room of the palace

tadaaa
And after re-doing the kitchen box, we now have to do it again…. Why? Because we added a strip of rubber underneath the vinyl to ensure the vinyl is level with the opening of the kitchen hatch, so we can use a simple brush to clean the kitchen box. We didn’t know the rubber, possibly combined with the glue, was going to create a dirty brown stain…. we keep learning….