The floor
With the sub-frame finished (thanks to Paul, John M, Roland, Hugh, Ingo, Mingyuan, Brett and Sean) and attached to the chassis, we were now ready to tackle the next phase – the floor.
As you might expect, there are many materials available to to make a floor. But Styromax made it easy for us by supplying a type of floor that seemed perfect for us. It’s a composite material, very soft, that has 2 fiber-glass mats running through it to add strength and comes complete with ‘elephant skin’ on one side to protect the otherwise soft material getting damaged by rocks and other debris that hits the bottom whilst driving.
It came in 3 thicknesses that could be useful for a floor – 12.7, 15 or 19mm thick. Our initial idea was to put the 19mm thick floor down to ensure she is well insulated. But then Jon did the calculations on the different insulation values (the R value) of our various components (floor, walls, roof and the canvas connecting the roof to the walls), and we realised quickly that no matter what we put on the floor, the lowest R value would always be the canvas that connects the roof to the walls (also known as the sock).
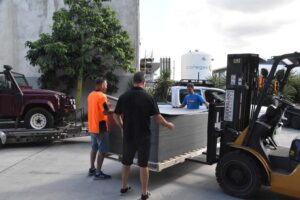
Jude compared the weights of the different floor options and we realised we could save several kilos by using the 12.7mm thick floor, so that’s what we bought. Three sheets of it. They come in the standard 8 x 4 feet sheets (which is 2440 x 1220mm), which is the same as any plywood sheets you buy. They are huge and not easy to transport.
After we picked them up they sat in the shed for a while until it was finally time to cut the first panel. Jude had carefully made a plan of attack, drawing the 3 sheets on paper and then adding all the different sized panels that needed to be cut out from the panels. They are quite expensive and you don’t want to make a mistake, or accidentally cut smaller sections out which leave you with not enough material to cut out the bigger ones.
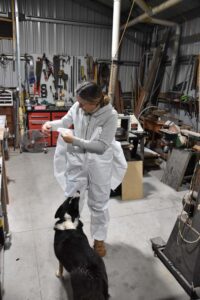
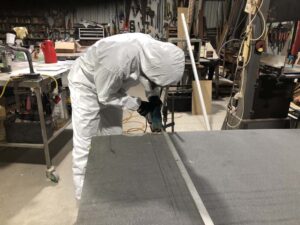
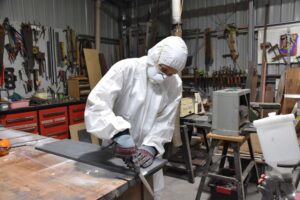
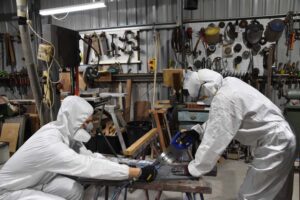
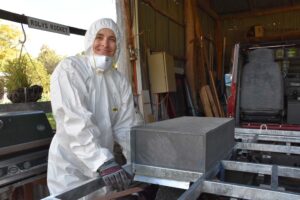
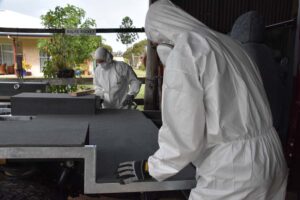
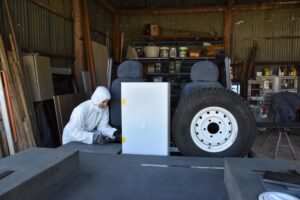
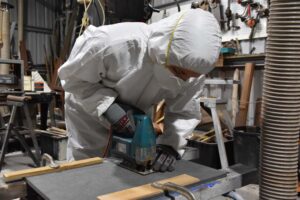
And then, after double-checking measurements, and even triple-checking them, it was time to cut. And for that we had to don overalls, gloves and masks. As the panels have fiber-glass inside, which can get itchy when you handle it and cut it, we were told it was best to suit up.
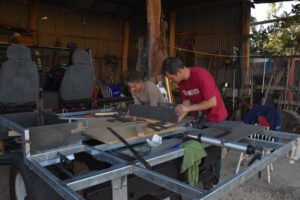
We first tried to use the jigsaw along a straight edge, but the blade very quickly veered off and we abandoned that plan. Next was the handsaw as the large sheet of floorboard was too big to maneuver on the table saw. The handsaw worked a treat and we cut most of the pieces with it, only using the band saw and table saw when the floorboard was small enough to handle.
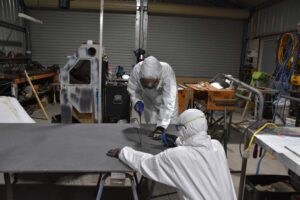
Jon doing the first cut by hand, Jude uses the airline to blow away the dust as you can’t blow when wearing a mask…
First thing we wanted to make were the panels for the wheel arches. We made them, they were looking good, and then Jon made a startling discovery. We were meant to have 200mm of clearance above the wheel (which we did), but we are assuming the sub-frame will drop by as much as 50mm when she is fully laden… Did we need the 200mm clearance with or without a full load? We checked the Defender’s conversion manual, nothing. We tried to search the internet, nothing. So we decided to play it safe and move the floorboards to the top of the wheel arch, instead of to the bottom as we originally planned. Later we discovered (by chatting with other Defender owners) that the 200mm clearance indeed seems to be when fully loaded so we feel we made the right decision.
But, unfortunately that meant our uprights for the wheel arches were now too short! We checked the drawings to see where we could cut out the larger pieces and discovered they fitted on one of the panels, just (with literally only a few mm to spare).
We then settled into a routine and worked on all the panels, making sure to file off the bottom areas where the welds were, to ensure they would lay completely flat on the sub-frame. It was very rewarding work, seeing the floor take shape and getting closer to the finish line.
Of course, making a floor from some floorboards sounds easy, and usually it is. But our design meant we had to not only create two wheel arches, but also a sunken floor with uprights for walls and dividers, as well as a small ‘box’ around our fuel filler. We had to move the fuel filler to come up above the sub-frame to ensure we can fill up the long-range fuel tank to the top, adding to a rather more complicated floor setup than most.
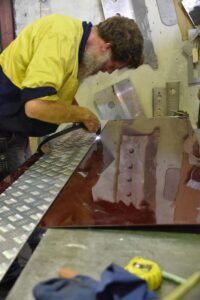
We were also using part of the original Land Rover floor panel to fit in front of the sub-frame, in the same location as it used to be (as a foot-well for the passengers in the rear), but it needed to be smaller as we were now building a palace where the rear seats used to be. Paul helped us cut the panel to size, and then Jude spent a morning making it all smooth and cut the reinforcement bars so it would fit around the new sub-frame. To make it all fit we had to cut the red support bars from the car, up until now we had only undone bolts, nuts and screws…
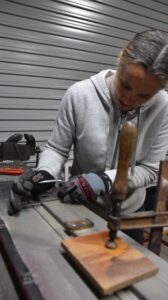
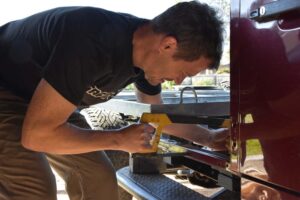
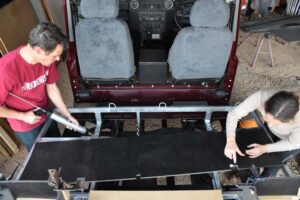
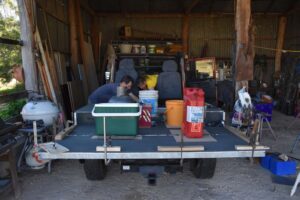
Once all the floor panels were cut to size, we had to start the gluing process. That was a little daunting as we kept hearing that once the glue had set, it was impossible to undo. We started with gluing the wheel arches, using clamps to make sure the panels wouldn’t move during the curing process. Next up was the sunken floor panel as that was far enough from the wheel arches so the clamps weren’t in the way. We couldn’t really use clamps here so we filled buckets and an eski with water to add some weight to the gluing surfaces. And then we had to wait. The glue is dry after about 3 hours, but to properly cure we had to wait 24-48 hours. It was a slow process, but once we moved on to the large panels, the actual floor, it was great to see them all go up in one go, creating an actual floor.
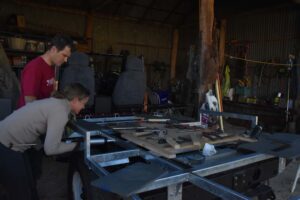
Jude adding the first glue to the sub-frame for the wheel arch. Jon did all the rest of the gluing as the manual glue gun was too hard to squeeze for Jude
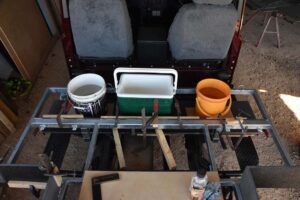
drying the sunken floor and the upright wall for it, buckets with water add weight so the panels stay in place
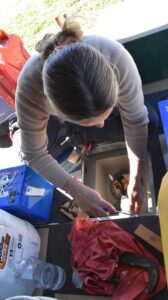
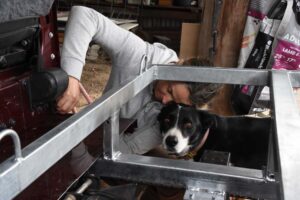
Jude cleaning up the glue around the fuel pump hatch to ensure the insert panel will fit and lay flat
It was a fantastic sight to have a floor, even though it was still full of buckets and clamps. But, after another couple of days, we could finally remove them too and admire our completed phase 3. We noticed a small wobble in the fuel pump hatch which we are now trying to straighten out (the actual floorboard appears to be warped) before she is sent off to Styromax, the company making her walls and roof.
Here you can see her with her new floor.
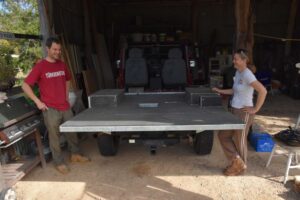
our new floor – we realised afterwards that the fuel filler box had been glued on the wrong way so we quickly had to do that again…
The sunken area near the cab will house the 100L watertank, as well as the spare wheel. The hole in the middle of the floor is our access hatch to the fuel pump which Land Rover very practically (not!) locates right above the fuel tank (which becomes inaccessible once you add a campervan body). And the little ‘box’ next to the driver’s side wheel arch is to access the fuel filler cap for the diesel.


quote: “…..we had to start the gluing process. That was a little daunting as we kept hearing that once the glue had set, it was impossible to undo.”
Sounds perfect, when you’re on the road on rough ground! Quite a positive attribute (Just get it right first time 🙂
yes! definitely sounds like the right stuff for on the road, but we were definitely rather nervous when starting! 😬😁
Wow! Hope to see you again!
🙂 we hope to see you again soon too! Hope you are all well, are you in Austria or Slovenia?
Een heel technisch verhaal dat behoorlijk indruk maakt op een a-techneut. Knap werk! Het zal heel veel voldoening en trots geven als je straks tegen het voltooide kunstwerk aankijken.
Een goede en plezierige voortzetting!
Een hartelijke groet uit herfstachtig Oost Souburg. XX
dank je 🙂 en ja, geeft heel veel voldoening om de vooruitgang te zien. De mooie herfstkleuren ook al of alleen de regen nog maar? Dikke knuffel terug uit een winterig Esk xxx
Mooie beschrijving en leuk om dit weer als start voor jullie komende avonturen te zien. ThanX!
dank je!!! we hebben nu ak zin in de nieuwe avonturen met Lara! Dikke knuffel x
Very impressive!
thanks Kathryn! how are you doing?! Hope all well in Perth with Michael and Talia as well! Big hugs, Jx