Steps into the palace
This should have been a simple one. Buy the Thule steps, mount them underneath the subframe, job done. But of course it wasn’t that simple….
As Lara’s floor is quite high, we would have to buy the 2 step version from Thule, and even then it would be dubious if we would reach far enough down to make the first step accessible / easy to do whilst carrying two Gin & Tonics…. But even if it would be low enough, we didn’t have the space to mount it under the door as there was a part of the chassis in the way. We also wondered if that location (just behind the rear wheel) would pick up a lot of dirt, meaning we would have to clean the steps every time we wanted to use them….
Our search began for similar steps, but with a smaller footprint so it would fit. But there appeared to be none. We also looked at step ladders to see if we could use them instead. We tried to see if we could create enough space for one to hang underneath the floor, right behind the door so we could just pull it out. But it just couldn’t work.
We knew what we liked – deep steps so we could walk up and down the ladder without shoes. But we just couldn’t find anything that could work. We liked the ladder from Guy and Cheryl on their slide-on. Theirs is a loose ladder they slide into the house when not in use. It had comfortable steps and was about the same height as ours would need to be. But they suggested we have a look at the ladder from Rick and Julie, on their slide-on. It folds inwards and was added to their truck with hinges.
So one day we drove to Sandgate and had a look at Rick and Julie’s ladder. It was the perfect setup. As Guy and Cheryl had told us, it folds into 2 connected pieces when stored inside and was easy to pull out. When the ladder was out, it was still possible to open and close the door. Perfect.
Rick and Julie’s ladder as it is folded away
Rick and Julie’s hinge for the ladder, a completely different door opening but we hoped it could work
We called the company that made theirs, but they were not interested in selling us one. So, with some photos and dimensions from Rick, we turned to Bernie again (he connected the cab to the palace for us), and asked him if he could make something like it. He could.
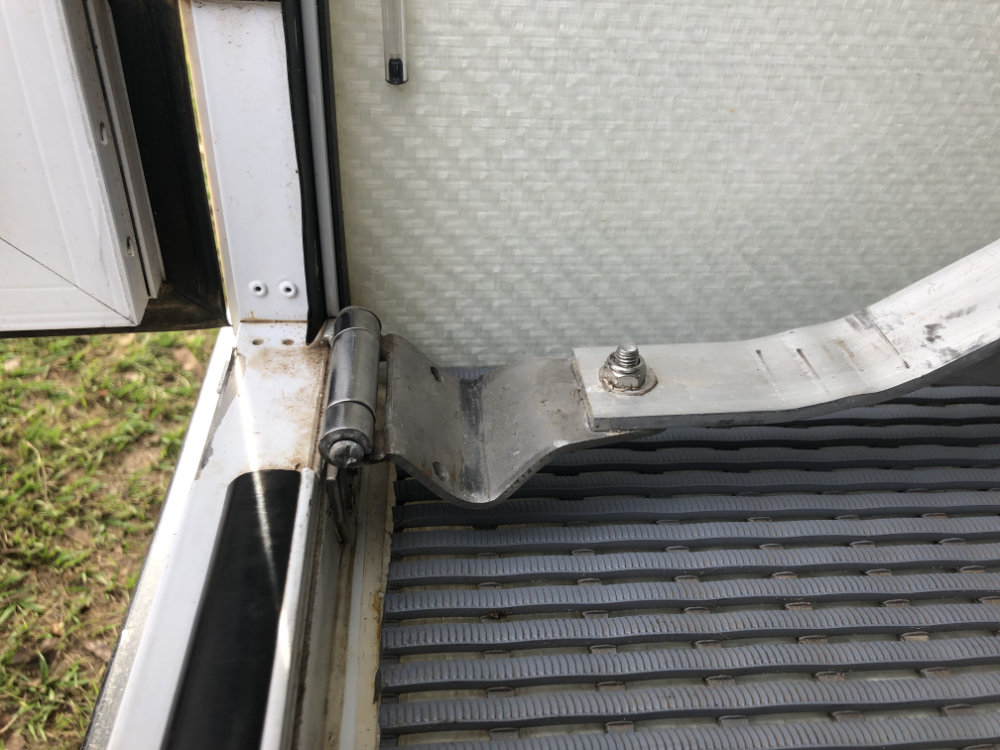
And so the journey to make our own ladder started. Jude drove over to Bernie’s workshop one day and he started with making the hinge. Instead of using an existing hinge and bend it into the right shape, Bernie cut pieces out of stainless steel and welded them together. Soon we had an outline of a hinge. A second one was quickly made and the 2 hinges connected with a flat piece of steel we would later use to bolt the ladder to the sub-frame.
the start of building a custom hinge
welding the hinge
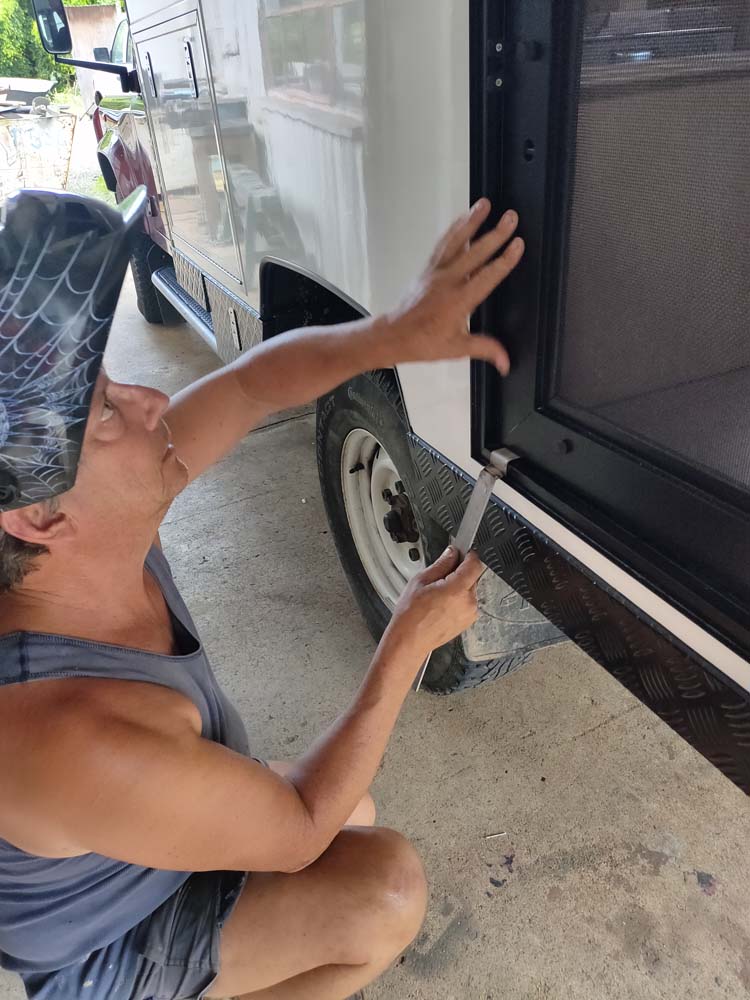
testing if the door can still close with the hinge in place
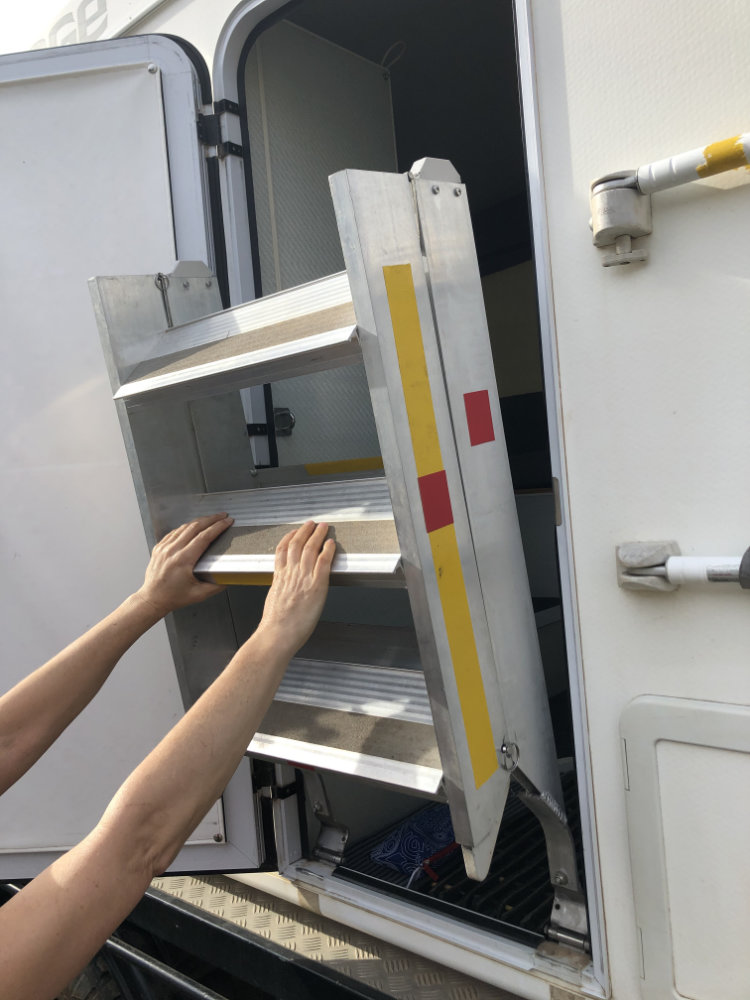
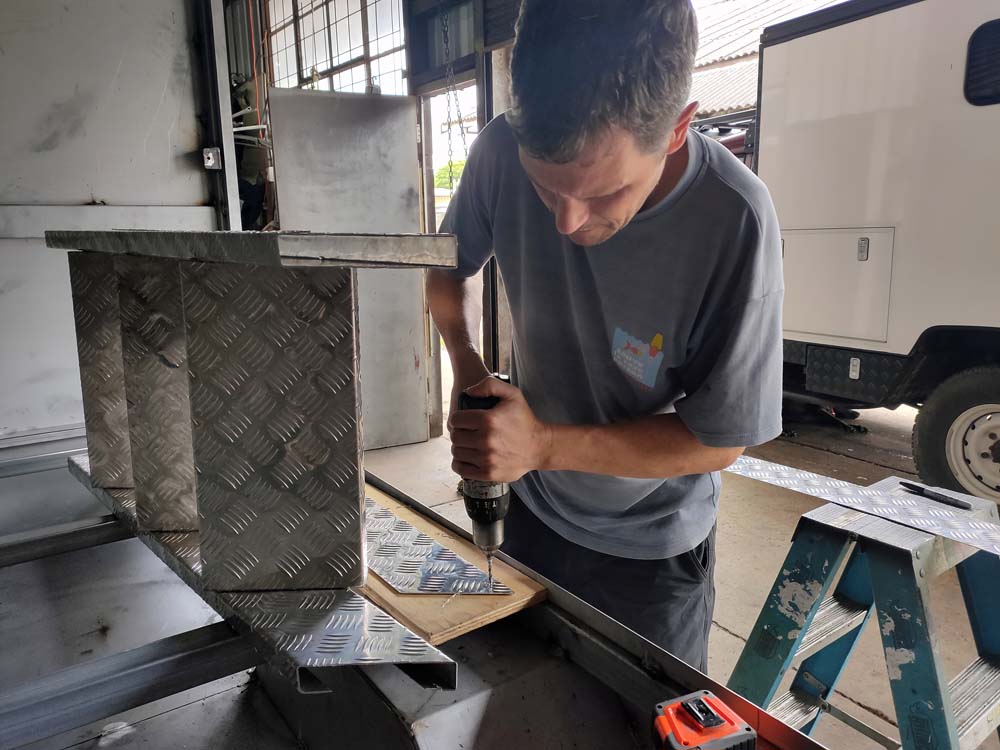
The legs of the ladder (called stringers) were made from aluminium. The same stuff we had used as trim on the outside. And also the steps were made of the same stuff. Bernie made the work look easy and quickly folded and cut things to the right shape. Soon we had a ladder. The hardest part was making sure the ladder could fit into our tiny door. Contrary to Rick and Julie’s design, ours was made of one piece and would not fold in half. Ours also didn’t lay flat on the floor, but would stand up behind the door when not in use.
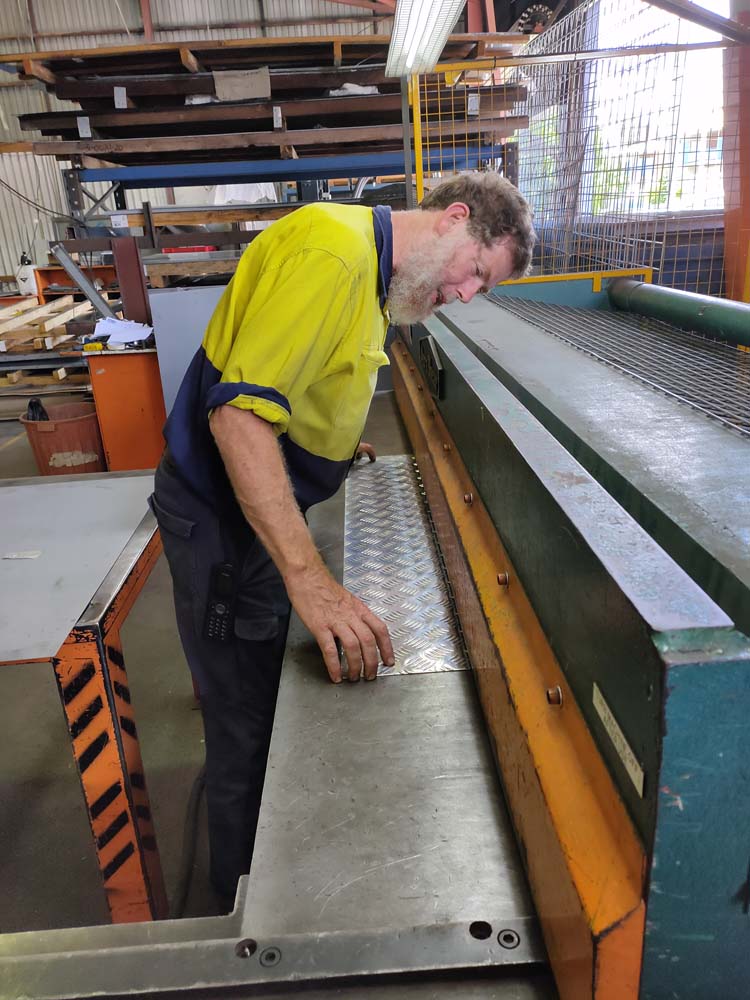
Paul chopping off bits of checkered plate aluminium for the ladder

testing angles for the custom hinge with a mockup ladder
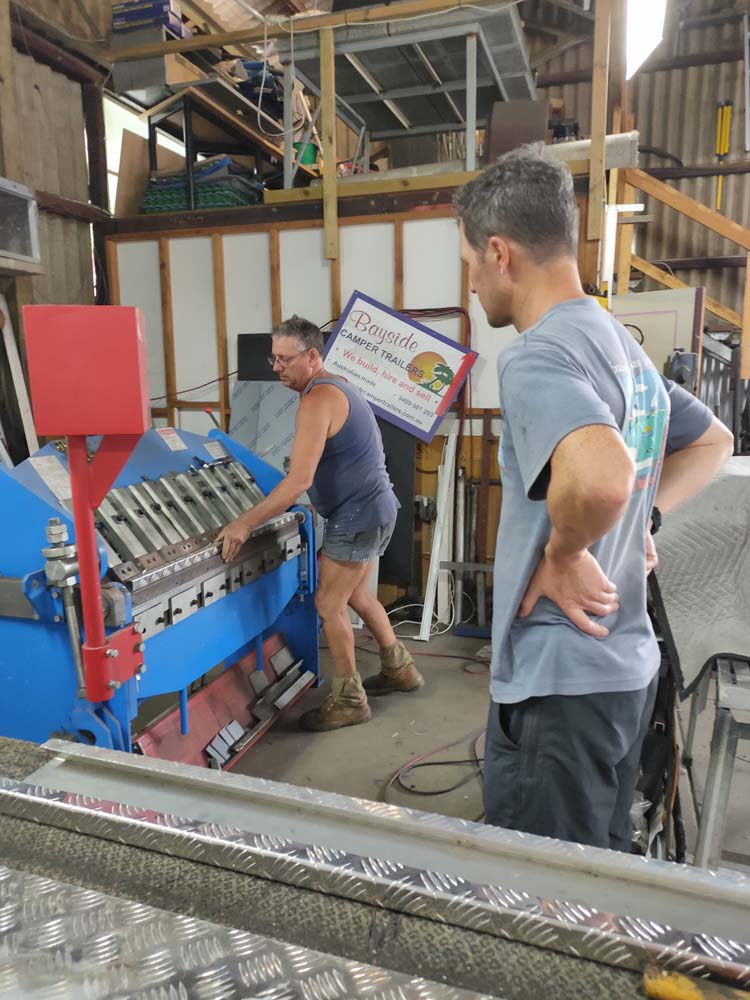
folding the stringers of the ladder
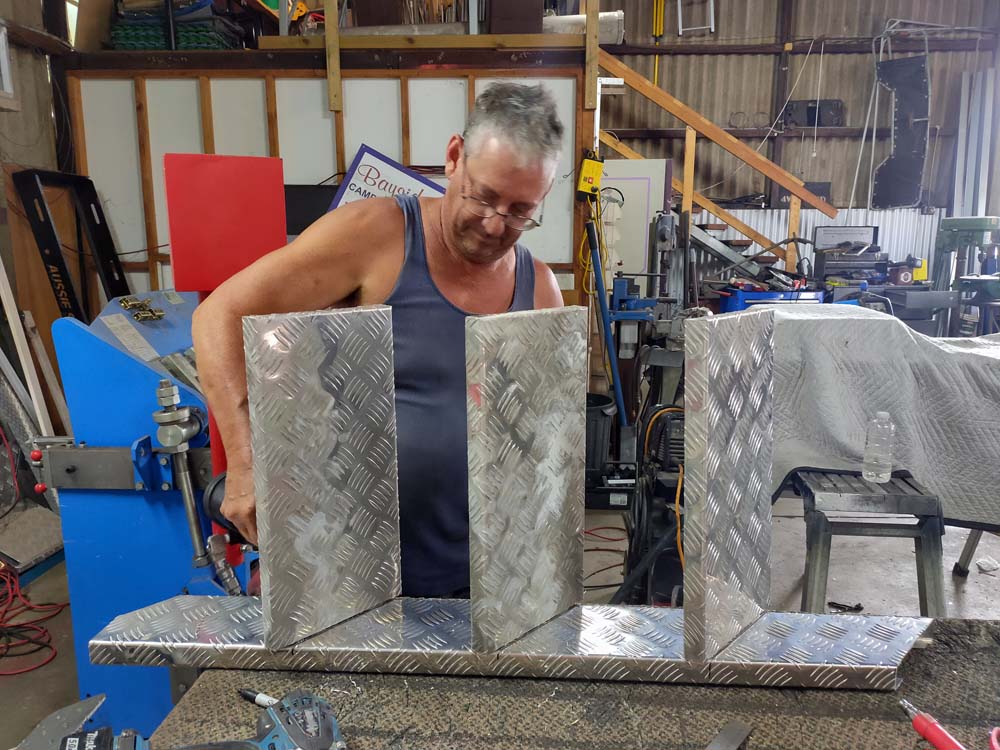
adding the steps to the stringers, it is starting to look like a ladder now
That way, if we want to camp in stealth mode, we can pull the ladder inside, close the door, and we’d still be able to access the cupboards at the back. It was part design, part necessity because our door didn’t have a drop behind it (like their door, see picture above), so it was proving difficult to lay the ladder flat when folding it inwards. We’ll see if this ends up a curse or a blessing…. time will tell….
Jude travelled to Bernie’s workshop a few more times, Jon also joined one day, and we even got to help build it – we added the pop rivets to close the legs with a piece of aluminium.
Jon drilling the holes for the pop rivets in the ladder
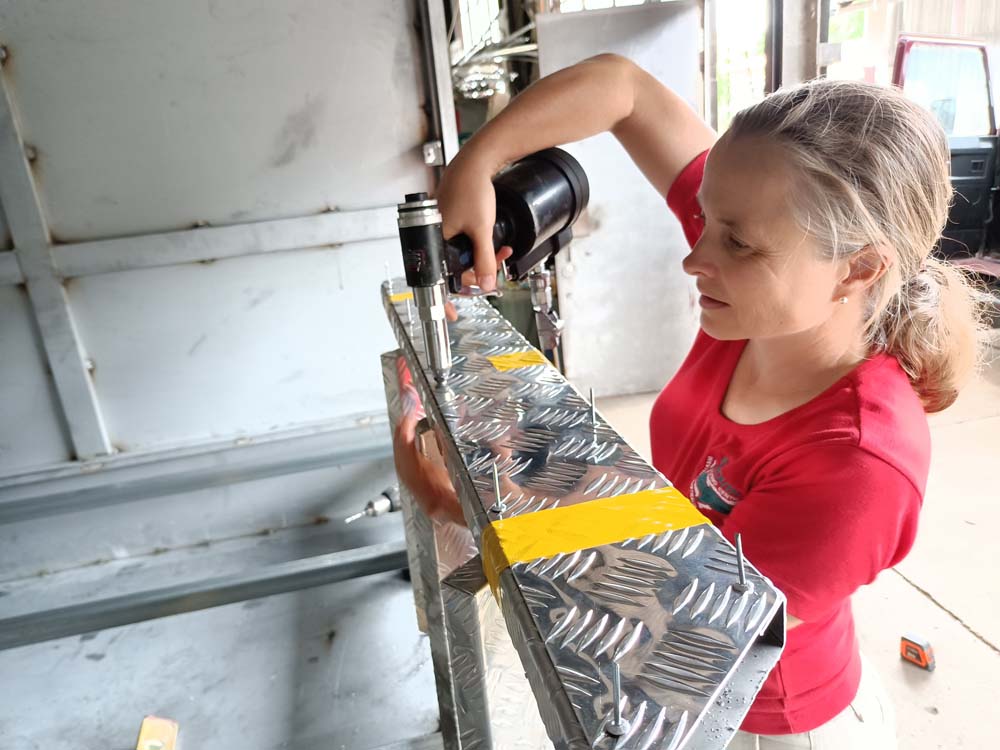
Jude adding the pop rivets to the ladder
At the bottom we added plastic inserts. This was blatantly copied from Rick and Julie’s design too. They would function as feet (the idea being they won’t sink into the grass or sand too much), but they can also be pulled out individually to make the ladder longer or deal with a seriously uneven bit of ground in front of our palace.
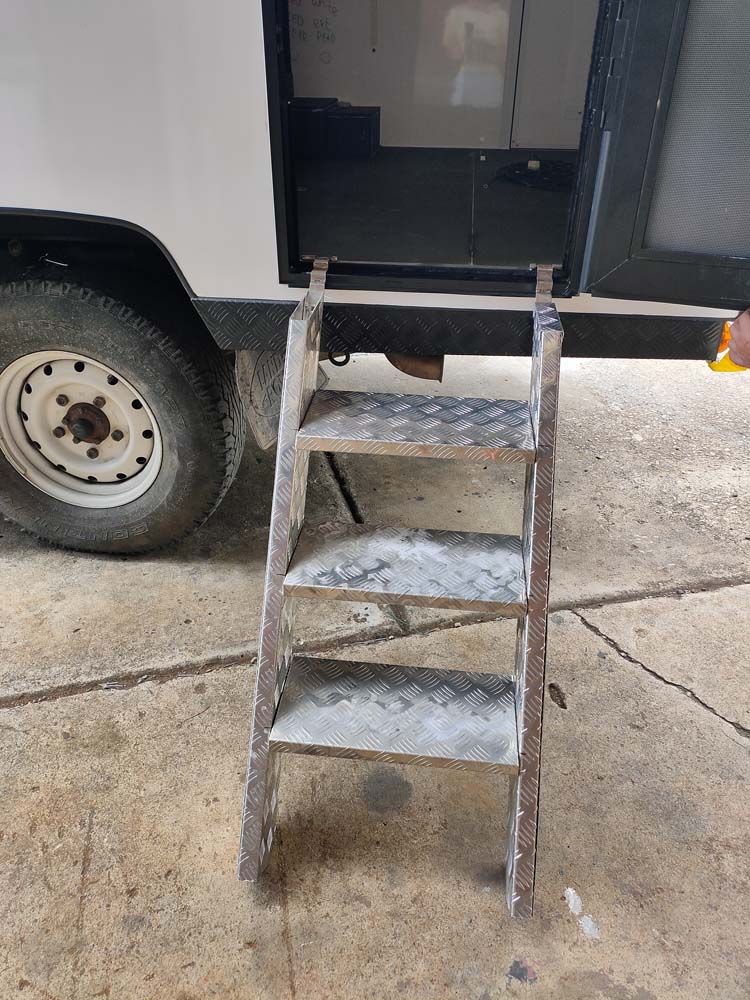
our new ladder

Lucy (Bernie’s dog) checks out the steps, she seems comfortable with them as in no time she is up in the palace

Jude testing the ladder
We also added strength underneath the steps to stop any flex when you put weight on them, and a cap at the top to close off the gap. It then went to Paul (remember, he built our sub-frame for us) for powder coating, before we picked it up and could finally get in and out of the palace with ease (no longer do we need to use a chair to get in).
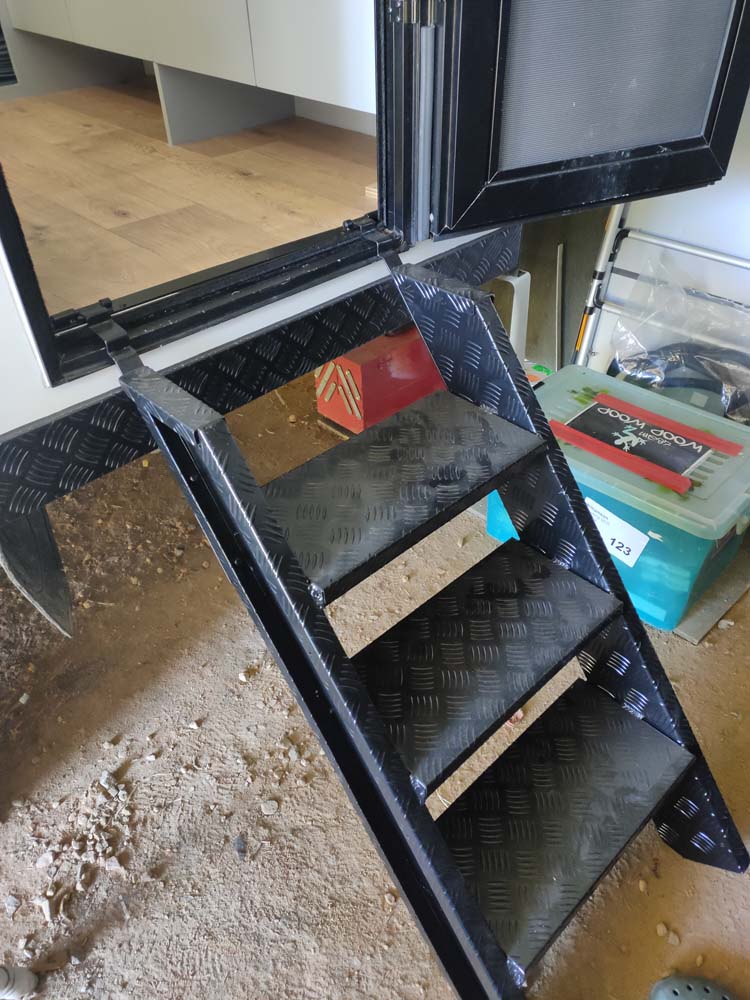
a bit dusty, but this is how the ladder looks after the powder coating, the stringers still have to be closed up and the extenders added
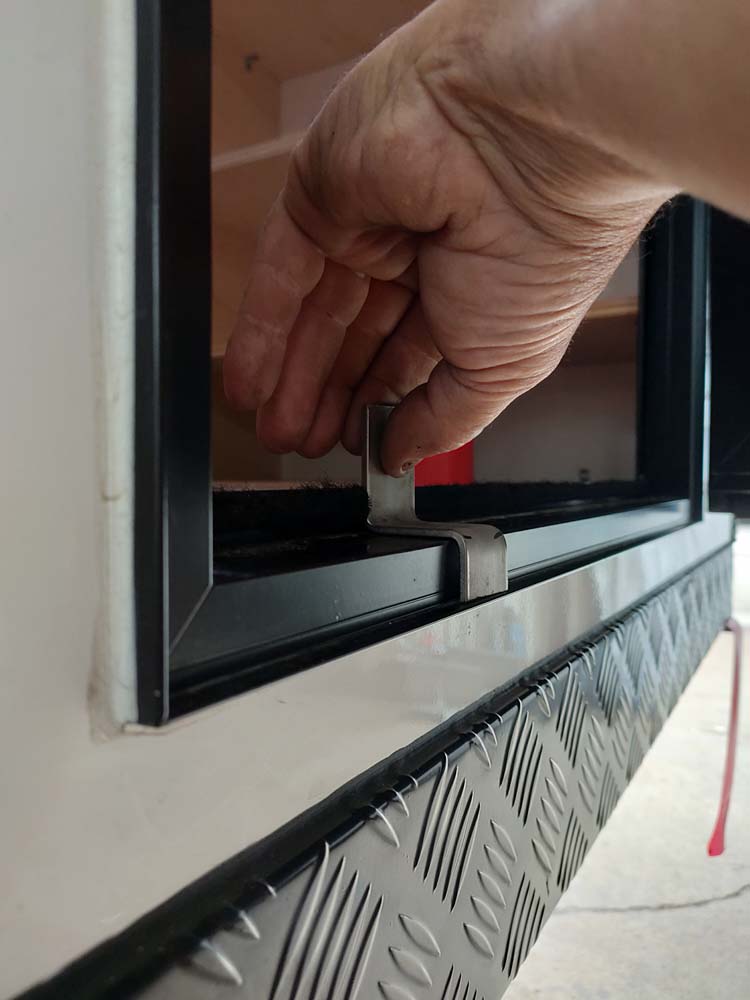
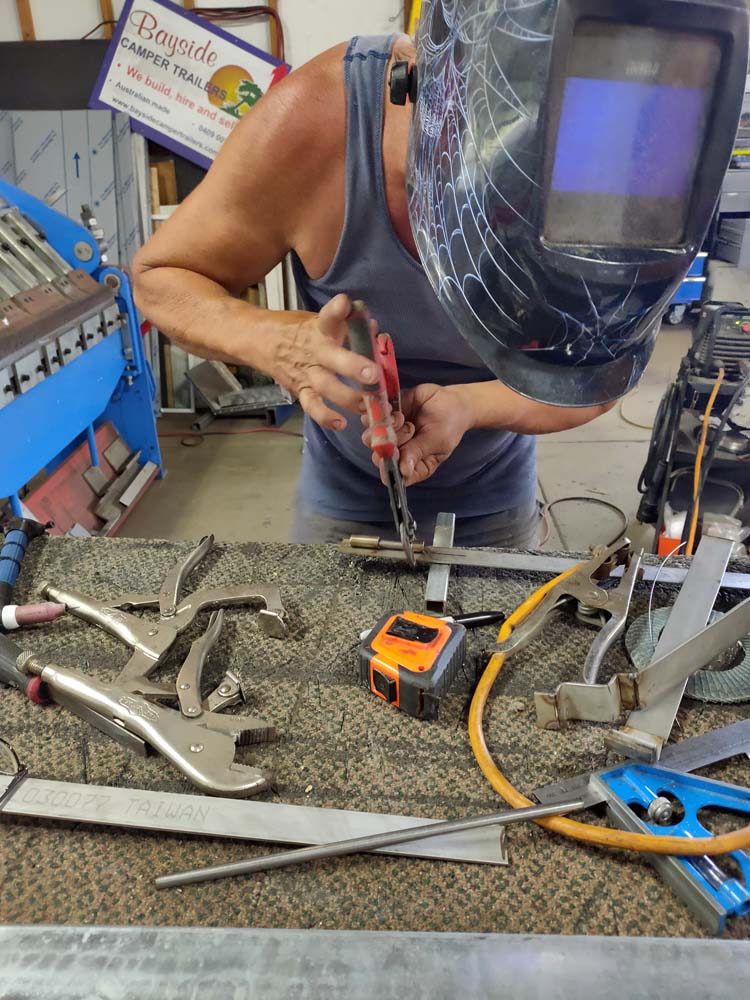
One more job remained. How to fasten it when standing upright. A bungy? Some kind of latch? More magnets? We had many ideas and bought a few different types of latches in all sorts of sizes to see what could work. We took them all over to Mark who is a genius in working with metal. He made it sound easy enough and managed to add the latch to the ladder and fabricate a sort of catch for the bolt on the bed bracket we already had in place next to the door. It required welding and the use of several different types of machines and a lot of precision work. We helped where we could but really this was all Mark’s work.

Mark doing his magic to add the latch to the ladder

Jon and Mark customising the catch for the ladder on the bed bracket
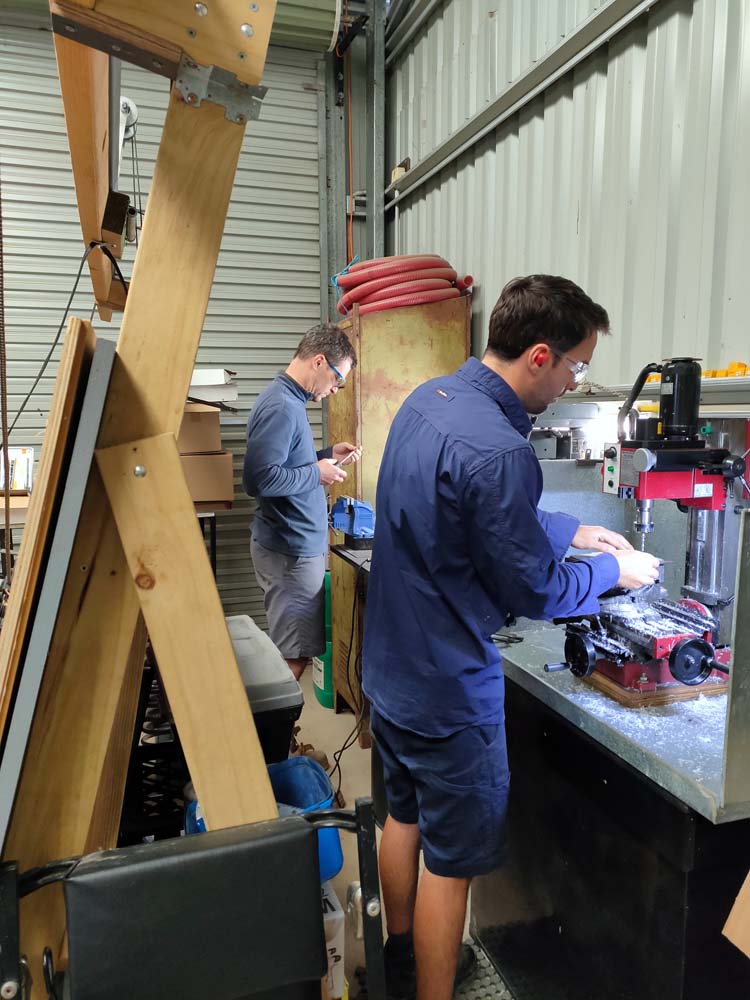
the boys hard at work for the ladder in Mark’s workshop
We are very pleased with it all, and think it looks cool and is super functional. We have added rubber strips on the bottom of the steps to stop them from scraping hard surfaces. And we might still need to trim the bottom of the legs once we have finished the interior and loaded her up with all our possessions (as she is likely to drop down in height with the additional weight, possibly as much as 5cm). But for now it is perfect!
We’ll enjoy carrying our G&Ts down those steps to watch a beautiful sunset somewhere…. 🙂
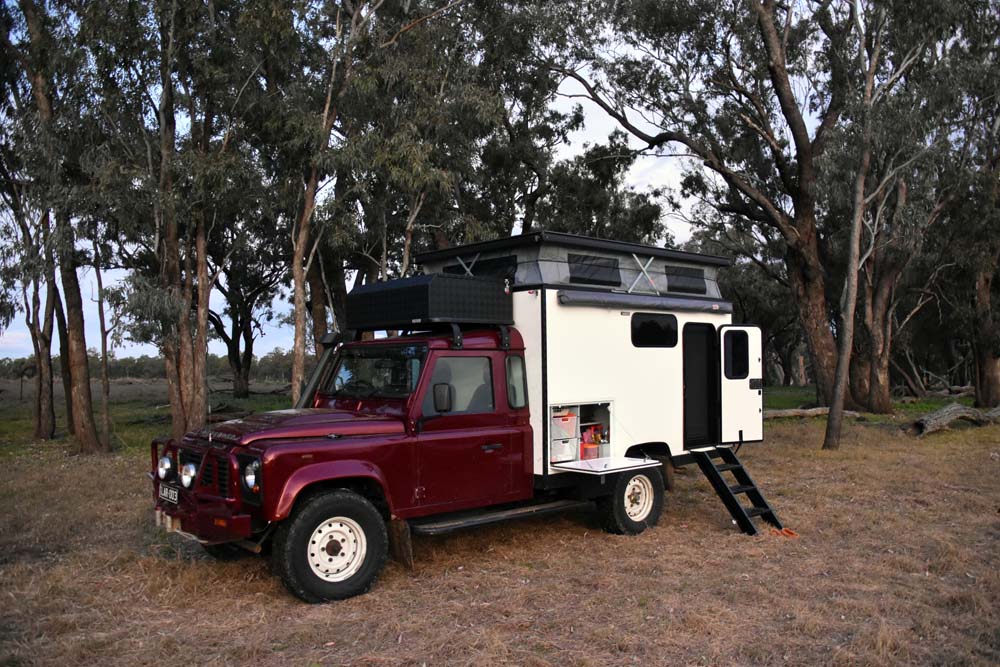
Lara with her new ladder. We camped with Mark and Floss and their truck and could enjoy the first time climbing into the palace with ease