Roof box
We had a roof box made especially for us on the white Defender and it worked perfectly. We stored all our outdoor gear in it plus a second spare tyre (which we never needed), and we thought it would be a great idea to have the same amount of storage space in the red Defender.

the old-fashioned way of trying to work out if the spare tyre will fit
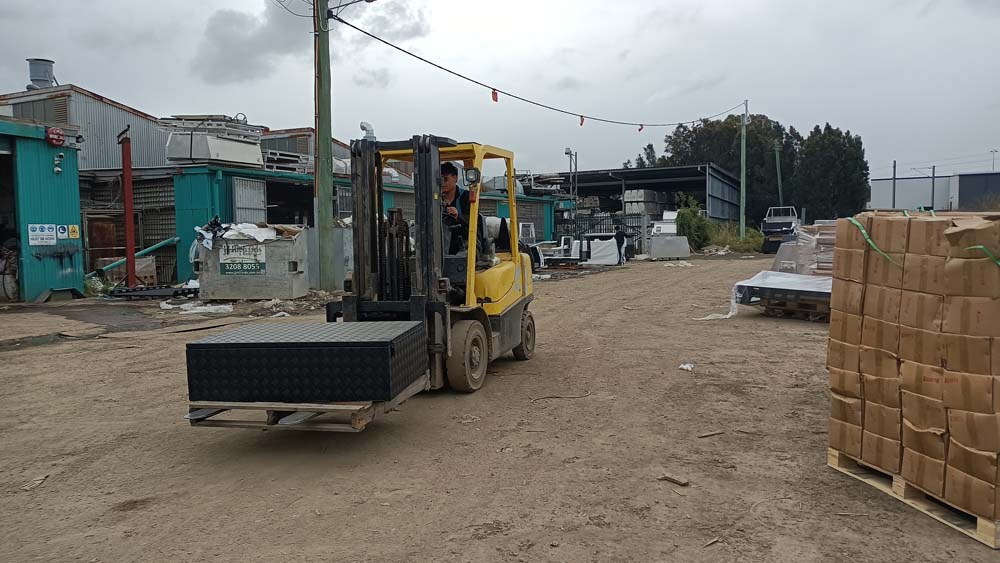
We found the same company that made the box last time. They were much bigger this time, but equally helpful.
One day we drove over and sat down to discuss dimensions and latches and other important roof top box details. As with everything 4wd and camping related, they were super busy and there was a waiting time. It was only about 4 weeks though so not bad compared to some other things.

they made a sketch in 3D on the computer to try to help us work out if the dimensions we wanted for the roof top box would fit the spare tyre
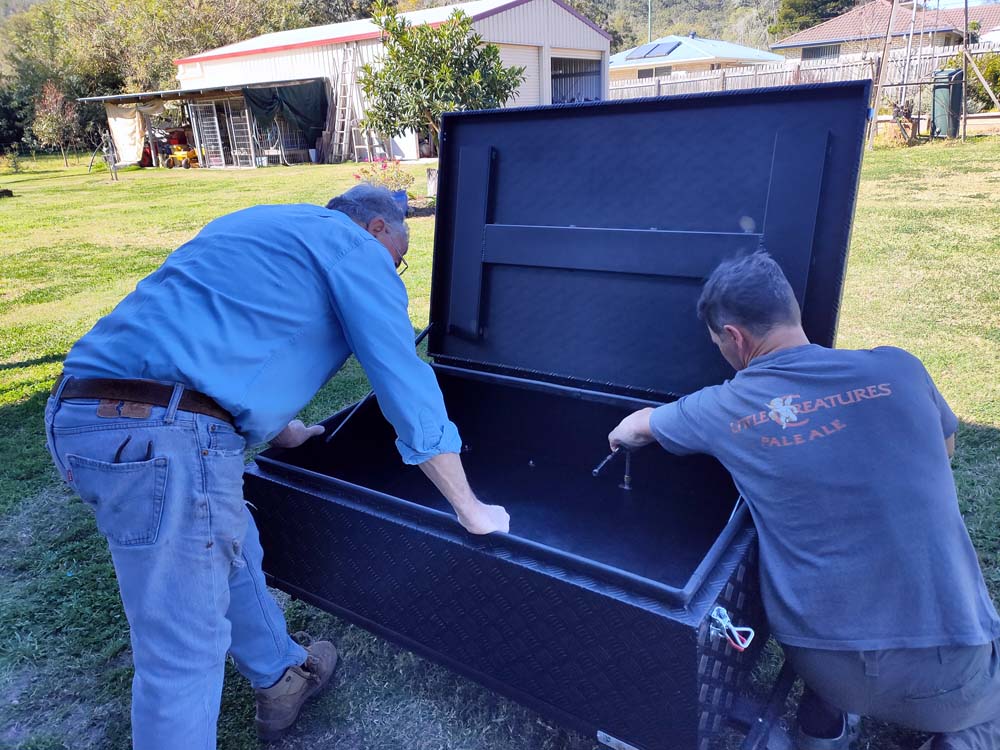
We paid our deposit and waited. When we picked it up we noticed they had put really dinky little latches on it. Despite the fact we had specified exactly which latches we wanted and had even offered to buy them. So we left the box with them for another couple of days whilst they sorted that out. In the end the new latches look much better and are a bit chunkier, which hopefully means they will last longer and are a little bit harder to break (if anybody ever thought about trying that).
The biggest challenge with the roof top box was of course to get it onto the roof. Fixing the box onto the roof rack would be impossible once it was on top of the car, so we decided to remove the roof rack and do the assembly on the ground. That was a bit fiddly but not too bad. Once the roof box was securely attached to the roof rack we had to tackle the next obstacle – getting it on top of the roof. The roof rack alone weighs 37kg and the box about 25kg so not easy to lift above your head and delicately place it in the gutter.
we pick up our roof top box
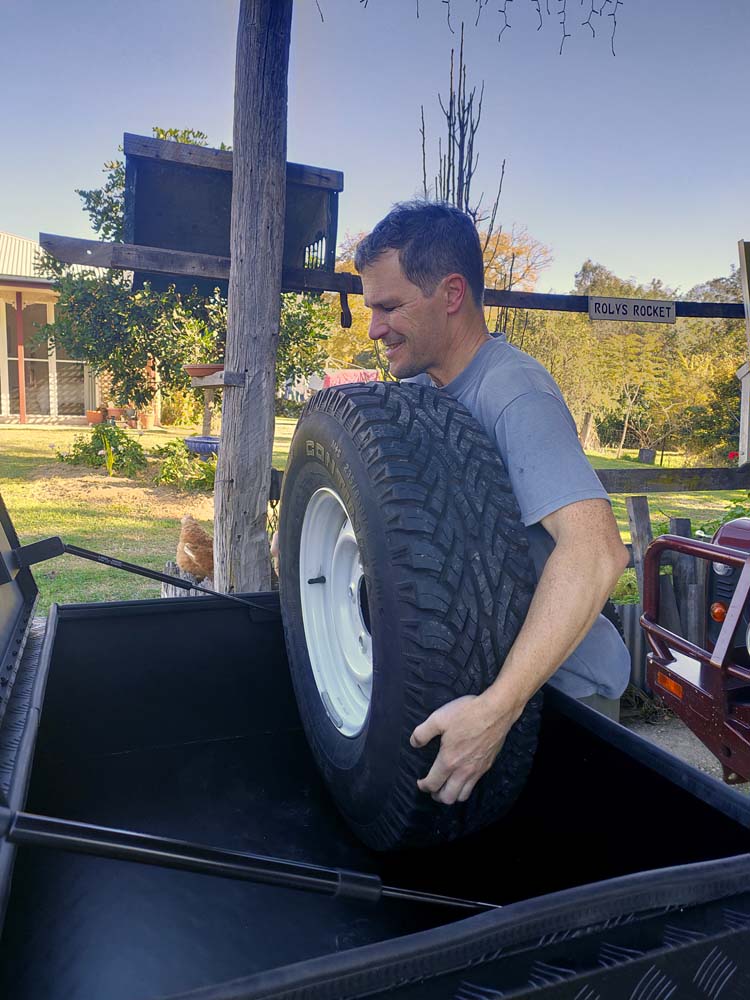
now the real test, will a spare tyre (or wheel if needed) fit into the roof box?

a happy Jon, it fits!
trying to attach the roof box to the roof rack, a bit fiddly but not too bad in the end
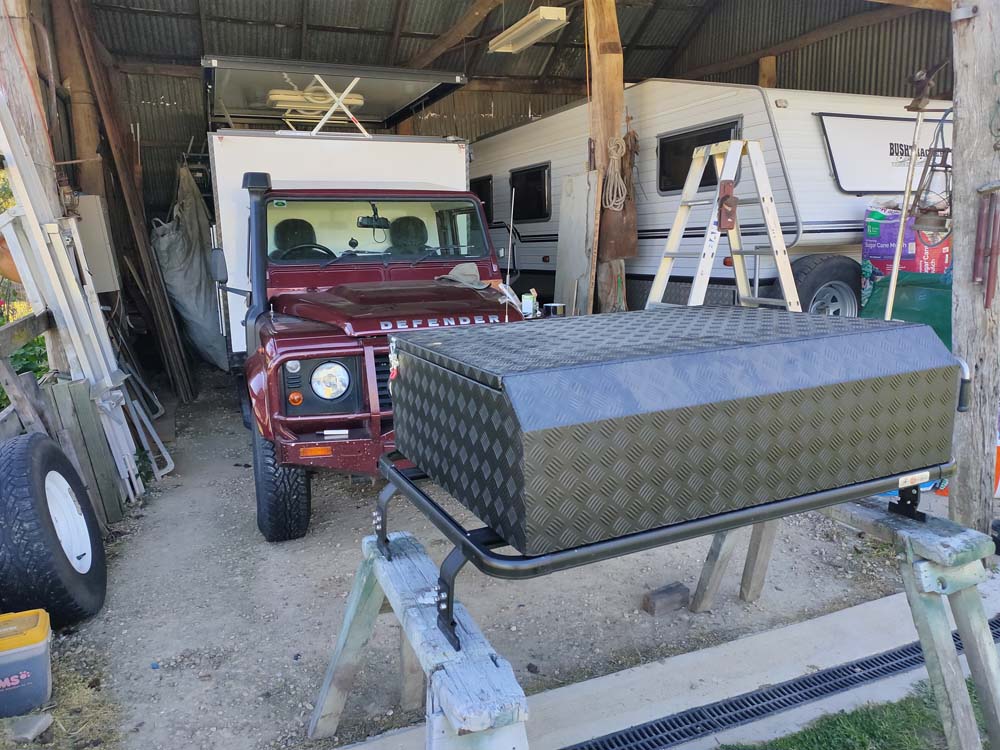
the roof box plus roof rack combo is ready to go on the roof
Roland came to the rescue. Together with Jon he raised the combo up, using straps around the wooden beam. We had removed Lara to be able to do that, so all Jude had to do once the roof rack was hoisted in the air was drive the car underneath it and then they could gently lower it onto the roof. One side at a time to ensure it landed exactly where it was supposed to.
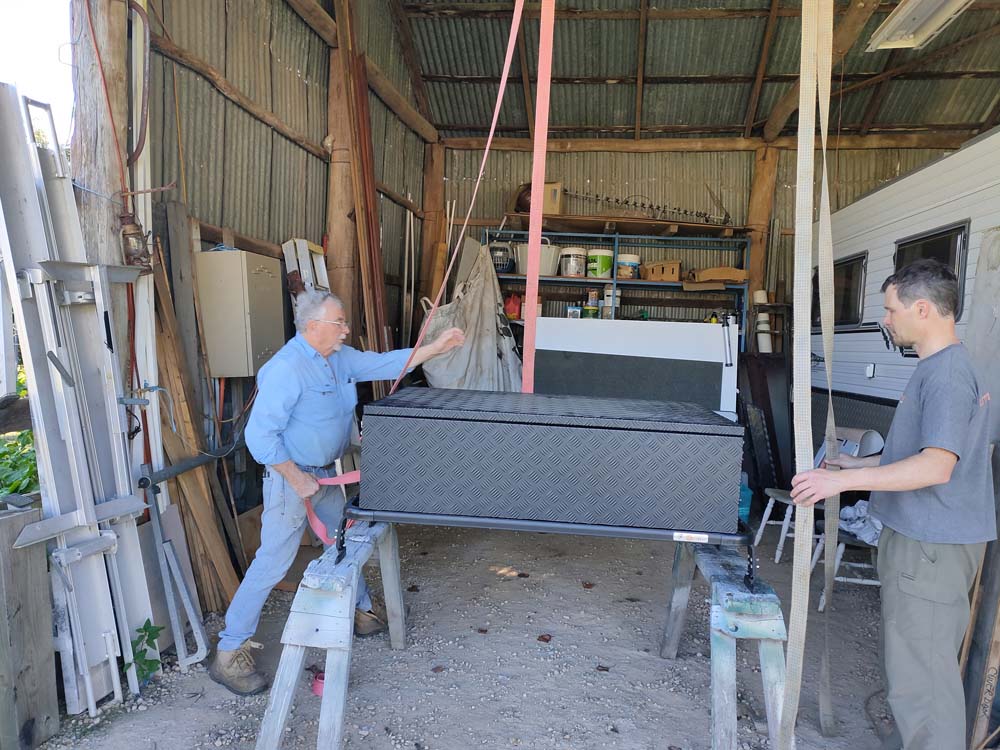
Roland thinking outside the box and hoisting the combo into the air

Roland and Jon waiting for Jude to drive Lara underneath the roof box and roof rack

gently letting the roof rack back onto the roof in the right position
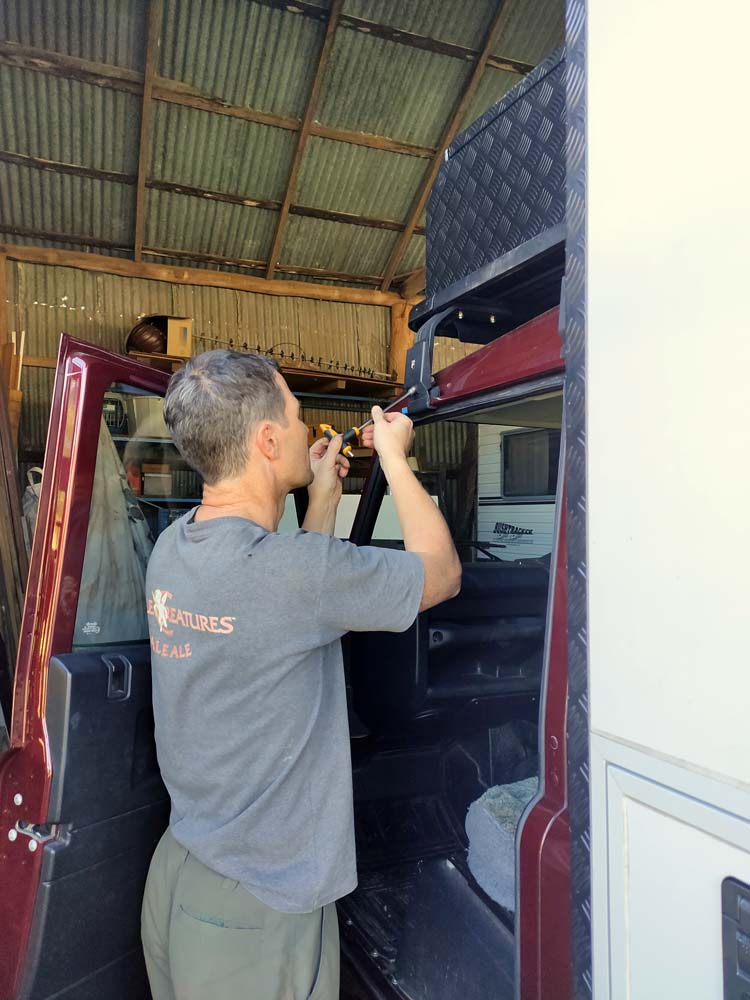
now we just have to attach the roof rack back to the car and we’re all good to go
Done. All we had to do now was attach the roof rack back to the roof and we now have loads of storage for our outdoor gear.