Lara goes on a serious diet
Before we could start building anything, we needed to get the heavy-duty tray off the back. It is completely made out of steel and weighs a ton (ok, maybe not literally, but it’s not something you just want to try to pick up with a few people). We didn’t really know how to remove it, until we moved to the country.
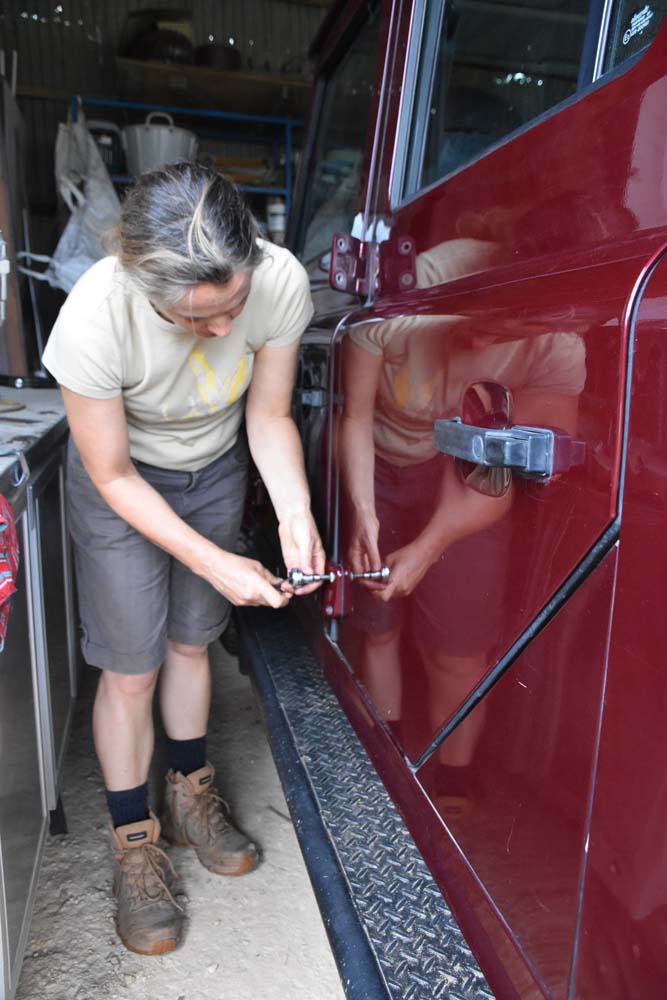
Roland knew exactly how to get it off, we would use the tractor from Dennis, their back-neighbours. Easy said, easy done. We worked on getting the bolts off, disconnect the electrics to the various lights, and removed the pipe for the water tank as it was run underneath the chassis and would otherwise get caught.

this is the ‘before’ image
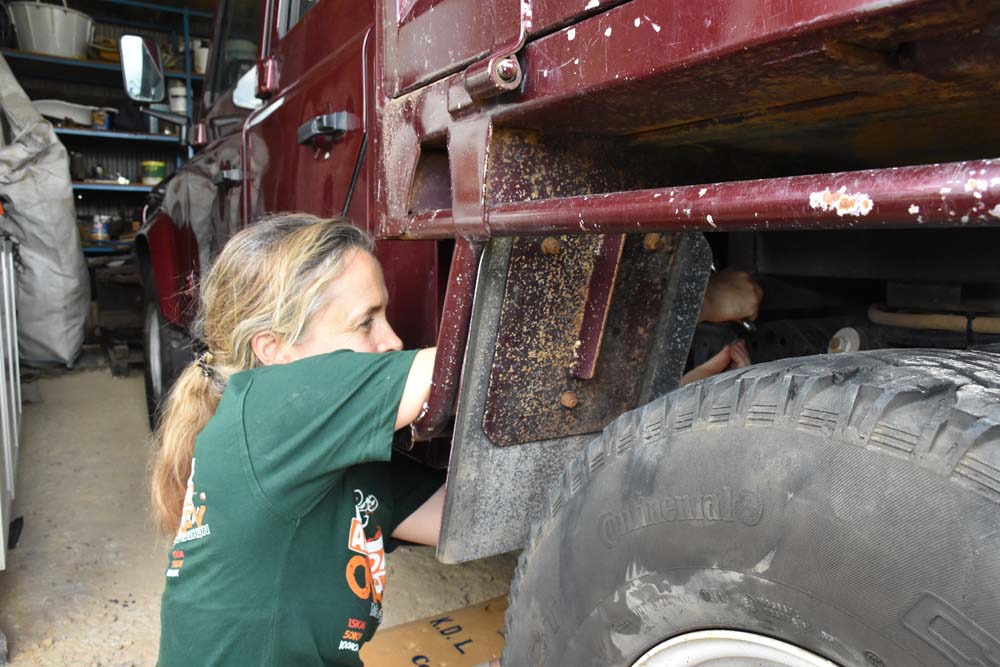
Jude undoing some of the bolts for the tray to come off
But before all that was undone, we made sure we took her to the weigh bridge to see how heavy she was to start with, and how much she would have to loose so we could turn her into our dream car. We had a bit of a shock when we read the 4 digits on the scale…. 2620kg! That was with a near full tank and both of us inside the cab, but still. She would need to loose weight, and quite a bit preferably! And thus, the tray would be the first thing to come off.

Lara on the weigh bridge

oops…. she is definitely overweight!
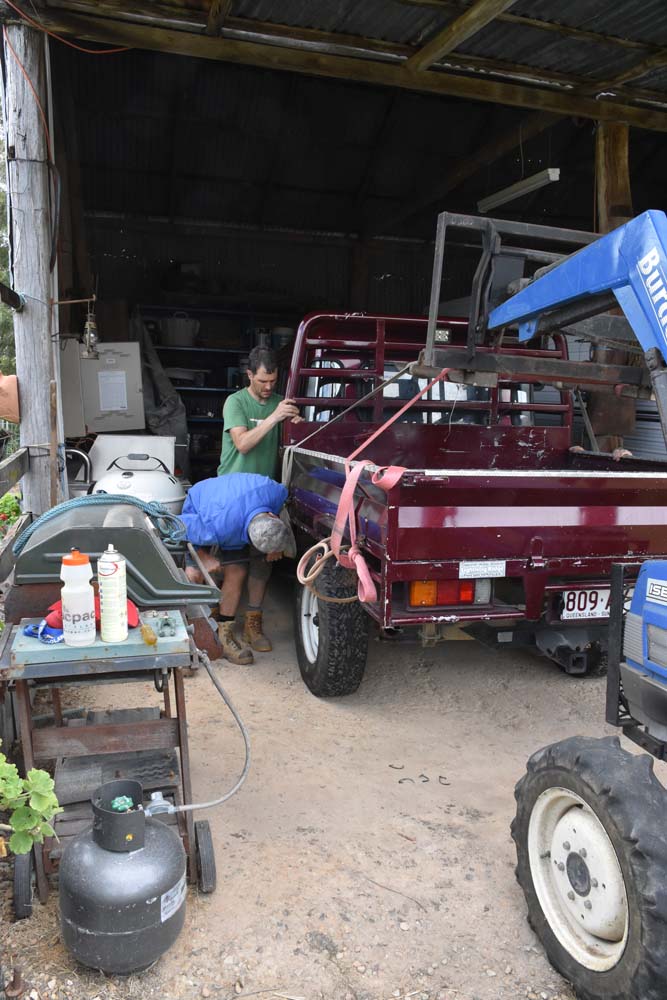
Roland walked off to get the tractor and soon the blue beauty chugged into the garden. We put tow-straps over the forklift of the tractor, and around the four corners of the tray. It was the moment of truth, would the tray come off?
It didn’t.
Roland and Jon having a look at getting the tray off
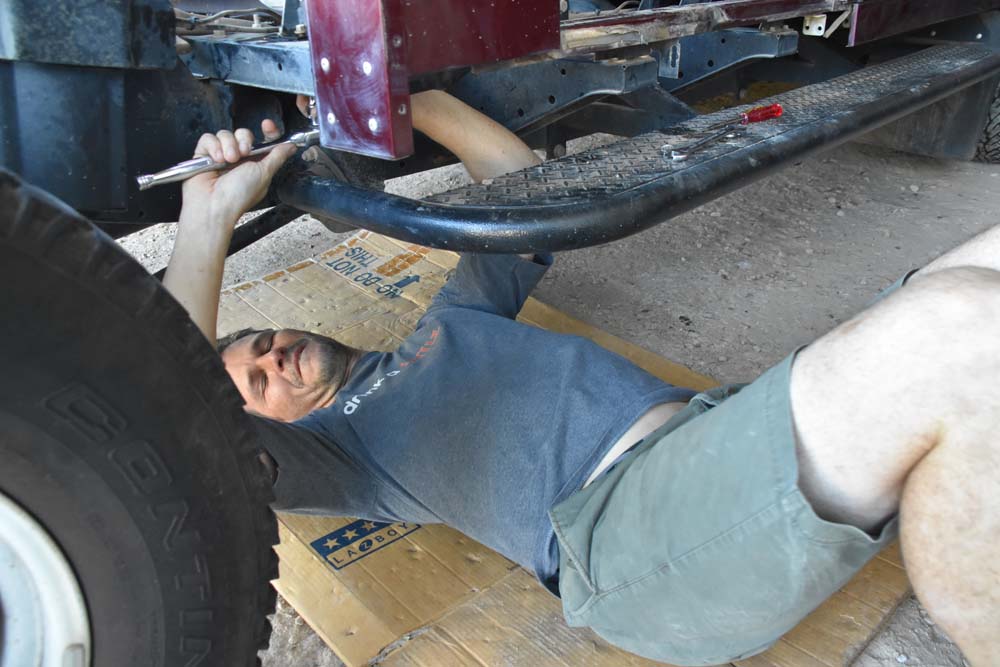
We checked underneath again to see if there were any bolts left to be undone, or if there was anything else blocking it. Steve looked underneath and found the issue. The watertank was getting caught behind a crossbar of the chassis. So, this time when Roland lifted the forks, Jon and Steve pushed the tray a bit forward so it would move free of the crossbar, and that worked. The tray was now dangling from the straps and the first major step had been taken.
We grabbed some sawhorses from the workshop and Roland gently put the tray on them. Now let’s hope we find a buyer for the tray soon!
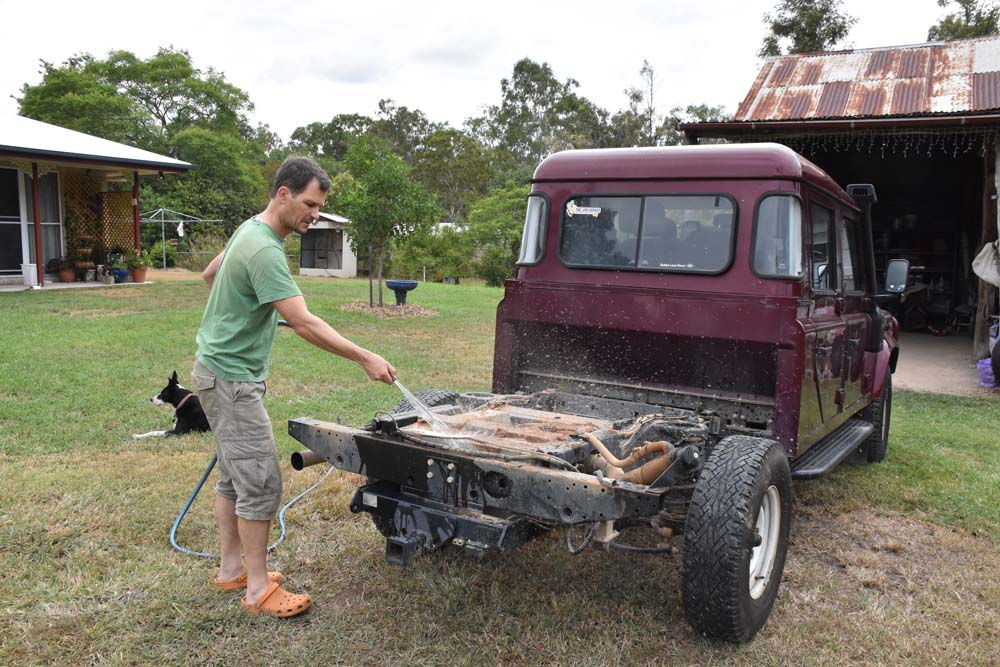
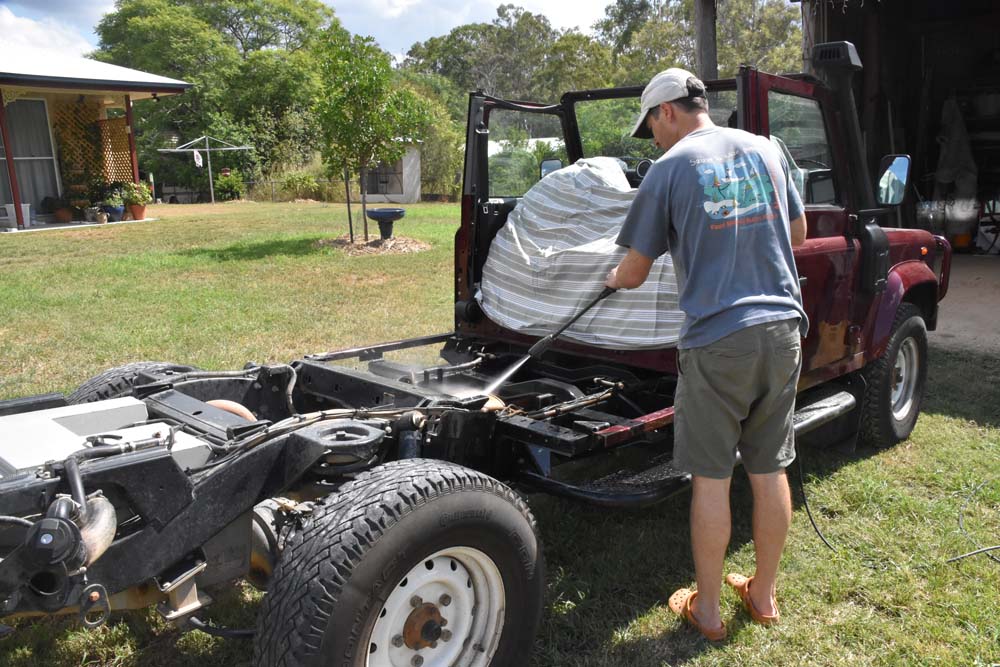
after the tray comes off we give her a good clean
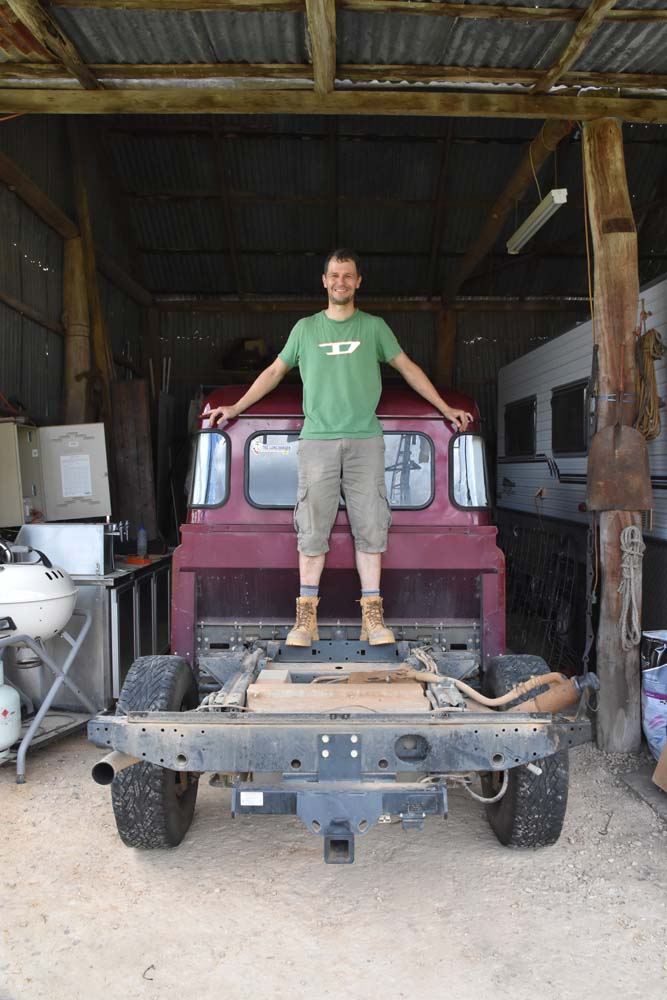
she’s just lost a whole heap of weight now the tray is off
We drove Lara out of the hayshed so we could hose the built-up dust and grime off and discovered that one of the front mounting points had completely broken off, and the other one was very badly damaged. The rear mounting bar had also worked itself lose (possibly because it was no longer held in place properly by the lack of forward mounting points) and had begun moving around. It was a very good thing the tray came off when it did as we’re not sure how much longer it would have stayed on!
A few days later, once we started designing the sub-frame and reading the converter’s manual in detail, it became apparent why the mounting points had broken off. They were not designed as attachment points, and were never meant to have things bolted to them. They were in the category of load-bearing supports, where sub-frames rest on, but are not attached to….
In the next few days Jude worked on the rear of the car as it also has to come off. She removes the first door, Jon helps with the second, and then she removes the lining of the roof, the rear seat belts, the floor and other small items that can be removed. Together we prepare for the removal of the remaining bits (rear seats and wall, as well as the roof), and also Roland comes to give us a hand.

the before shot of the double cab, soon she will be a single cab….
Jude starts on the first rear door to come out, after the tray that was the first item to come off
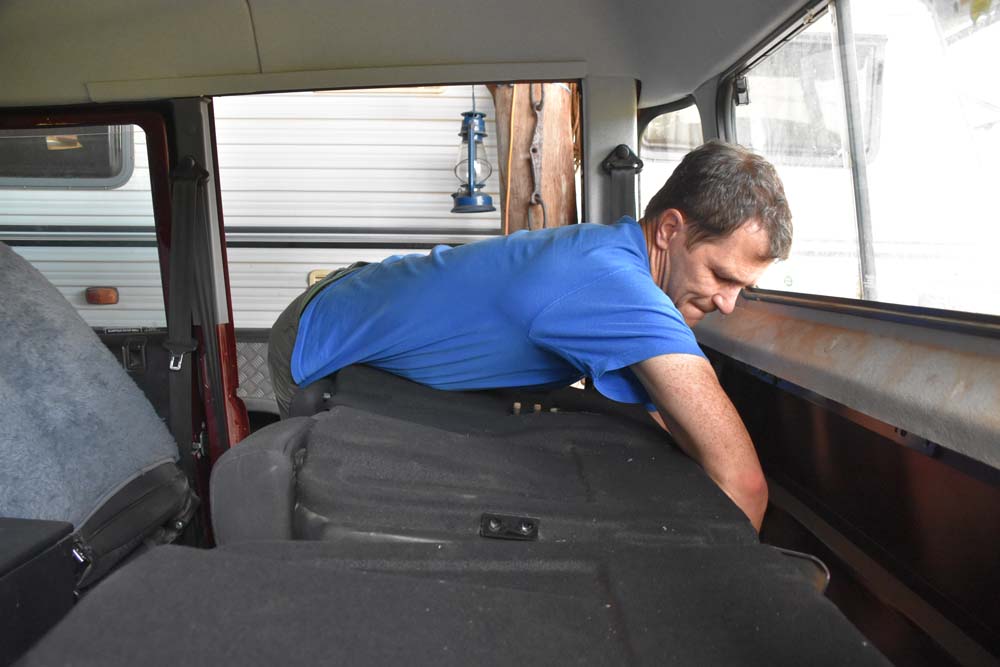
Jon helping with the rear seats
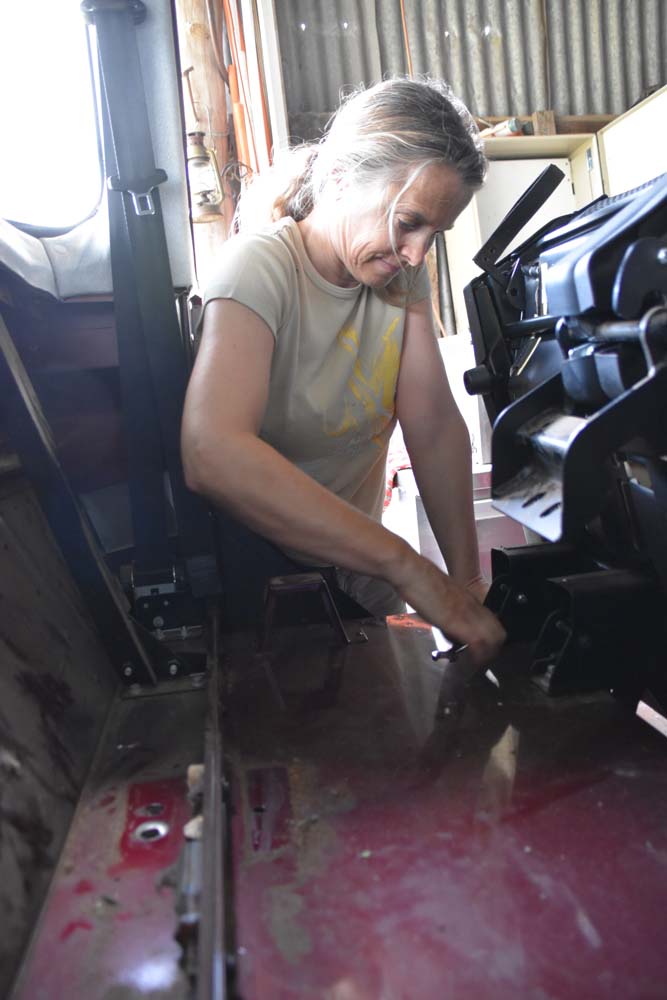
Jude working on the rear seats
yes! the seat comes out
Somehow when you start taking a car apart it becomes clear what the order should be, and what the next steps are. As long as you take it one step at the time and assess things slowly, it just flows naturally (most of the time anyway).

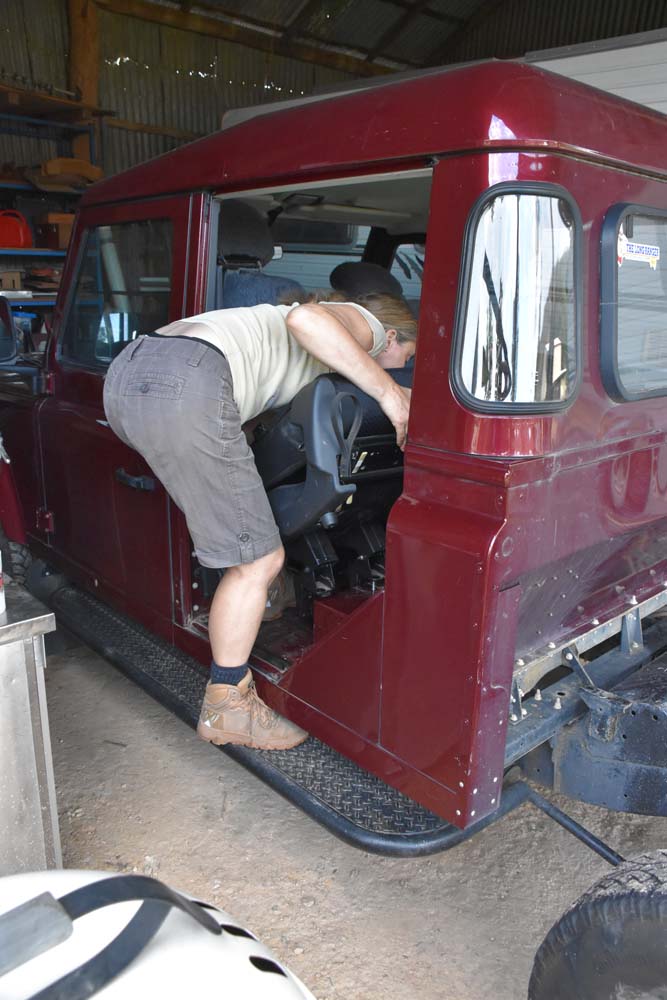
Jude undoing some bolts for the rear wall to come off
Jon undoing some bolts for the rear wall to come off
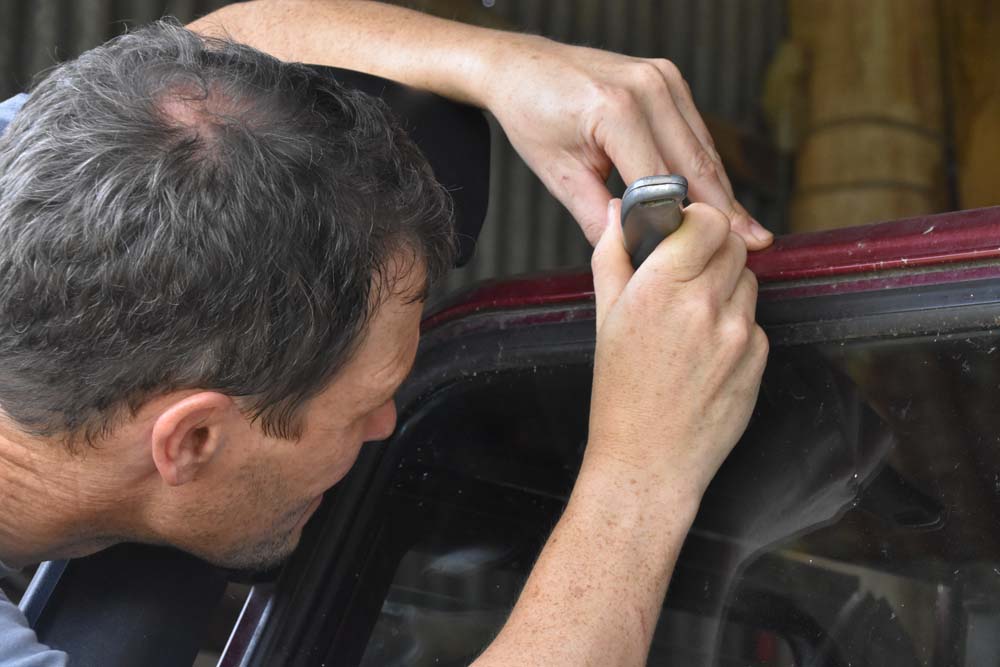
The day ends with most things loose or nearly undone by the time we stop to prepare dinner. The next morning we are excited as it’s now time to actually remove the roof. We start work and quickly realise the front of the roof is not letting go. We double-check and triple check for hidden bolts and come to the conclusion there aren’t any. It must be the seal that is holding the roof in place. We watch a few You Tube videos, but none is particularly helpful as they all seem to just lift the roof of easily after undoing all the bolts…. One video does mention sticking a screwdriver into the seal to break it, but after some gentle prodding we decide that is not the way for us, as it will most certainly damage the paintwork.

Jude trying to break the seal by jamming a piece of metal in between the roof and the window frame
Jude suggests cutting the seal and Jon grabs a few Stanley knives. It seems to work on Jon’s side, but Jude’s side is too solid. Jon slowly jams the knife into each centimeter of the seal and Jude helps by lifting the roof gently from his side. That seems to work. Eventually we have cut through enough of the seal to push the roof up and woohoo, it finally comes loose.
Jon cutting the seal of the front of the roof so we can lift it off
We turn the car back around in the shed (we had to turn her as we couldn’t see what we were doing the other way around because of the bright sunlight) and lift off the roof. The remaining two pieces of rear wall were a piece of cake. We had already worked the previous day to undo all nuts from those two sections, and after taking off the last few we had left in by hand, the rear wall came out without any dramas.

turning her around after cutting the seal of the roof, 3 bolts is all that keeps the rear wall and roof in place now
She looks a bit different now and certainly has lost a lot of weight (we hope!). The only things remaining to come off are the 2 red side-bars where the rear doors used to be and the cross-member that supported the rear wall. The red side-bars will have to be cut off though, as they are not bolted on, but form part of the front of the body too. We’ll leave them in place for now, until we have worked out a way to do the sub-frame.
another clean after the rear, including the roof, has been removed

after the rest is taken off we discover some animal must have made a nest inside the chassis beam

Jon manages to pull out quite a bit of straw
Until then, she will remain in the shed.

most things have now come off that need to come off, we can now start the process of adding weight to her (although a few heavy items still need to be taken off at some point)
Here is a video of the glory moments of Lara losing weight:
Next time we will show you our plans for the build so you have an idea what we are trying to do.
Het is, voor mij, goed om dit in het Nederlands te lezen want mijn technisch inzicht in dit soort zaken is al niet al te best en dus ook de bijbehorende tekst in het Engels vraagt ook wat teveel tijd om lekker te lezen.
“Goed bezig” is in deze situatie een goede omschrijving. Knap en succes met de voortzetting!
Een hartelijke groet uit Oost Souburg,
Th. X
Wat fijn dat het helpt!! Hoop dat de Google Translate tool er een beetje redelijk Nederlands van maakt! Ik had dit veel eerder moeten doen! Nou ja, het is er nu! Fijn dat jullie het ook fijner vinden op deze manier 🙂