Kitchen box
We wanted an outdoor kitchen, so we came up with a hatch door on the passenger side of the car. That way we could use the awning above it for shade and the awning would also keep us dry when it rains if we need to get into the kitchen.
The box was the first section we made from plywood. Simply because it was the only thing we knew what size we needed as we had already ‘created’ the opening in the drawings that were sent to the factory. So when they made the walls, the hatch was cut out too. We had the plan to make it a metre wide and about 55cm deep. The hatch opening is only 85 cm wide though so it extends a little bit beyond that towards the palace door.
After that initial creation of the space where the kitchen would be, we didn’t do much else with it. We first had to build the rest of the interior. But once we started on the drawers inside, we also created some similar ones in the kitchen area. Although we didn’t put any drawer fronts on the baskets there.

the kitchen hatch with our first trial of the drawers, note we still have the cutlery drawer with mesh in place

we replaced the 2 smaller uprights with a solid piece and are testing the shelf for the oven
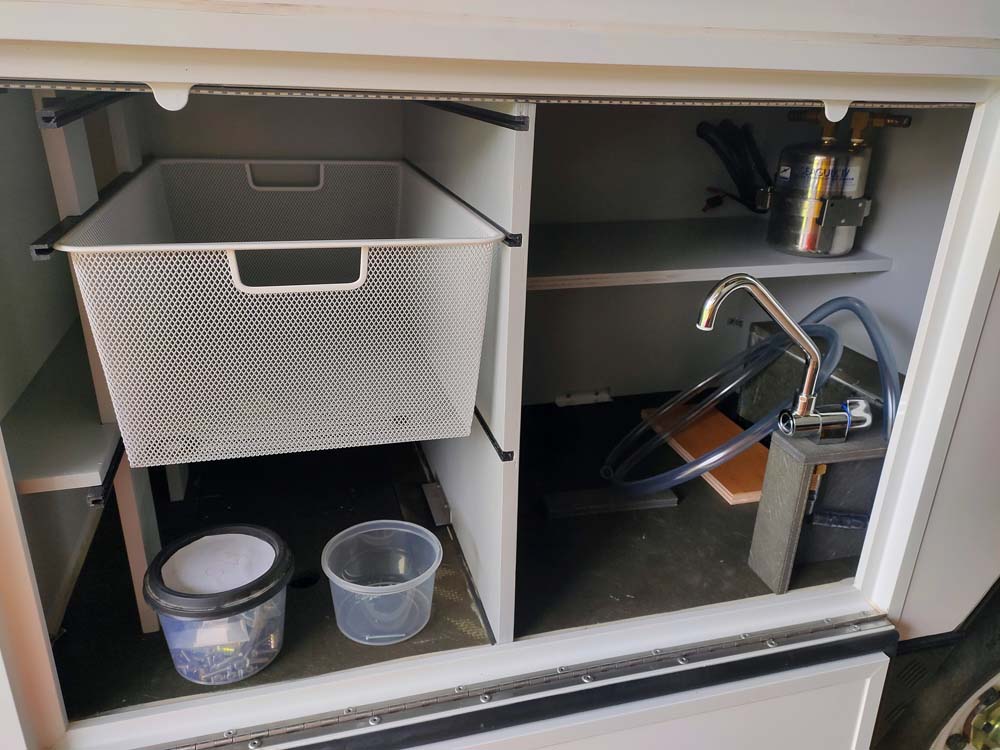
Jon has added the water system, including the filter and tap

Jude adding the vinyl to the kitchen box
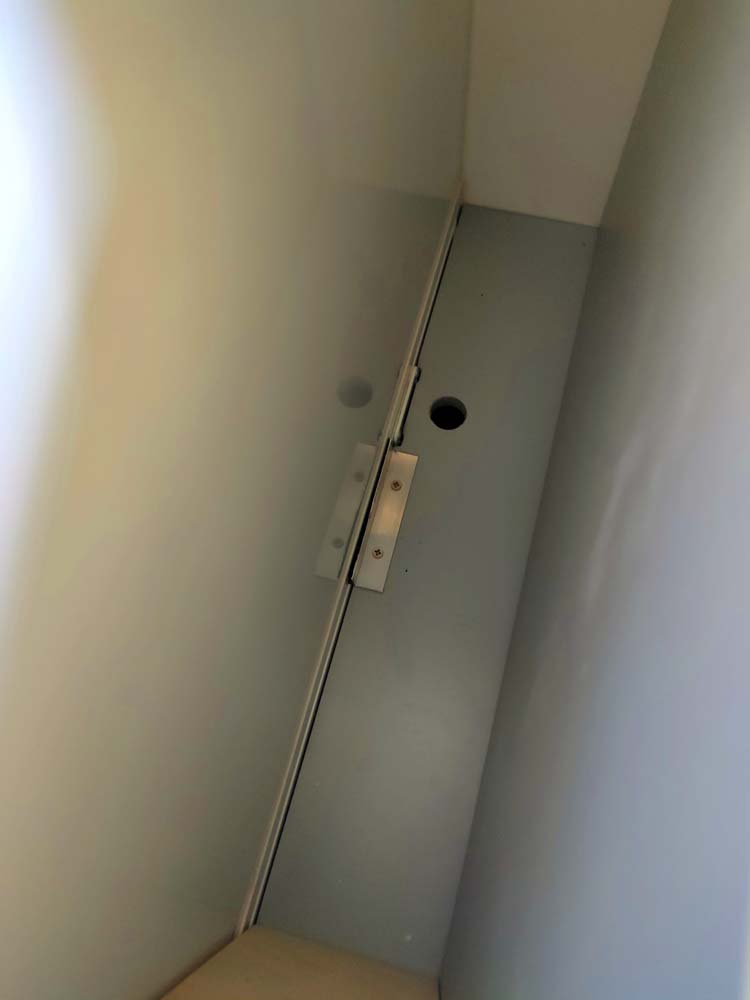
remember this one? this is looking down towards the kitchen box, it is to make sure we can move the cutlery drawer in case it is in the way of the external latch

pretty much everything in place
The drawers were built a little bit off the front palace wall. That way we could open the drawers (quite handy to be able to open them) and we created a storage space for lots of tins and tetra packs. That space will come in handy when we stock up, especially for longer trips where we won’t see a shop for weeks.
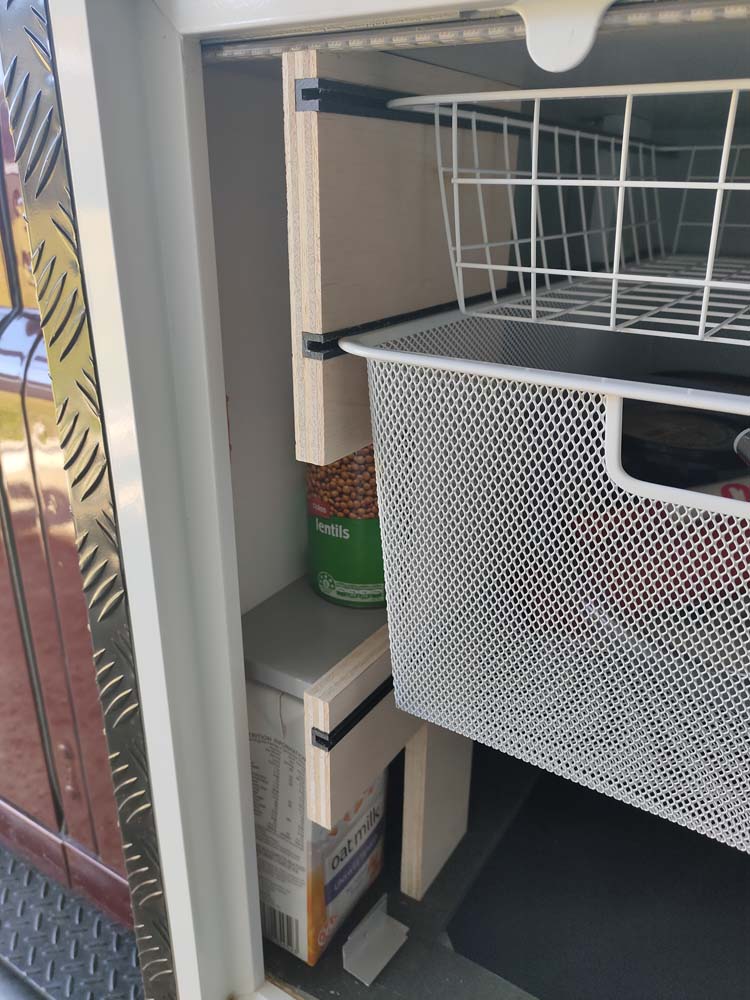
to the front wall is the space where we can add lots of tins and tetra packs, note the smaller cutlery drawer is already in place with the wire
The kitchen also hides our secret compartment, but we’d have to kill you if we showed you where that was as it is a secret of course!

Jude working on the secret compartment – shhhhhh
For Jude’s 50th birthday she received a 12V oven, so that now has pride of place just next to the drawers. We mounted it as high as possible, leaving a space to add the filter for our drinking water (not needed in Australia, but we will fit it before we take her overseas as it will allow us to fill up water from more dubious places if needed). We will have to test it’s ability soon. We’re hoping it will make banana bread, normal bread rolls, muesli bars and of course homemade pizzas! For the water filter we still need to buy a housing that doesn’t leak as unfortunately this one no longer stays dry. It doesn’t leak much but enough to create an issue we think. It’s on the list of future jobs….
We have added a few bits already to the kitchen. Jude has made some fabric baskets to put the cutlery in so it doesn’t fall through the holes (the cutlery is in the only basket that has no mesh but only wire which leaves rather large gaps), and Marjolein and Mel introduced us to the mixed nuts jars from Costco. They are brilliant. A nice large size with a good screw lid on. We will use them for storing our pasta, lentils and other such things. Probably our muesli too as it is handy to have the same size tub everywhere.
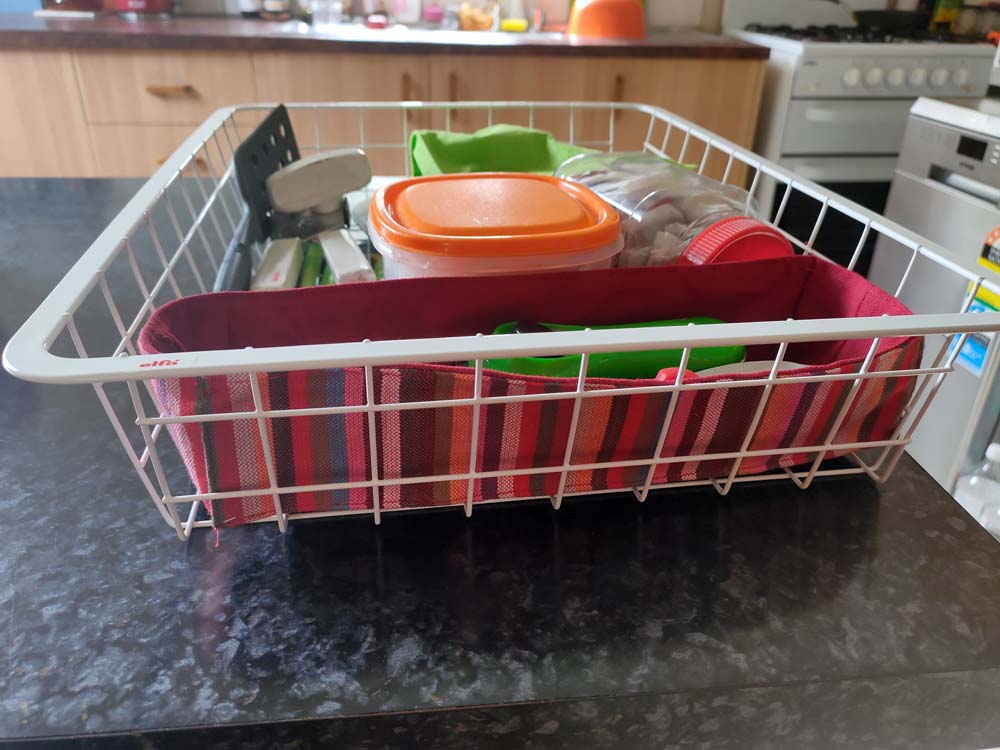
Jude made a little fabric basket to put the cutlery in to ensure it doesn’t fall through the wire holes
We’re sure we will be changing lots in the layout of the kitchen as we will make improvements as we start using it. But for now we have a space where we can put some pots and pans, and everything else you might need in a kitchen.
We’ve even got 2 dedicated tubs for our tea bags (peppermint and English Breakfast of course) and a pop of colour to brighten up any day.

we add a pop of colour
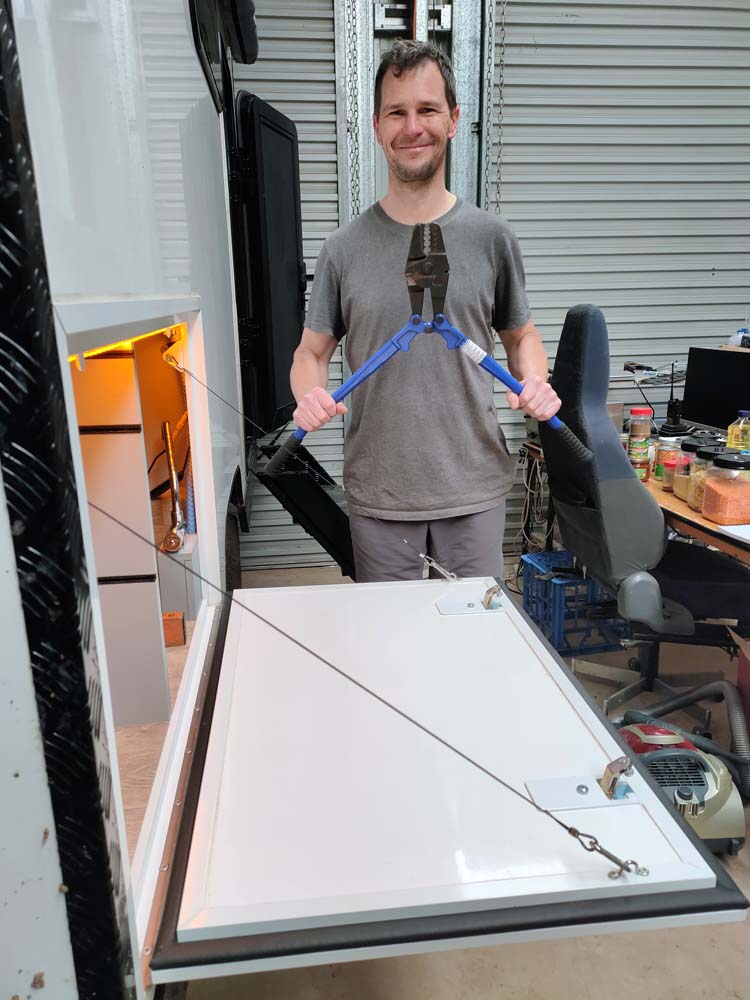
To allow the hatch door to be used as a table we added some wires. They are attached with carabiners so we can always unclip them in case we need to open the hatch door completely. It’s a great set up which allows us to only carry a little snack table for our gin and tonics. We can do all the food prep and work on the kitchen hatch as our table. And, as with everything else, we’ll see if it stands the test of time!

Jude creating the cable that holds the hatch up horizontally in Mark’s workshop
Jon added the pop rivets to secure the eye plates that hold one side of the cable

our kitchen hatch can now stay open horizontally

this is the white nitrile we added to the hatch so we can put food directly on the hatch table