Endless dust….
When we started working with the ply we always knew we had to slap something on it. The falcatta plywood is lightweight (great for building a campervan), but also relatively soft (not so great for building a campervan). But what to use? This was a piece of the puzzle we pondered for a long, long time.
It had to help protect the wood against any moisture, preferably it should also make it a little tougher or harder so we wouldn’t dent it too easily, and of course it had to look good.
Very early on, before we had even bought the falcatta ply, we were already popping into paint shops and Bunnings (the local hardware shop). Picking up colour cards, talking to people, and taking photos of options. Once we had bought some plywood we even took some in and one of the very helpful ladies behind the paint desk applied some different stains to it to see what that would look like.

very helpful lady in Bunnings showing us the different stain options on a piece of ply
We then had more urgent things to do, so the paint issue laid dormant for a while. Until we got to the point where we realised that once we ask Jared from COG to put the finishing touches (the programming and checking) on the electrics, we would need to have the basic set of cabinets and panels in place permanently. Otherwise he would get it up and running and we would then have to take it all out again to paint it….. we definitely wanted to avoid that scenario!
So, once we felt the electrics were under control (not finished though), we dismantled everything and set out to get this painting business under way. But there was still the big question of what to use! By this time we had settled on a colour we had picked from the colour swatches in Bunnings, but that’s as far as we got.
Roland had already pointed us in the direction of Everdure, a product often used in the marine environment. We picked up about 8 liters of it, two tins of 4 liters each. There’s part A and part B, you mix them together before you brush it on.
Lara is empty, all cabinets have been removed for painting
the front of an empty Lara, you can now clearly see the sunken floor

coating every panel with 2 layers of Everdure to ensure she is protected against damp entering the layers of plywood
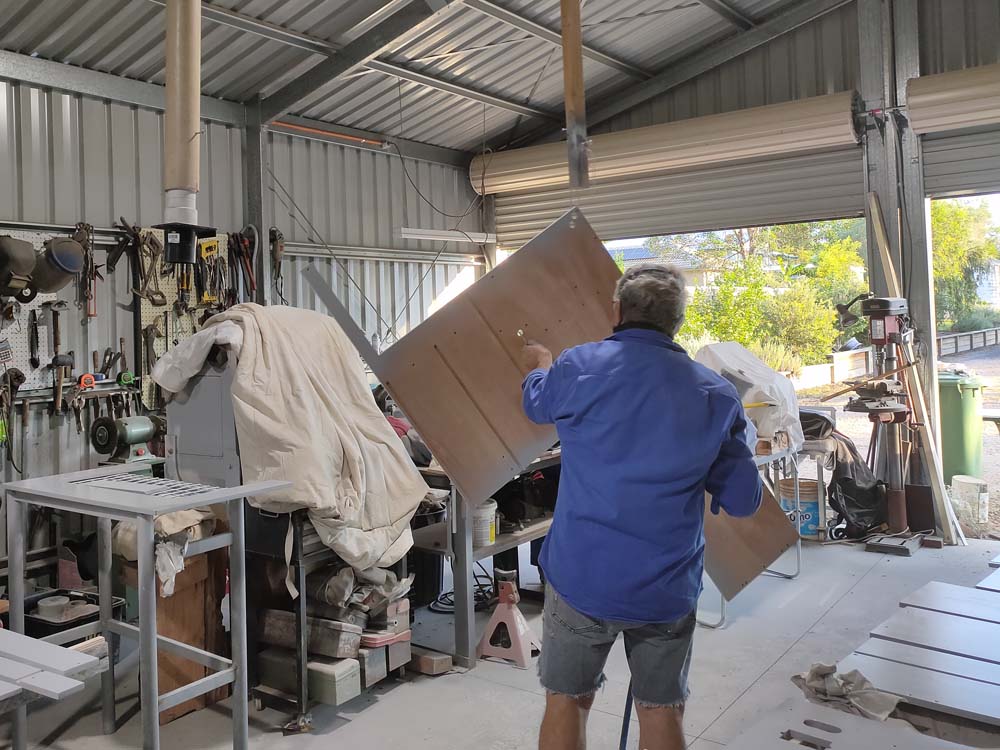
And so we first set to work painting every panel we had already made with this potently smelling 2-pac paint. We were very happy we had our excellent masks as this stuff is toxic to breath in! It needed two coats, the second one put on when the first was still tacky to touch. After these two coats had dried, we had to sand every panel back and use putty to fill in the sections where you see the layers of ply for certain visible ones (and sand that back again as well) before we could start with the next step, if only we knew what we were actually going to use….

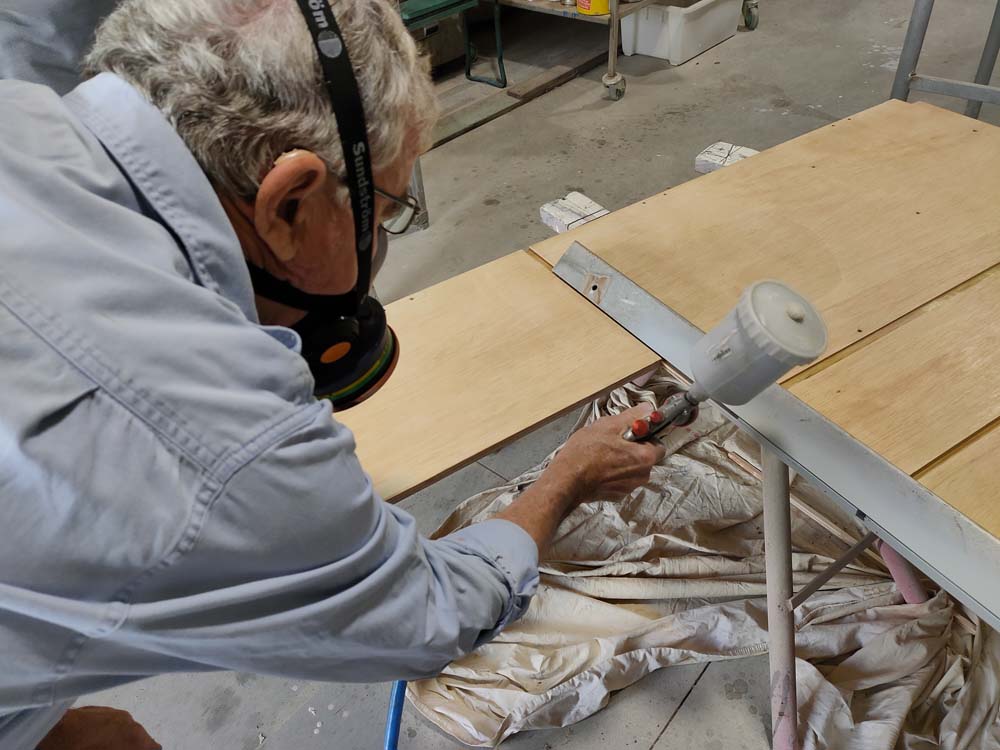
Jon sanding a panel after the two coats of Everdure
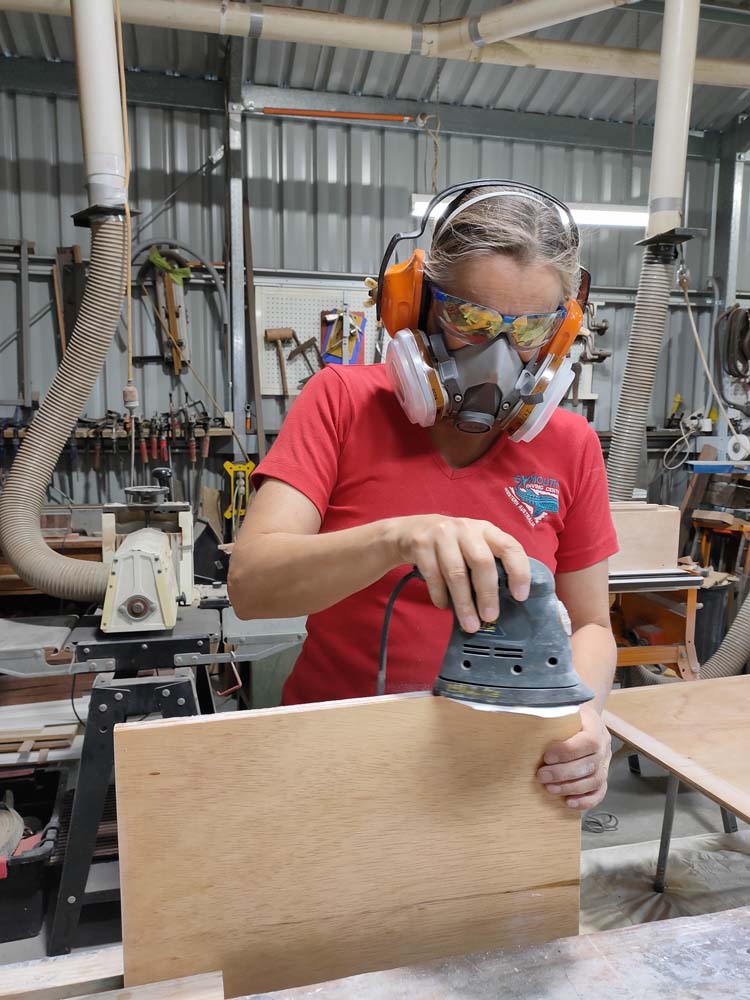
Jude sanding a panel, every panel had to be sanded after the Everdure, but also after applying wood putty to areas – there was a lot of sanding….
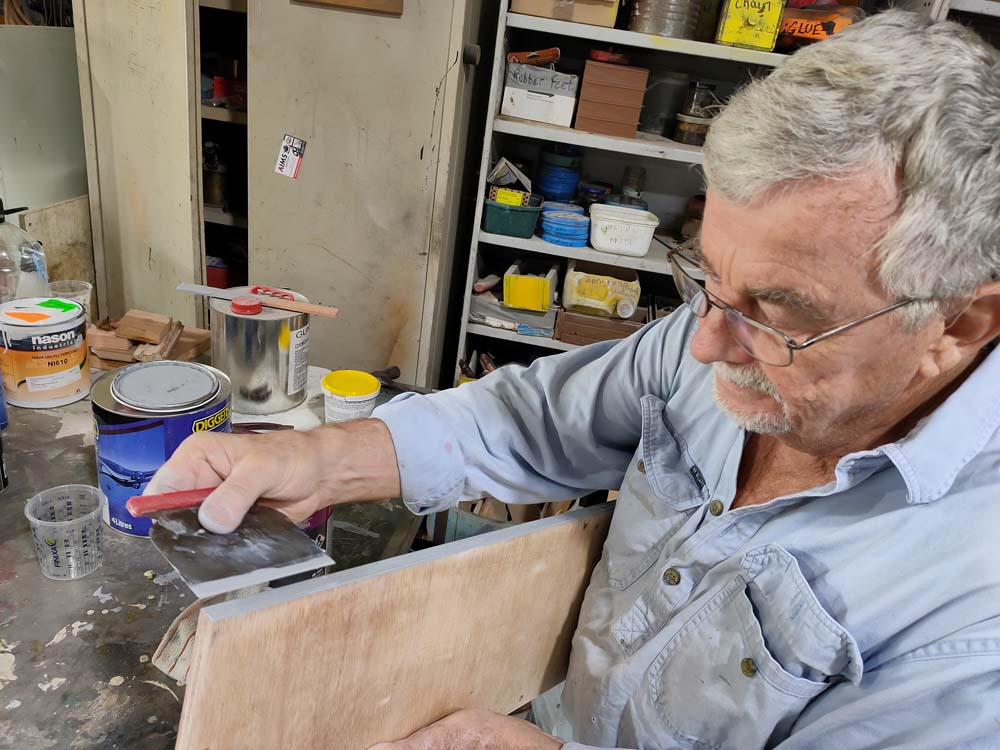
Roland helping with adding the wood putty to the side of the plywood
Queue Roland to the rescue (as is often the case). He knows a lot about painting as well, and also has a son over in Perth who does it for a living on the super expensive mega yachts. Roland suggested we use automotive paint to spray on and found a great shop where they could help us. The only downside of the automotive paint was the lack of choice in colour. But, we decided to go ahead and try one of the Australian standard colours as the prospect of having it harden to protect it from dents sounded pretty good. And once we realised that it was possible to create a satin finish we were happy.

Jon checking and cleaning the panels prior to painting
Roland sprayed the first panel for us with this ‘Australian Standard Grey’ and we let it dry overnight to check the real colour the next day. It was pretty much the same as when it was first sprayed on, and too light for our liking. We had said our minds on the Dulux grey called ‘Endless Dusk’ (which we are already calling Endless Dust….), and were keen to get at least a little closer to that colour.
Roland painting the very first panel with Australian standard grey – we thought it was too light
We popped into a Dulux shop to see if they could give us some more details about the colour and how we could mix that using the standard grey as a base. Turns out Dulux also has automotive paint, as well as a whole range of other paints with similar characteristics, and we could pretty much mix any colour we wanted. That sounded perfect.
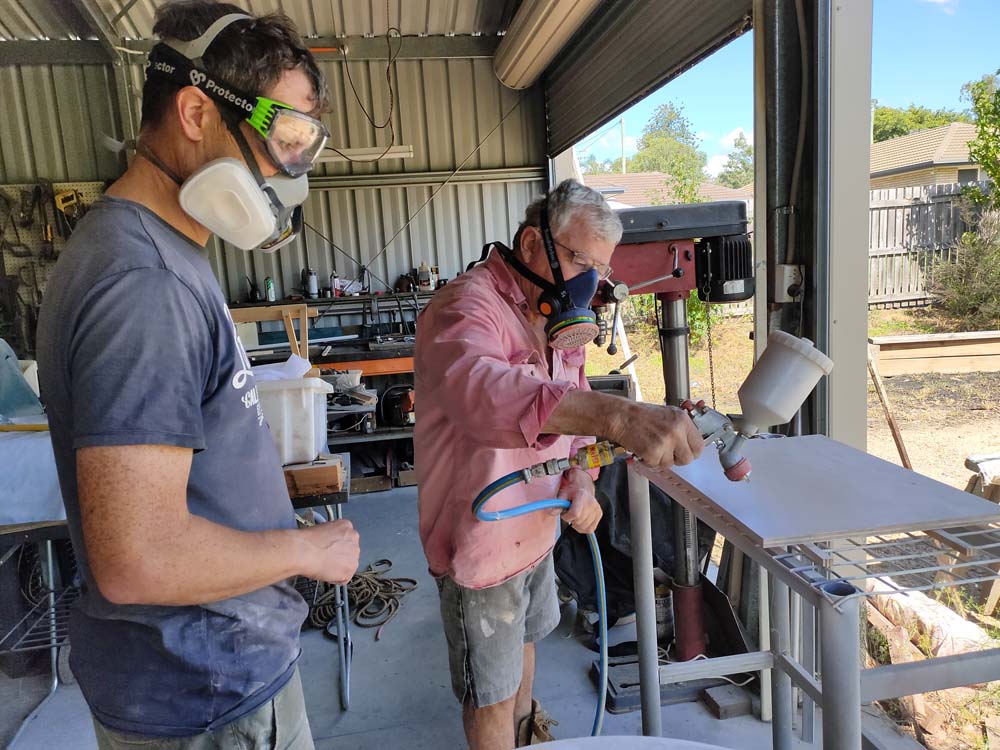
We had some Luxathane SPX mixed up in Endless Dusk and took it home. Under Roland’s guidance we turned the workshop into a painting studio, laying out all the panels on racks so we could have a little production line. He showed us how to spray paint, watched and gave tips on how to improve, and handed us the gun. We both enjoyed spraying a bunch of the panels. And they came out pretty good (we were proud of our efforts), but when it came to the bigger and more visible panels we handed the gun back to Roland as he is much better than us.
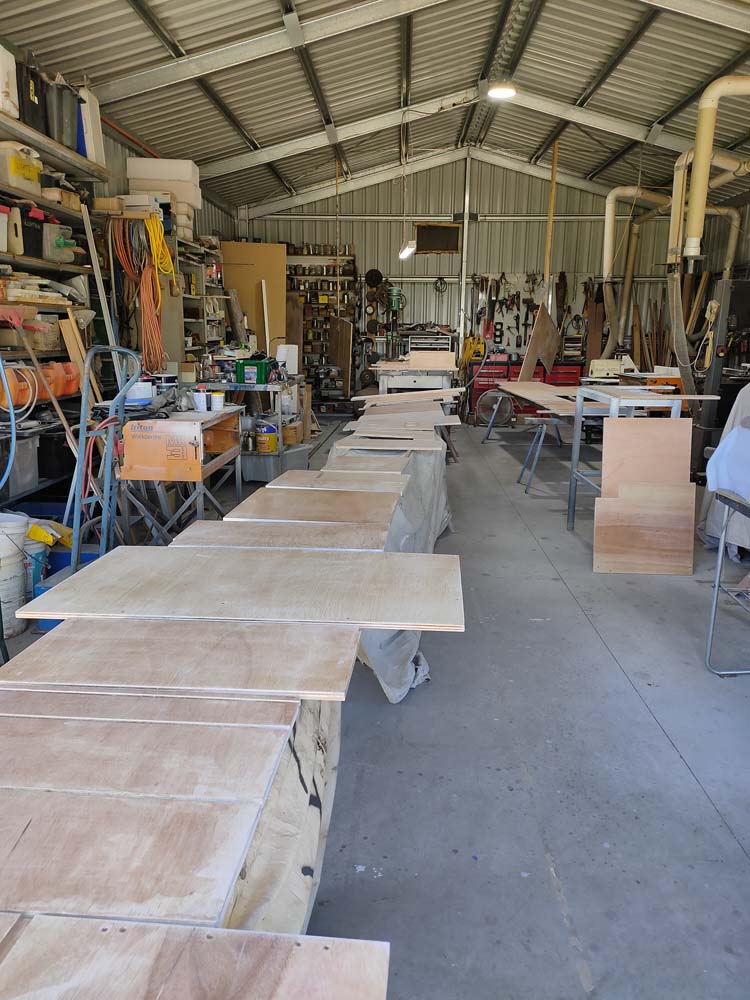
that’s quite a lot of panels when you lay them all out side-by-side (about 30 medium to large panels and at least the same number of small panels), we will have to make more panels but this is what we had made so far that was ready for painting
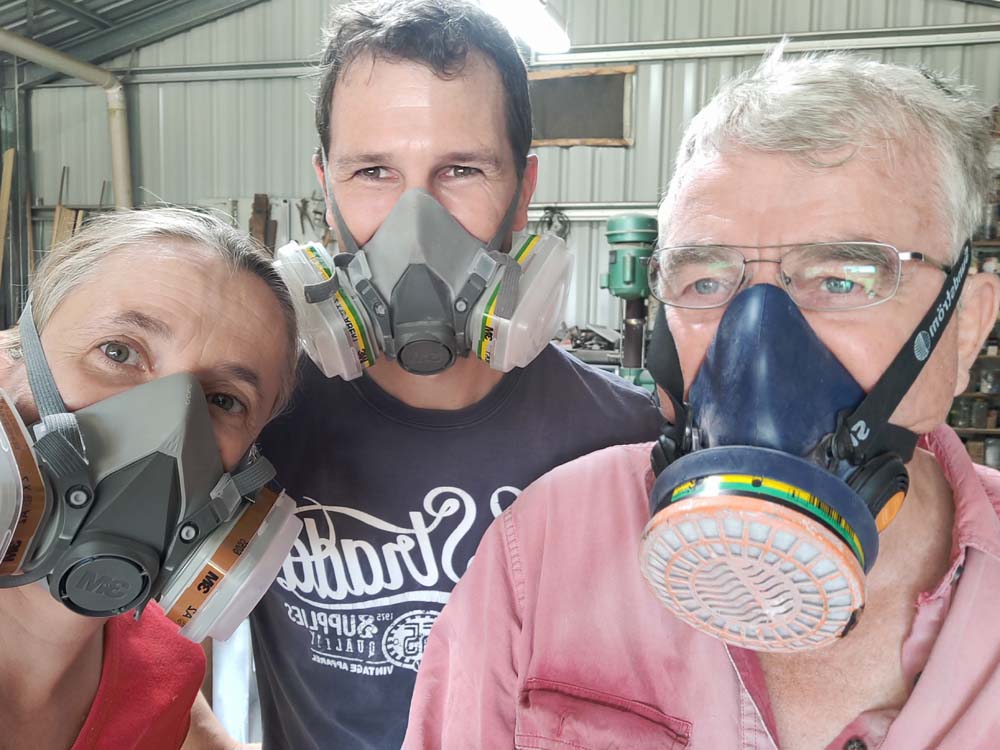
the three musketeers ready for the toxic fumes from the paint
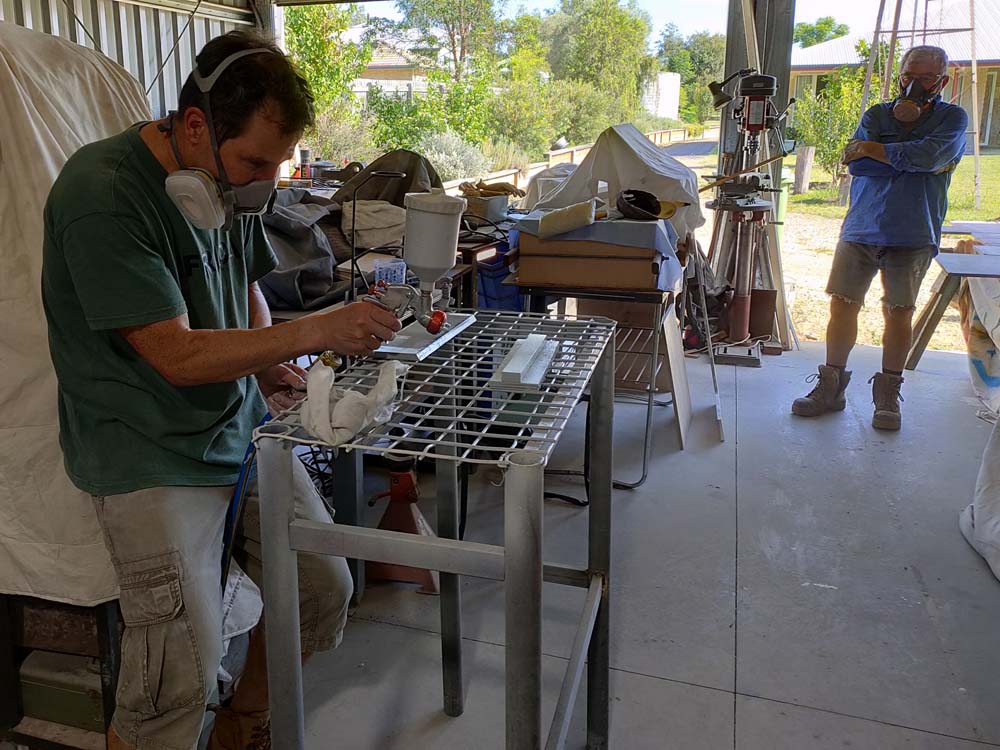
Roland testing the spray painting on the edges of the plywood

Roland spray painting some of the first panels
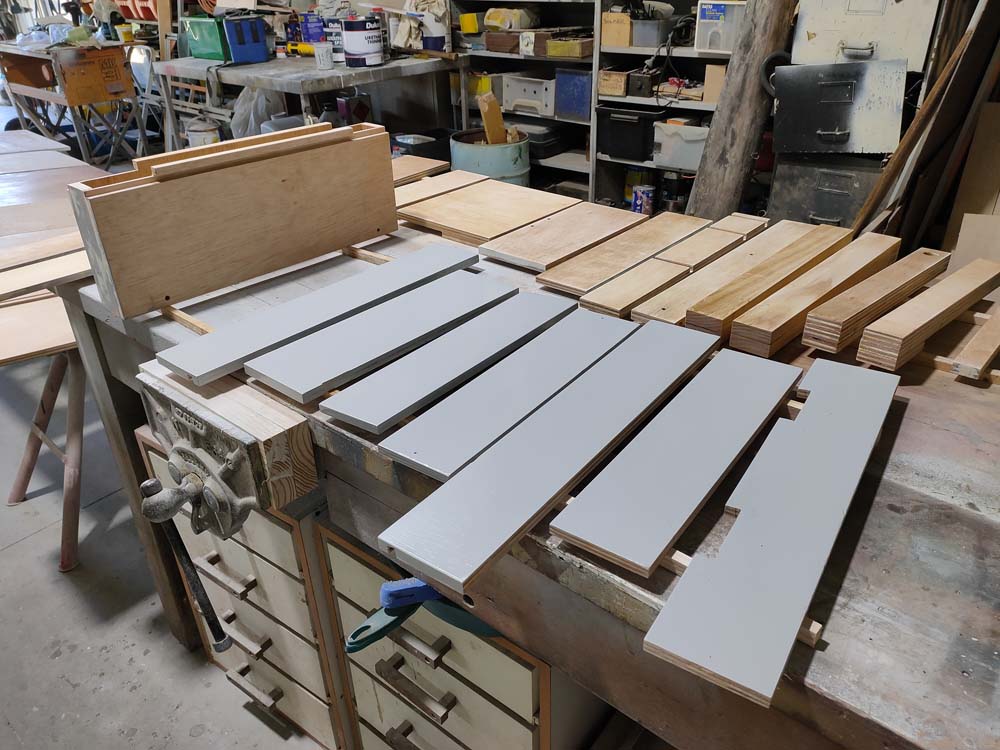
the results of the first few panels painted with our endless dust, or was it endless dusk….
Jon spray painting

Jude doing some spray painting
Roland spray painting one of the larger panels

Jon cleaning the panels after the first layer of spray paint
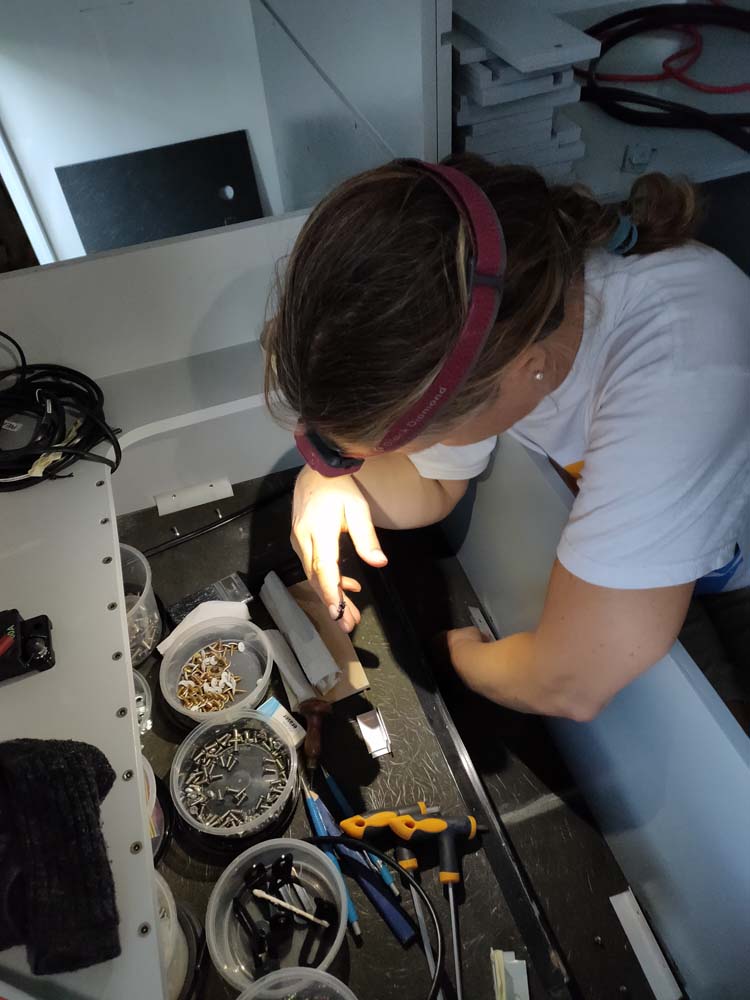
A few days later we had a whole pile of pretty-looking panels, ready to be assembled again. Jude spent another two days gluing all the nut inserts back in, all 391 of them (that’s just the M4 sized ones). Just out of interest for those of you who wonder, that’s nearly another half a kilo added to Lara’s weight as each M4 nut insert weighs exactly 1 gram (there are also some M5 and even a handful of M6 going in as well). It all adds up when you are trying to keep a car under 3,500kg!

Jude adding back one of the 391 M4 nut inserts to the panels, this time they were glued in to make sure they would stay where they are
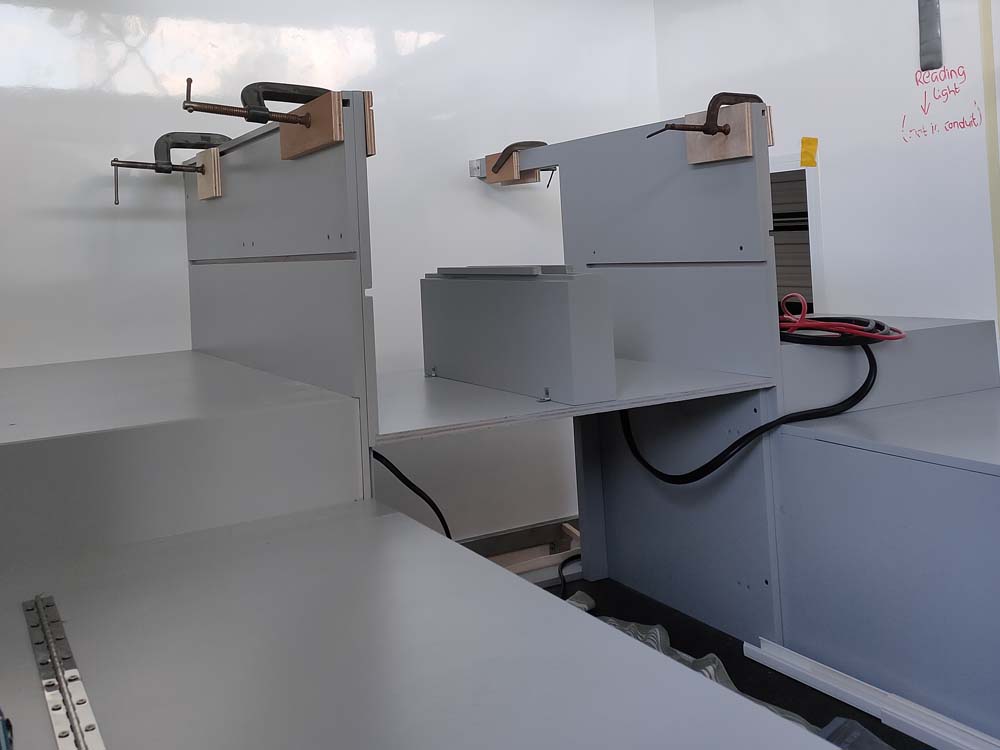
gluing the brackets in place for permanent fitting of the panels to the floor and walls

we needed to sand the grooves to be able to fit the shelves back in after painting

putting all the panels back together to create our cabinets again was a big job – this is the rear wall of cupboards
This is the current look. Hope you like it as much as we do. We’ll still have to paint more panels once we create the remaining ones, but for now we are finished with the painting. And thanks to Roland it looks great!
looking towards the front
Nice to see you still getting good use out of your Ay Up’s :)
ha, yes 🙂 endless fun with the ay-ups! can’t wait to use them again on the mtb though! 🙂
Never thought I’d be so interested in the transformation of plywood panels. Amazing job. So happy you’re sharing this level of detail with nerds like me on your friends list 😀.
thanks Richard! Nerds are the best 🙂 (we are both happy to be in that group too hahahaha) glad you enjoyed the detail, much more to come!!! Hope all well in Puerto Rico?! Big hug, Jx
Goed bezig folks!! Een bewerkelijke klus, maar ik kan me de lol voorstellen die het oplevert als je het geheel ziet groeien!
Knap hoor! Succes met de voortzetting/voltooiing.
Ferme groet uit voorjaarsachtig Oost Souburg.🌞🇳🇱💐😍
dank jullie wel! ja het was veel werk, maar ik denk dat zonder het spray painting het nog veel langer zou hebben geduurd! Als je eenmaal bezig bent gaat dat super snel! Ik hoor van mams dat het prachtig weer is, genieten maar! Hopelijk zijn de teentjes en de beentjes weer allemaal ok? Dikke knuffel, Jx
Waauww, wat een werk en wat een professionele aanpak, harstikke goed.
Zo te zien gaat er nu toch schot in komen alhoewel het afwerken en alle apparatuur inbouwen denk ik ook nog heel veel werk zal zijn.
Succes en groetjes uit Alblasserdam en we kijken uit naar de volgende story.
dank jullie wel!! ja we kunnen nu zien wat we doen dus dat maakt voor snelle vooruitgang, althans so ziet het er dan uit! En ja, er zit nog veel werk in maar we blijven er gestaag aan door werken! Nog een paar daagjes en dan met pensioen??!! Eerste weekend de boot weer terug in het water of is dat nog te vroeg? dikke knuffel!
Great job! Looking very sleek!
thank you 🙂 glad you found the newsletter in your spam folder!!
Wow – you two sound pretty fussy HAHA but it is looking very slick! yet another big step done well 🙂 and another skill learnt!
🙂 thanks! yes, another skill to add to the life list! how is l’andiamo going?! all ready for adventures?