Doors
After Jon had done such a great job on the drawers, it was time to fit the doors to the cupboards at the rear and on the toilet.
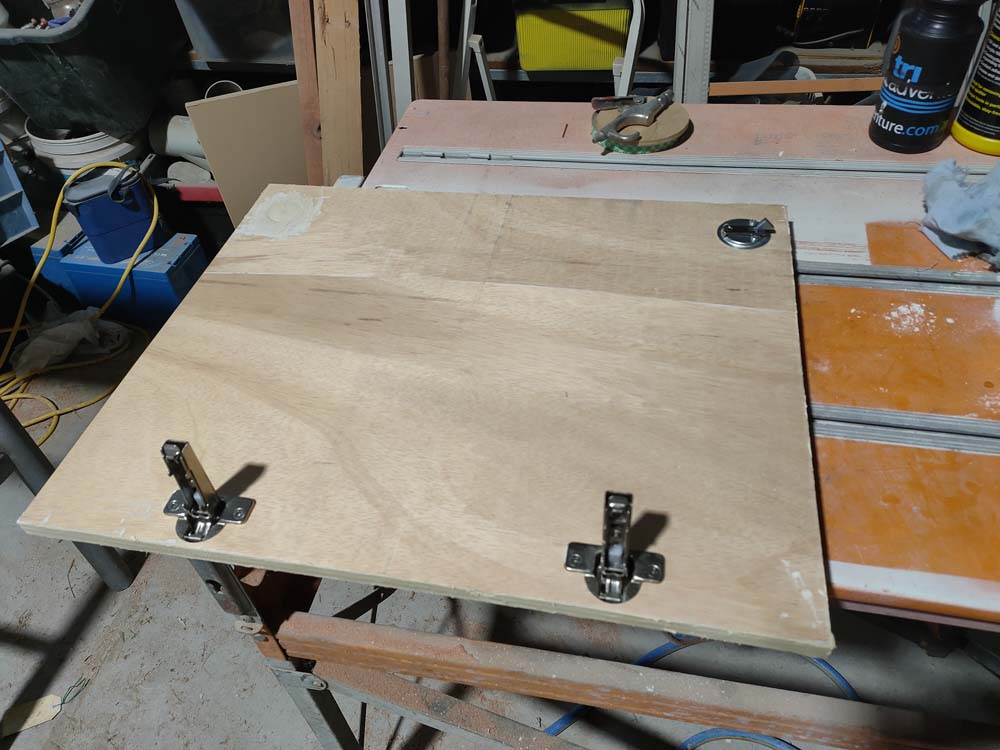
The toilet door was the first to be made. It’s a stand-alone door so we thought it would be the simplest one to make. The type of hinges we bought are normally used on kitchen cupboards (in houses) so we had the maximum possible adjustment options after hanging them. They come in three different versions, full overlay, half overlay and inset (and when we started we had no idea what that meant and which ones we needed!).

starting hanging the toilet door

working late adding the catch for the toilet door
We bought full overlay hinges for the toilet door, inset hinges for the left rear cupboard door, and half-overlay for the remaining cupboard doors. We spent a bit of time in Bunnings trying to work out which ones we needed, and in the end only had to change one set for the right rear cupboard door.
With these hinges you can choose either soft-close or normal. We used the soft-close, but realised later we probably should have just bough the standard ones as our soft-close don’t automatically lock on the catch when we close them as the closing movement is too gentle to pull the latch over the catch. Never mind….
Way back when we bought the hinges we had also, wisely, invested in a little plastic jig. It helped us a lot to find the correct locations for the holes that needed to be drilled. We are still using our nut inserts for every screw that goes into the ply, so we added several more for the doors as every hinge, latch and catch needs a couple.
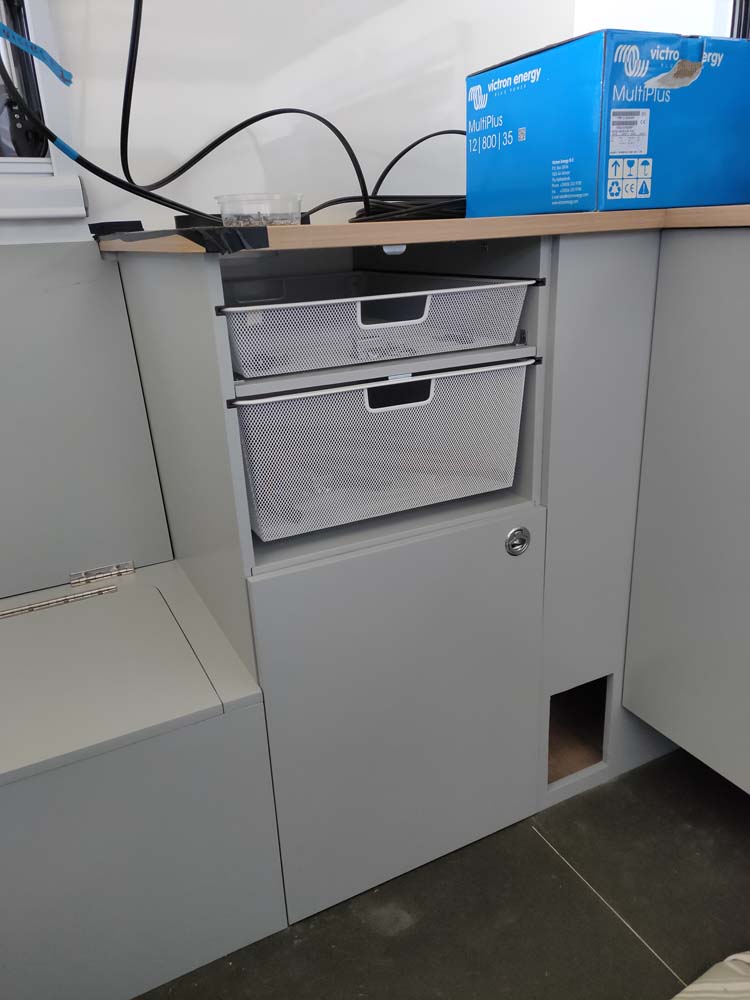
There was a slight panic attack after all the hard work on the toilet door when we drilled the hole for the latch in the wrong spot (at the bottom instead of at the top!), but luckily we found a relatively straight-forward way to fix it and we just drilled another hole in the right spot! Our first door was hung (after a couple of days delay as we were fixing the hole) and we were mighty pleased with the result.
oops, we cut the hole in the wrong place
We fixed the big hole by inserting two pieces of ply that were cut out with the same spade bit that creates the holes for the latches. As we were using a spade to cut out the holes for the latches, we didn’t have a complete plug we could put back in, but luckily the spade leaves just enough ply that two pieces from two previous holes glued together filled up the biggest part of the hole. After letting that dry, we added wood filler in a few layers and sanded that back. Once we add the everdure, sand it again and spray our paint on, it will be impossible to see the wrong hole.
toilet door in place – looking great
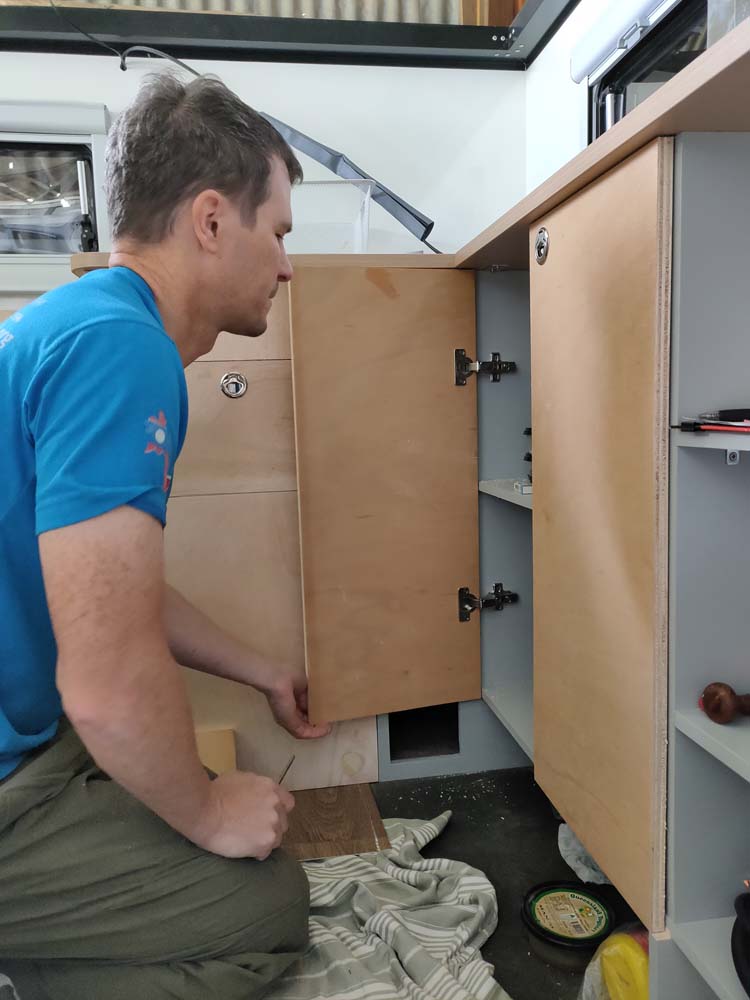
Hanging doors is real precision work as everything needs to fit millimeter precise, so Jon spent another 3 days cutting the four rear cupboard doors from our last bits of 15mm ply. He drilled the holes for the hinges, latches and catches and finally hung them and adjusted them so they all open and close perfectly. Once they were hung, all that was left to do was making a few final minor adjustments with the router so they are all the same height.
We now think (hope) we have completed all our plywood work! That’s a major milestone ticked and we are very happy with the result!

selecting which bit of wood to use for which door

the first door from the rear cupboards is in

checking alignment
and the second door is in
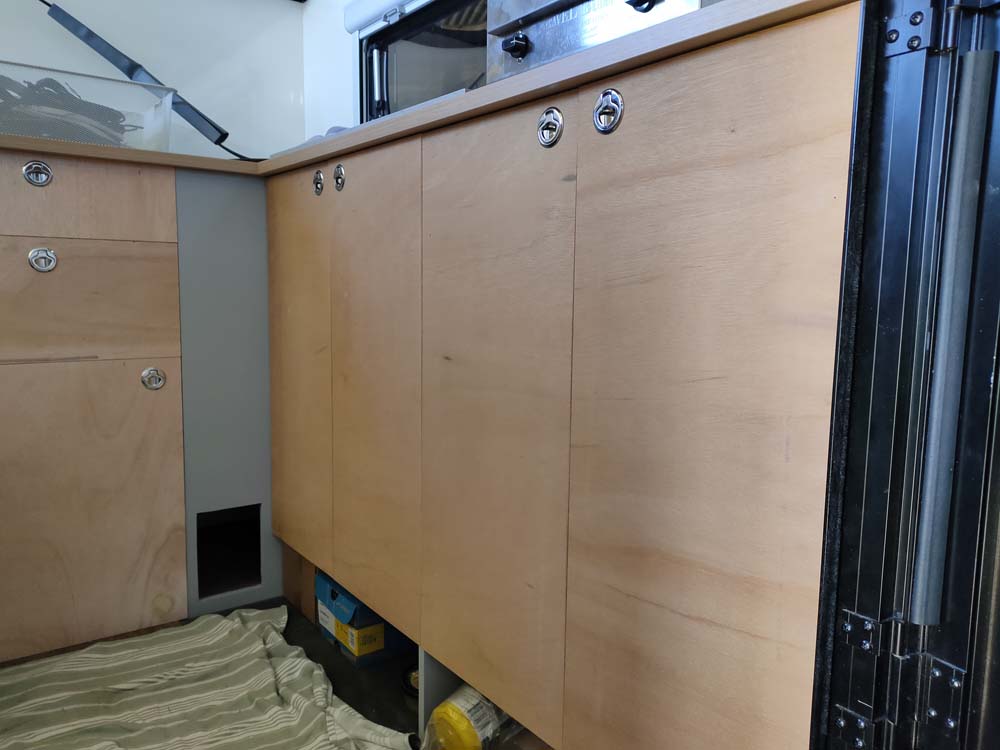
we now have all doors fitted to the rear cupboards
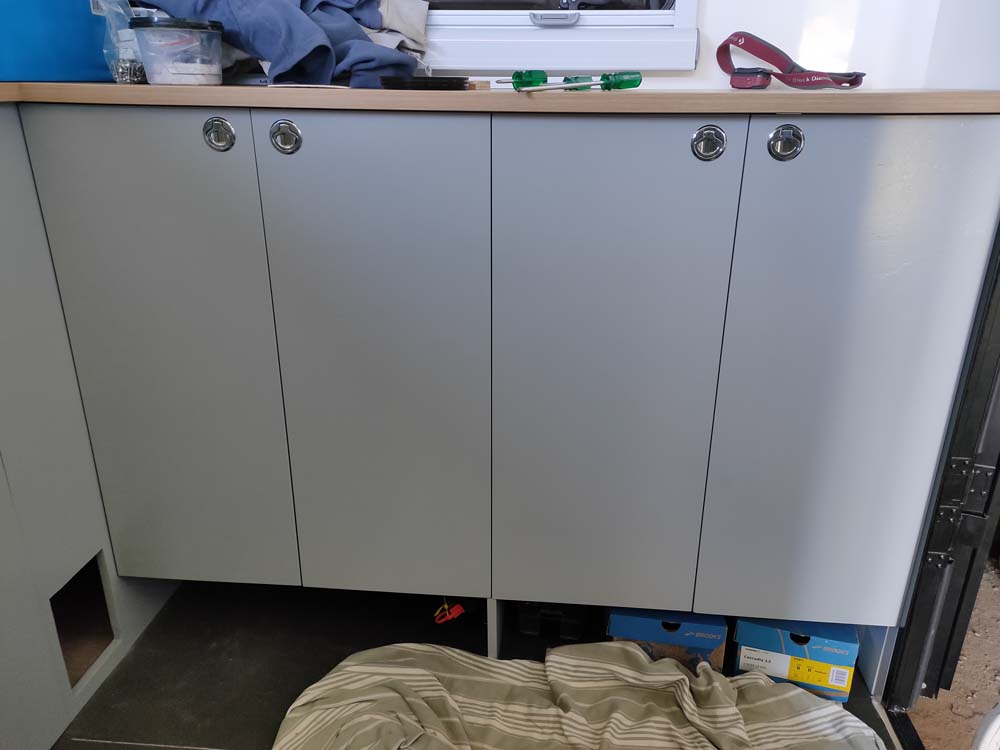
and this is what they look like after they were painted