cabinets for our dream 4wd campervan
We now had a shell, a big white box on the back of a Land Rover Defender 130. And after all the effort we had put into designing the box, it was finally time to start work on the inside.
We had no idea where to start. We knew what we wanted, on paper (and also probably had a good idea how it should look in our heads), but how do you transform ideas from paper to an actual 3D environment….

one of our drawings (version 53) of some of the cabinets, we needed to get from this to the 3D version of it
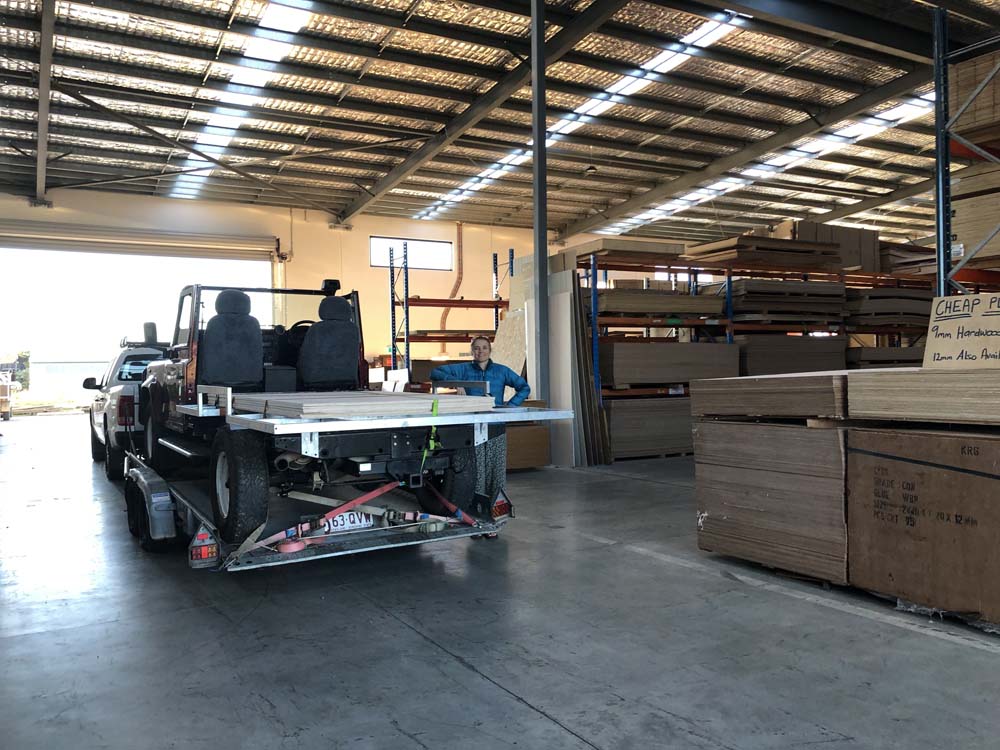
picking up our first load of plywood (note – we just collected Lara from Paul and you can see her new shiny sub-frame)
We decided we would start with the kitchen box and seat on the passenger side. We tried to draw things in more detail, but eventually we took one of the big sheets of plywood we had bought and started to cut it into shape we thought we needed with the circular saw. It looked good.

Jon inside with the first panel
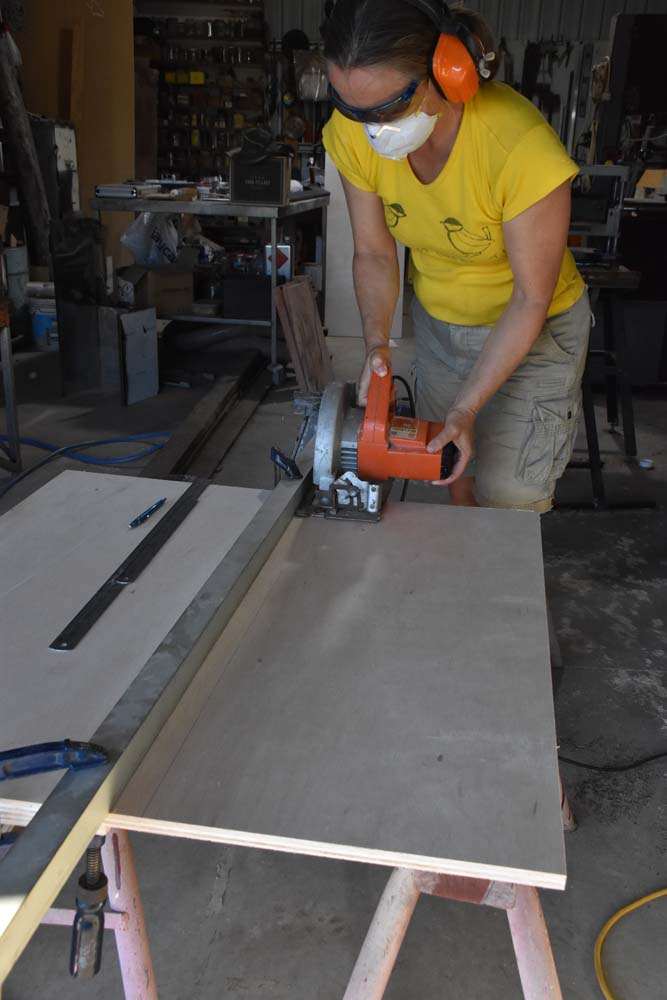
Jude cutting another panel

Jude outside, you’re looking at our kitchen box
Slowly the interior started to take shape. We added pieces here and there, taking our time to try to figure out the consequences of our decisions. We had to work out where we wanted drawers, we had to try to work out how we were going to build our drawers, and once we started putting things into place, we had to deal with the practicalities of the pieces of plywood inside. We also wanted to maximise every cm of our interior, so many discussions were had about where and how we would make things.
Thanks to Mark we had ordered several 100’s of nut inserts. They are super clever things. You drill a hole into your plywood where you want to attach something. And then you put the nut insert into that hole. This then creates a spot where you can put a screw in (the nut insert has thread on the inside), and you can remove it as often as you like because the nut insert is made of metal so the wood around the screw doesn’t deteriorate when you take it out and put it back in several times. It means a lot of extra work when you start, but without them we couldn’t have built the interior the way we are doing it as we are taking the pieces out several times and re-fitting them all together again. The plywood is so soft it wouldn’t have held the screws in place after 2 or 3 times taking them out….
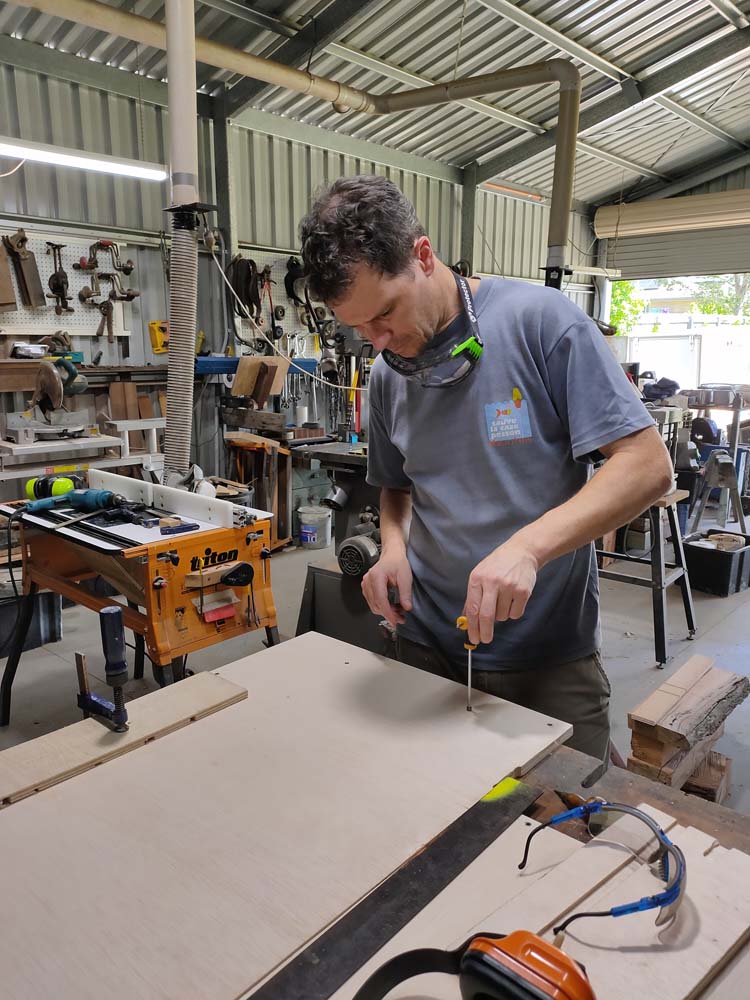
Jon adding one of many, many nut inserts into a panel
Roland taught us how to use the router, and we made several grooves to fit shelves and other horizontal pieces into the uprights. It worked a treat. We bought a special router bit to fit the size of our plywood and enjoyed putting the pieces of the puzzle together.
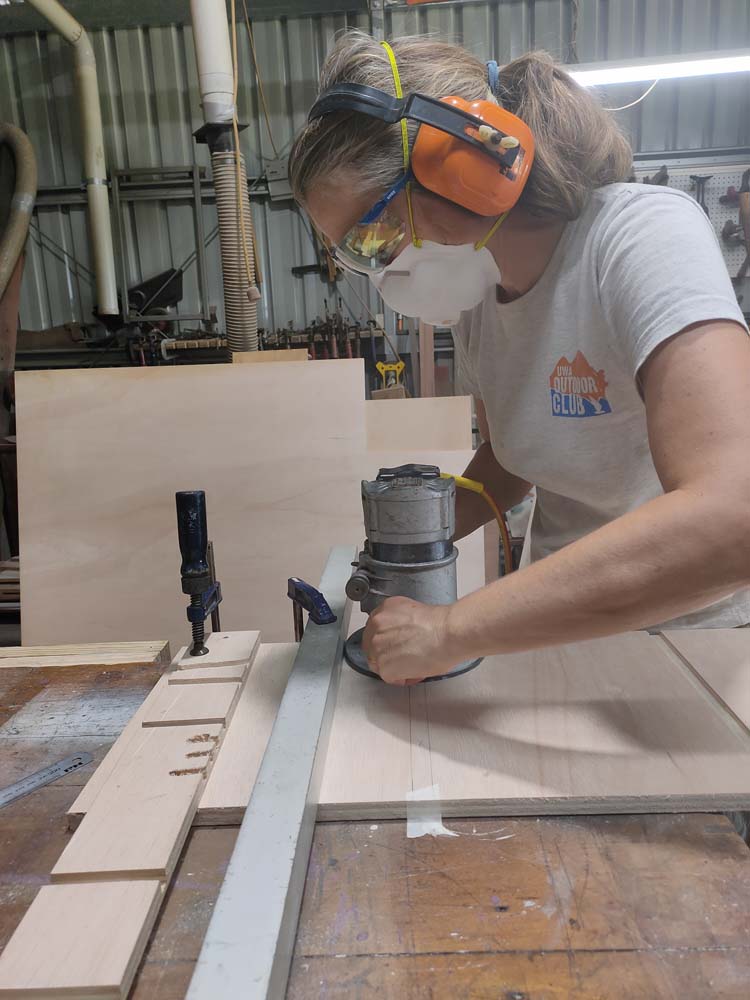
Jude using the router to cut a groove into one of the panels to add more strength to the construction of the cabinets
We spent some time mocking up a few drawers made from baskets. We had to make sure that the latches we had bought months ago could be used on the drawer fronts, and we also had to attach the wooden drawer fronts to the steel baskets. Once we knew it would work we focused on building the rest of the cabinetry.
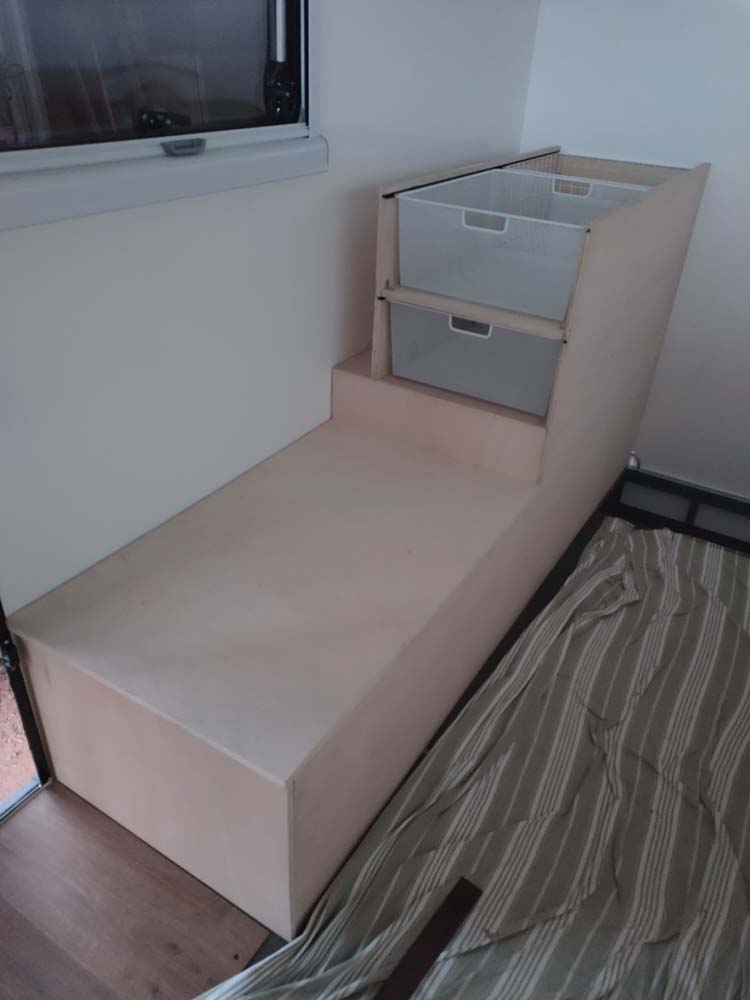
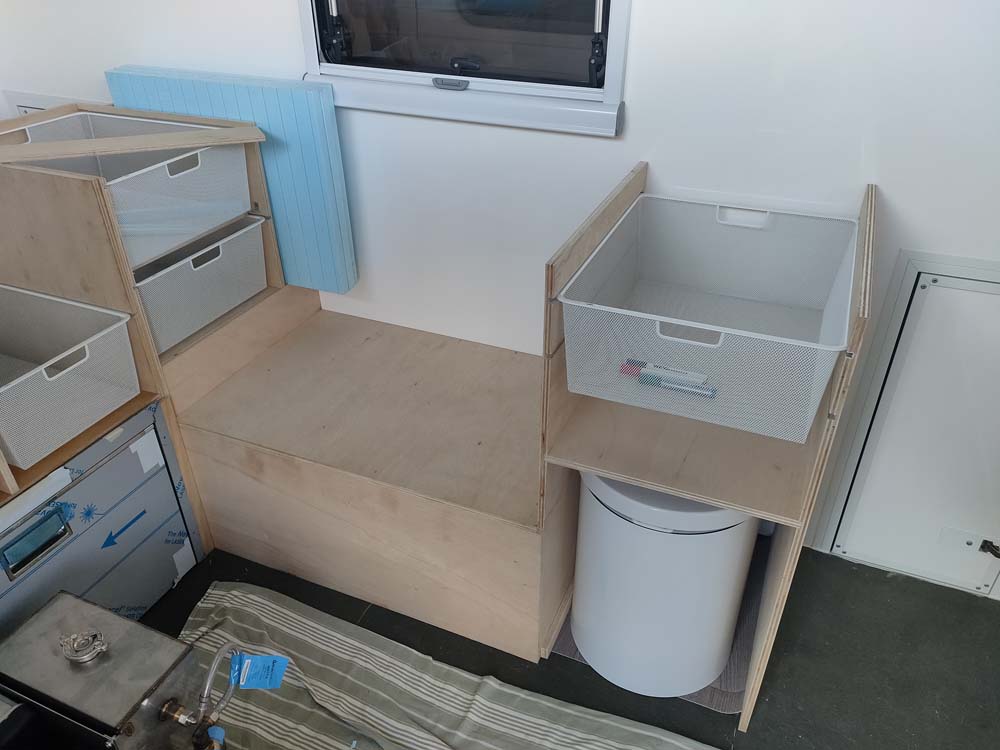
the first section is done, this is the seat next to the door and the drawers next to it. Underneath the drawers (baskets) is the kitchen box, accessed from outside
After the kitchen box and seat were made, we started work on the other side. That side was a little harder as the pieces wouldn’t meet the front wall, but otherwise they were similar. It took us a while to work out what size would work best on that side. We had to make sure the electrical components would fit, as well as the toilet and our water heater. But we also had to make sure enough space was left in the centre area for the fridge…. Oh and we also needed to make sure there was some space left in all those areas to run the electrical cables from everything to where they needed to go….. oh and also the water pipes needed to fit somewhere….

the making of the other side – seat and drawers, we were in the process of adding 27 nut inserts into that section alone
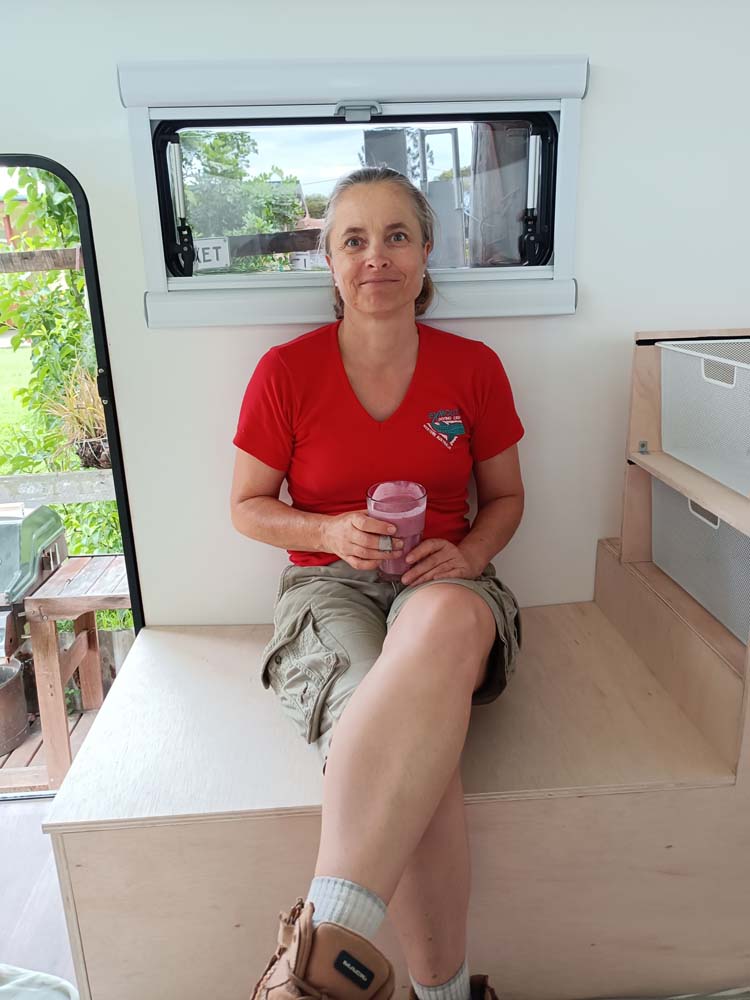
having a celebration smoothie after we finished both seats and drawer areas
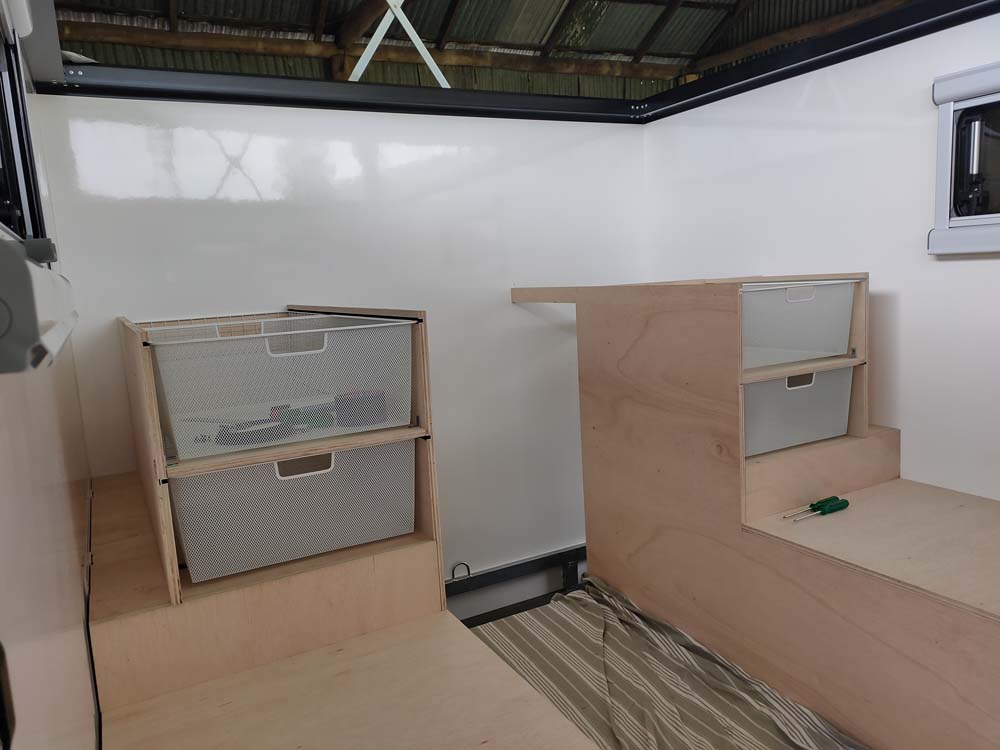
the two sections done (for now – more needs to be done, but that will happen in the future…)

we added the water tank and the spare wheel to make sure it really does fit. Oh and our fridge has made a first appearance
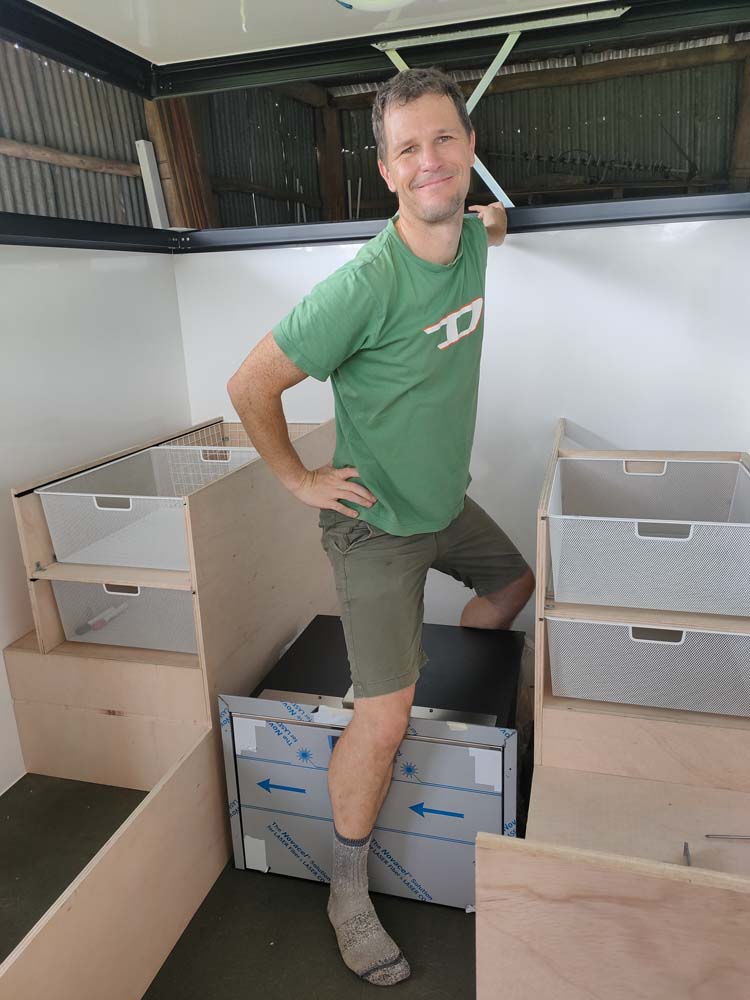
Jon moving the fridge around, or posing so this goes viral?
A space for the toilet was created next to the seat on the driver’s side, and then in the corner we built an area for the water heater. We also left the space above it open so we could decide at a later stage if we want to have a sink with tap inside or not.
the next section was the toilet area and more drawers
Then the only thing left was to build the cupboards on the rear wall. Those will have doors instead of drawers as they’re very shallow. It certainly has been a complicated 3D puzzle with many challenges, but this is the result so far.

the rear wall with shelving done. This area will get doors instead of drawers as it is too shallow for drawers
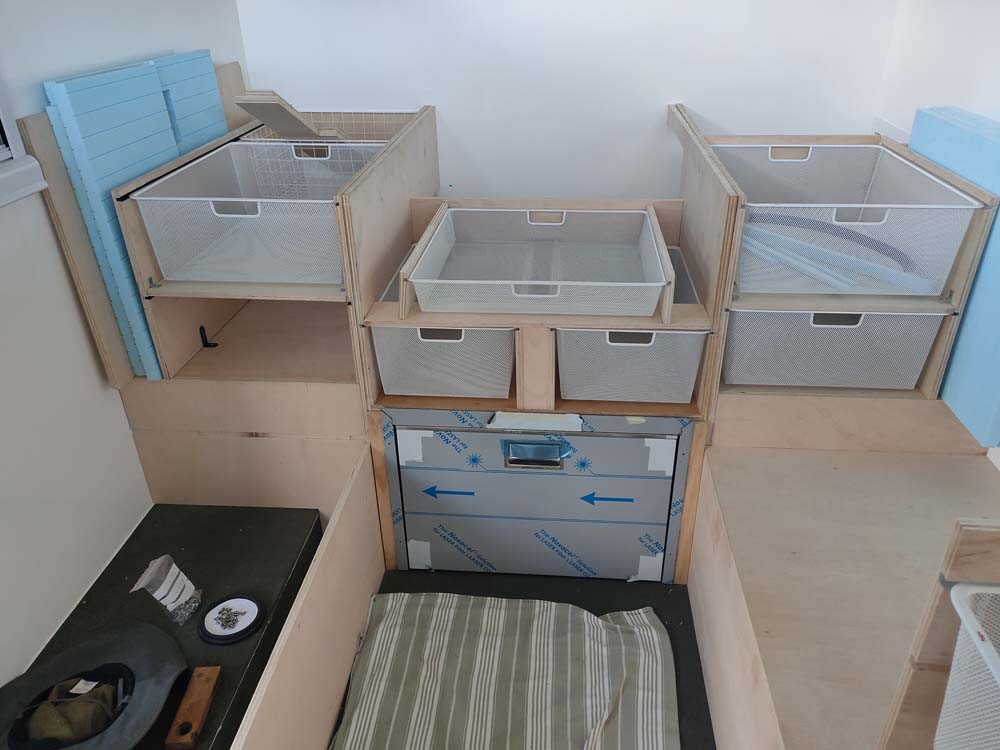
more drawers were added above the fridge
We haven’t started painting all the pieces yet, but that will be one of the next steps. It will be another learning opportunity as Roland will show us how to spray paint them. And of course we also still have to create all the drawer fronts and doors for the various cupboards, add a table for our dining area, build a drawer where we can charge a laptop or phone, add the benchtops above the cabinets and finish the bed. And those are just the ‘big things’ we still need to do to finish the cabinetry.
We have already started on the bed, but have parked it for the time being as we are focusing on more urgent things (the electrics, but more about that in one of the next blogs). The list of things we have to do is getting shorter, but is still very long! Don’t worry, we won’t bore you with the list of things still to do, but we’ll keep you posted on our updates.
we added more brackets and lots and lots more nut inserts so we can add more gluing surface between all the cabinets and the walls and the floor
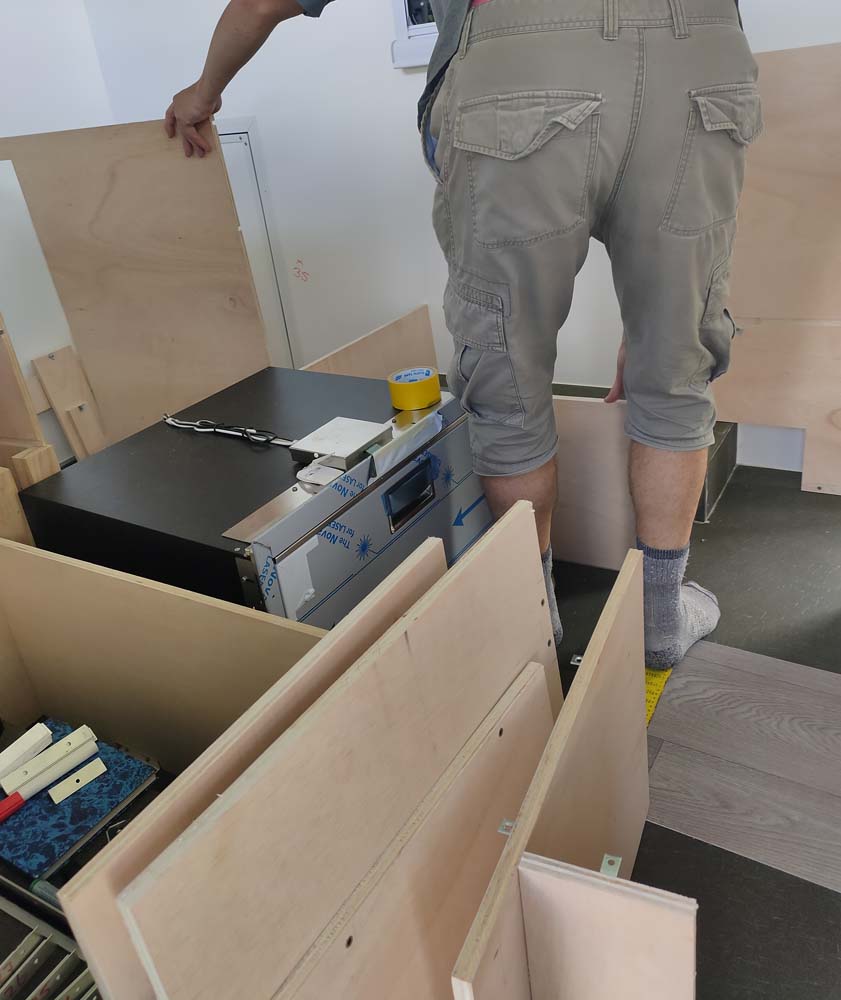
this happens regularly, taking everything out and then rebuilding all cabinets from scratch
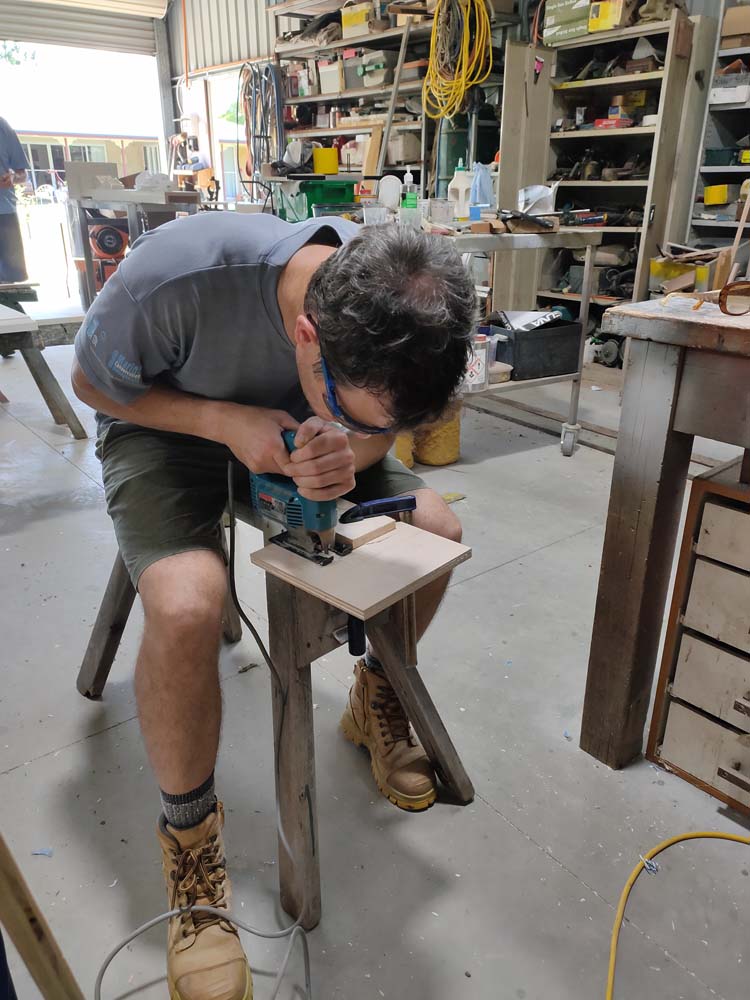
Jon testing the radius for the seats, making sure the jigsaw can manage the curve

success – we now have 2 seats that we can access from above. We will add a hinge so the lid can be lifted for easy access
Noiiiice 🙂
Next step: What are you using to coat this wood?
Thanks 😊😀
First 2 coats of everdure and then spray putty, followed by a final coat of 2 Pac!
Fantastic work you two!!! So many new skills and so much trial and error… your persistence is inspirational and the end result will be totally worth it! You don’t do anything in halves do you?!
thanks Jenn! 🙂 yes, definitely lots of new skills and challenges! Hope you are all better again and enjoy your freedom! xxx
You guys are becoming excellent tradies! New career???
hahahahaha, thank Robs. It might be very expensive for our clients as we are rather slow 😬🤪🤣
Starting to take shape! What are you expecting the final weight to hit?
thanks, yeah it feels good! 3450kg hopefully 🤪 currently have 91 kg spare (3409kg)
Well done! Looks great! The drawer baskets are a great idea.
thanks 🙂 let’s hope it works!