Bed
We wanted to sleep north-south. That’s campervan jargon for not having to climb over your partner for your nightly pee. Sleeping east-west means your feet and head are touching the side walls, and one of you needs to climb over the other to get in or out of bed. North-south sleeping means you can both get in from the foot-end (or in our case from the pillow side as of course we do things slightly differently).
It was a critical point in our design and it dictated pretty much everything else as a bed takes up a lot of space inside a small campervan.
As the bed takes up so much space we wanted to be able to move it out of the way when not in use. We discussed an electric bed that raises up when not in use, but in the end we decided on the slide out bed. Effectively it looks like a single bed when it is ‘in’ and once pulled out it is almost as big as a king sized bed.
We decided to make the bed reasonably high so we could use the space underneath for storage and seating. We struggled a bit to find the right material for the slats, in the end (with the help of Roland) we settled on pine, learning about the way the grain in the wood runs that influences strength along the way. Guy helped us cut all the slats very early on and they sat in the corner for a long time, until we had finally build up all the cabinets underneath it and we could get started with the bed.

Guy helping us make the slats for the bed
We used aluminium square tubes again as the base. We screwed the slats into them and glued one to the front wall. The other fixed one sits on top of the cupboards and then there are 2 that slide backwards and forwards to extend the bed into sleeping mode. The screws go into rivnuts that are added to the aluminium bars to ensure they have plenty of grip. It’s another thing we learned about on this building journey and we had to buy a new tool for it as Roland only had a tool for adding much bigger rivnuts to metal.
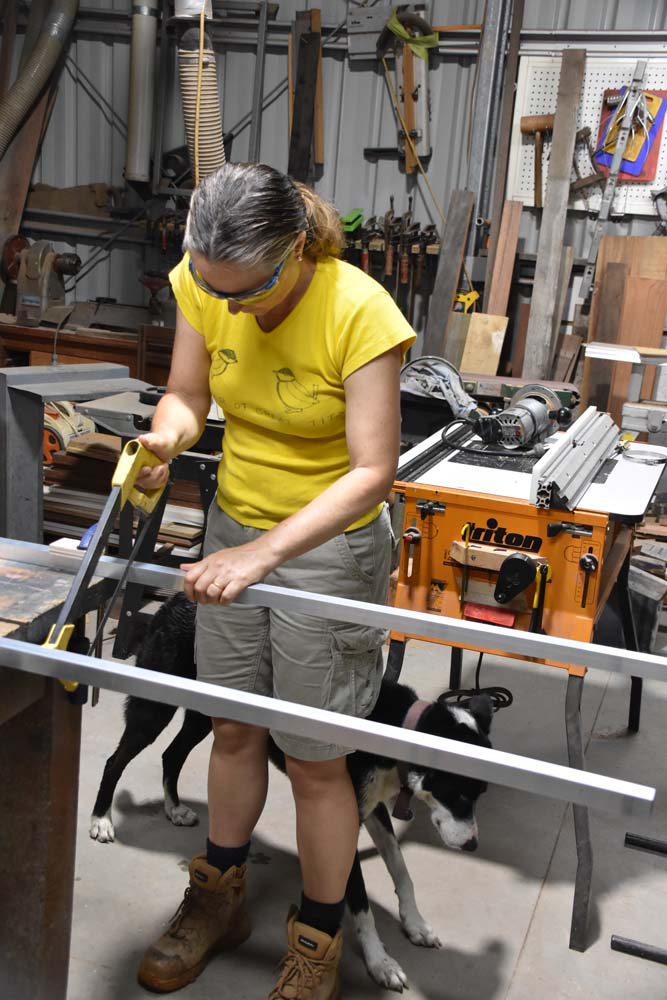
Jude cutting the aluminium bars to size
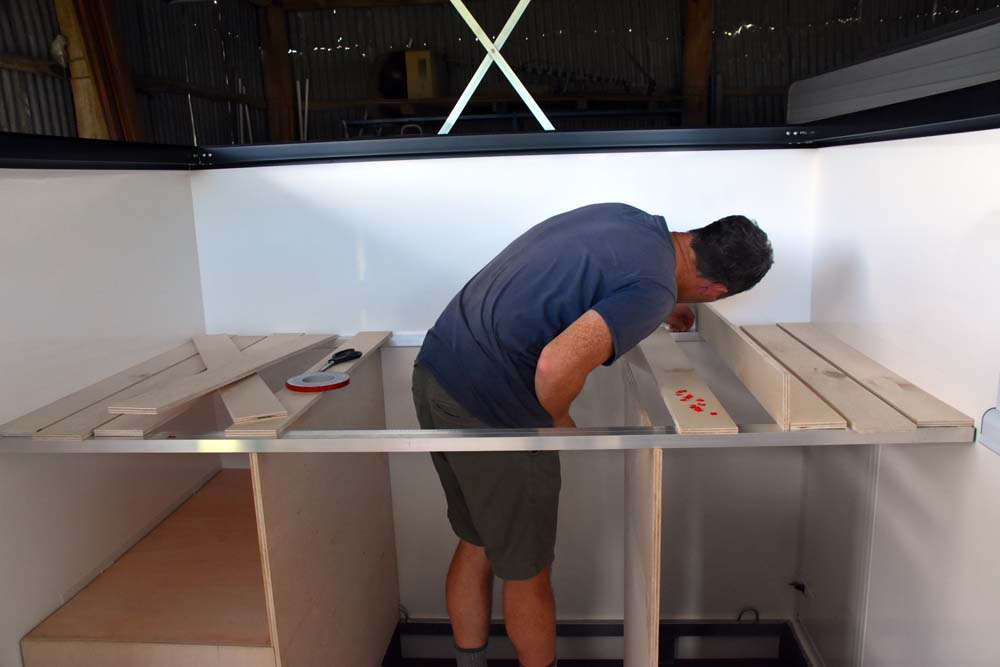
Jon working on fixing the slats to the aluminium bars
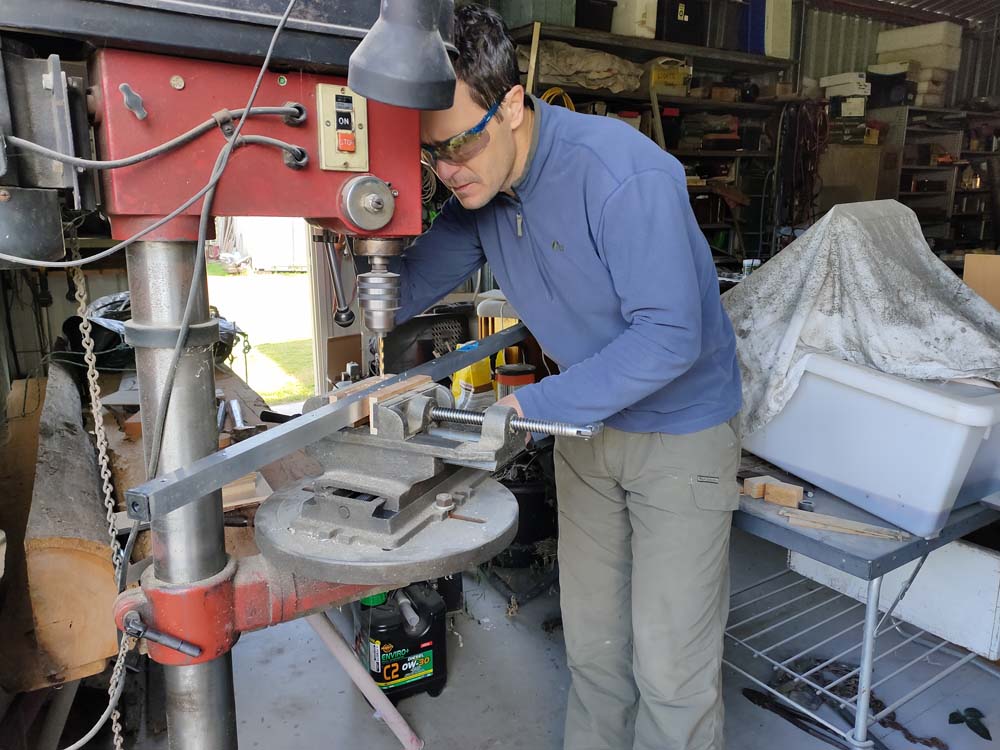
Jon drilling the holes in the aluminium bars so Jude can add the rivnuts

Jude adding the rivnuts into the aluminium bars so we can screw the slats into place

nearly done – adding the screws to the slats
and then the big moment, does it all work
We were a little worried about the free span we had to cover between the walls. Not only did it have to support the slats, but of course it also needs to support both of us on it. We decided to use the cupboard on one side as the support for the pulled out aluminium bar. On the other side we needed to make a bracket. We looked at lots of options and Roland helped us make the bracket as it is today and it works perfectly.
In the early days when we were still designing the walls on paper, we had already anticipated the fact we needed to support the bed and we had added a steel plate in the wall behind the fiberglass. That meant that once Roland has made the bracket, we could tap into the steel plate and attach it securely to the wall. It was still quite nerve-wracking as we sat on the bed for the first time, hoping it wouldn’t break!
And luckily for us it didn’t.

Jon attaches the front of the bed to the aluminium bar, it stops the mattress from sliding out, but it also gives more rigidity to the bar so it can span the width of the palace to support us

Jon shaving off the tops of the upright walls to ensure they are perfectly smooth as the aluminium bars run over them when we pull them out, later we added the hard plastic to them to ensure smooth running
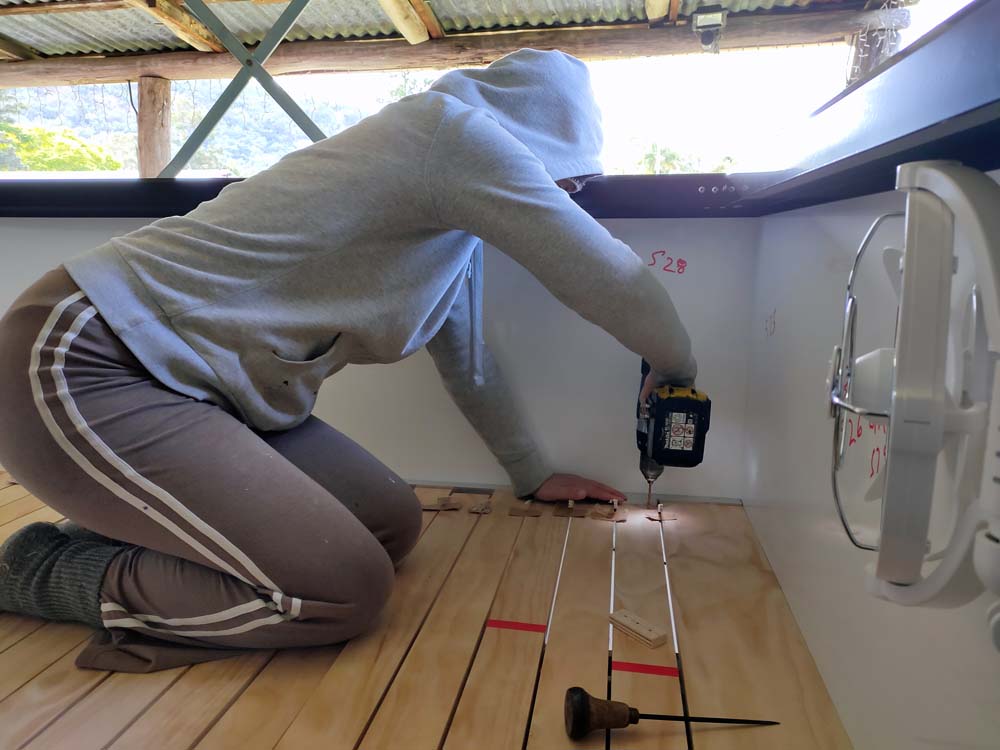
Jude starting to secure the slats
and then the big moment, does it all work
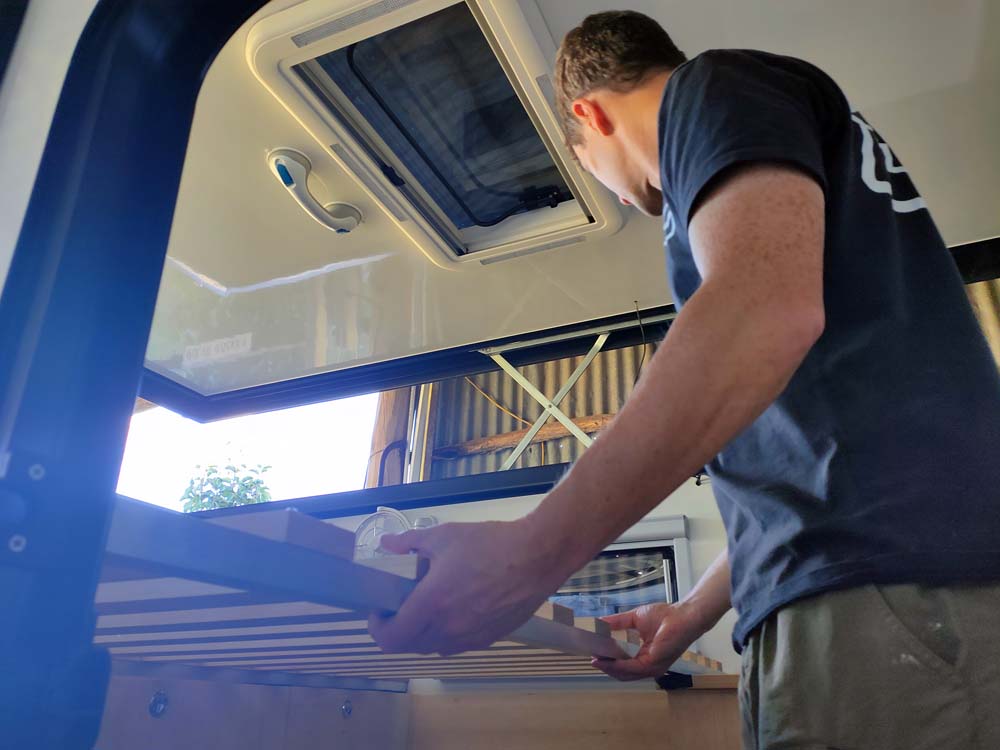
Now we had a bed frame, we also had some space to the side of the bed. We made some cut outs in the large slat on the sides so we could access that space too. You never know what it might be used for, at the moment we don’t know yet.
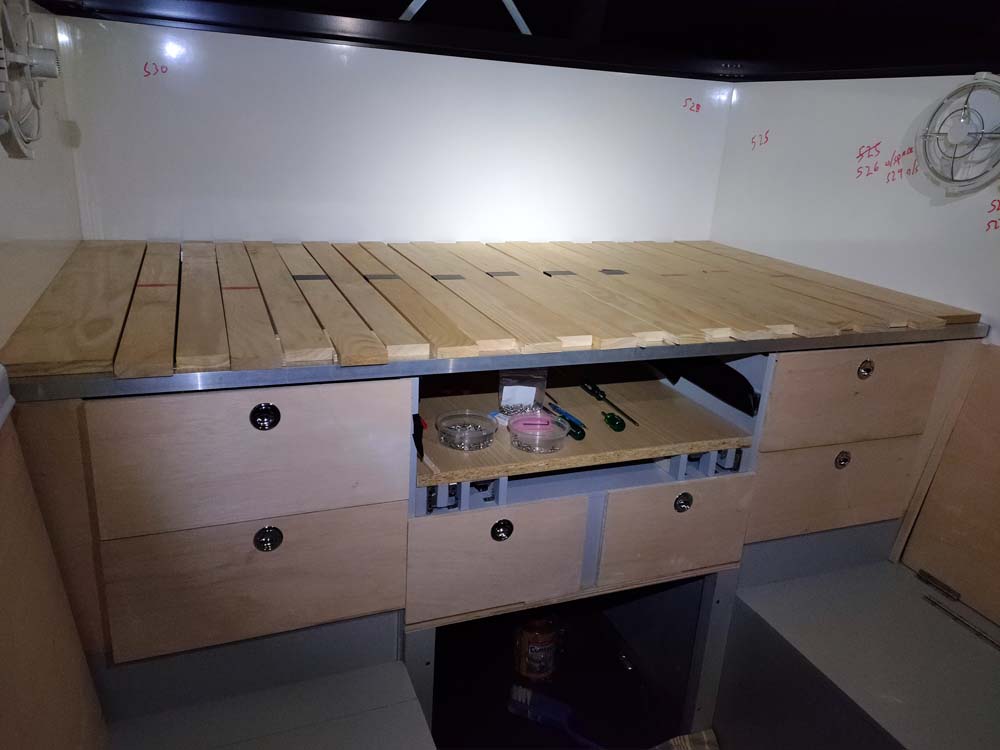
all slats into place, the 2 large ones on the sides (nearest the walls) don’t move, that’s where we have the lids to access the space underneath
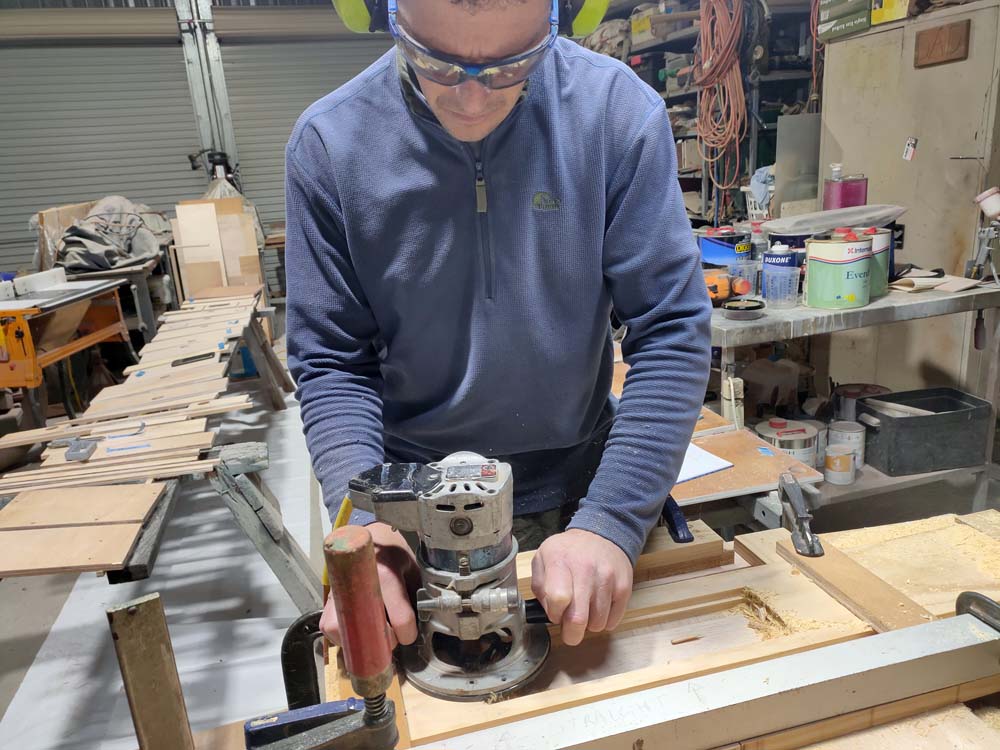
Jon routing out the big side slat so we can drop a lid in it, we couldn’t use hinges as the aluminium bar slides underneath there
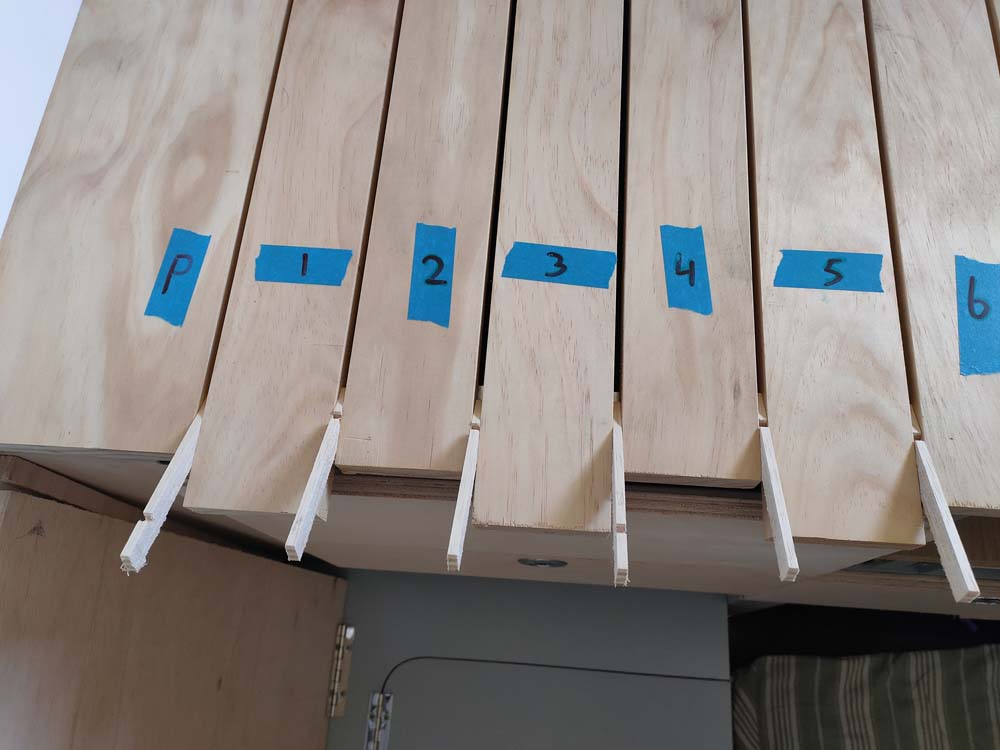
we numbered them as some are stronger than others and used spacers to ensure they were all the same width apart
Time to start working out what we were going to use as a mattress. We headed to Clark Rubber as we couldn’t just buy a mattress of the shelf as our bed is not a standard queen or king. We had to cut it to our exact measurements and were going to use foam for that. We bought the whole sheet and stuffed it into the car. At home we used an electric knife to cut it to size. Weeks later we finally decided on what topper to put on it and then Jude could finally make the covers for the mattresses.
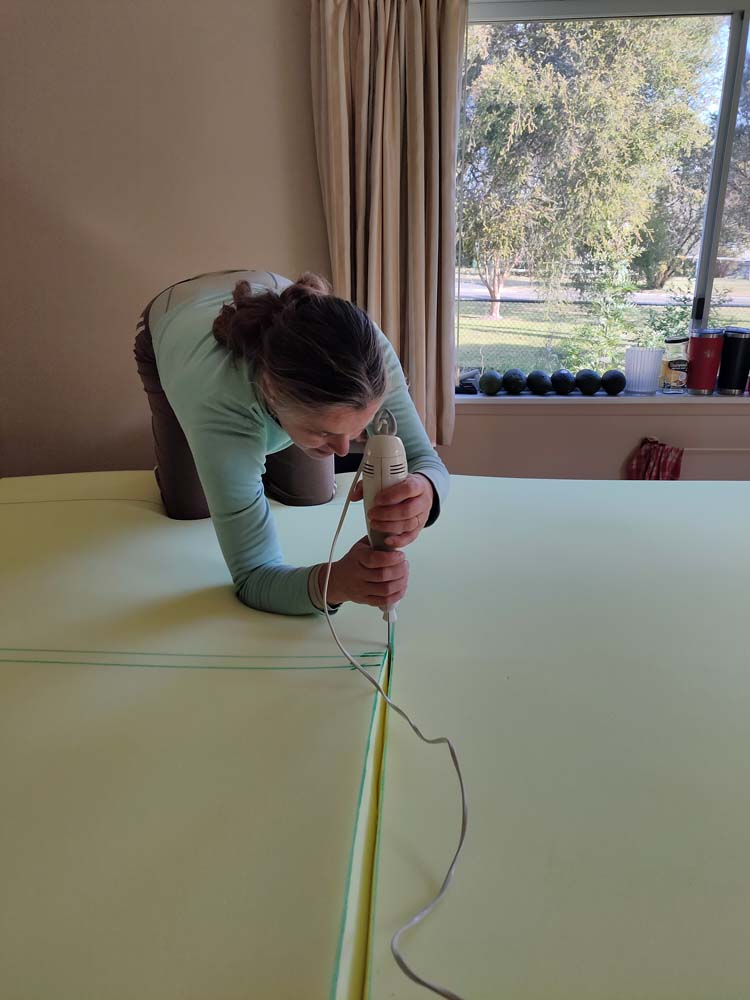
Jude cutting the large sheet of foam into 2 mattresses
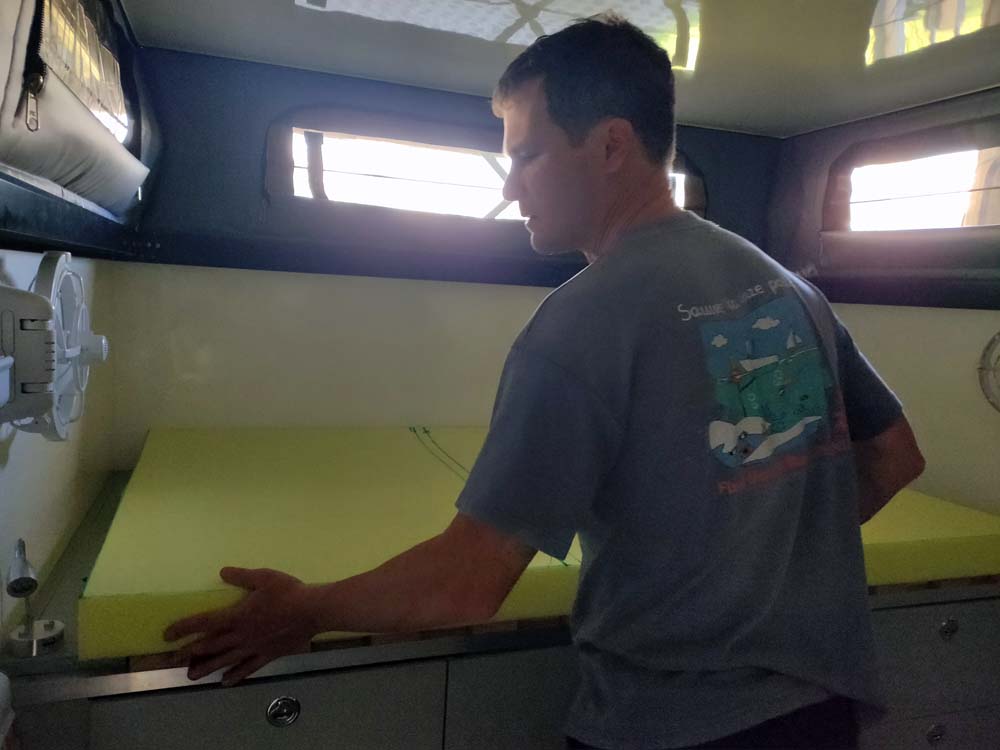
checking the first mattress to see if it fits

Jon testing the bed (or starting his modeling career?)

Jude starting on the covers for the mattresses, the topper has already been cut to size
We were going to use velcro to stick them together so they can’t separate when we’re in bed (technically they can’t anyway, but we felt better for adding another way to keep them together), but we had a lot of trouble finding velcro that doesn’t have a sticky backing. Everybody nowadays seems to go for the sticky back, but when you want to sew it on you can’t use it as it makes the needle skip (and everything clogs up with the glue too which is not a great job to clean). Let’s just say we found out the hard way….
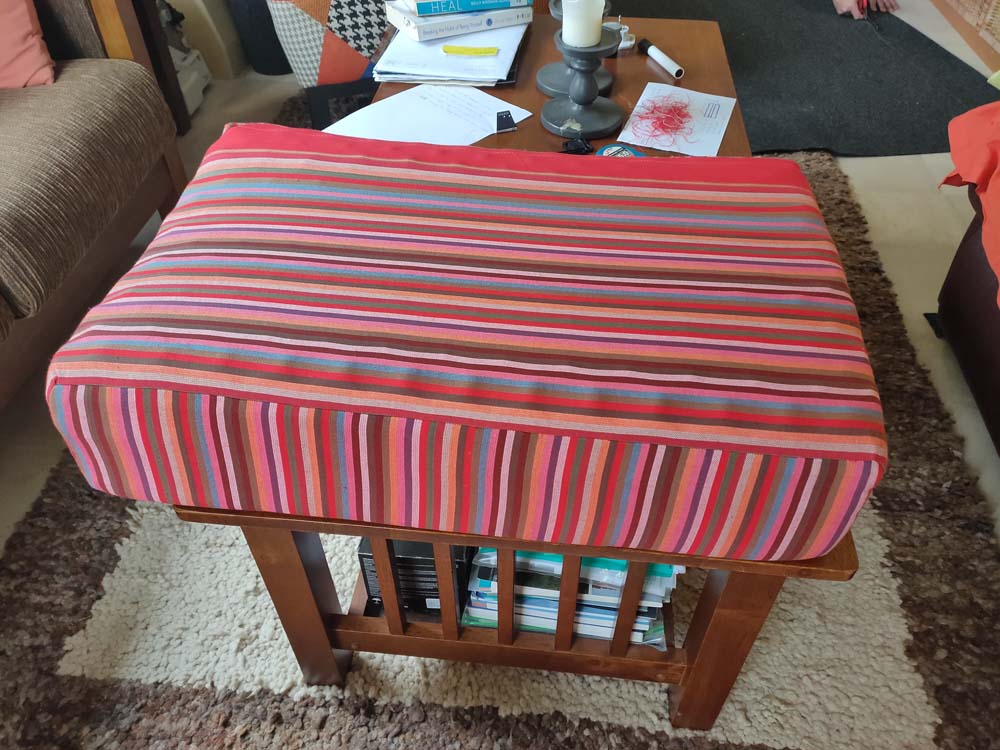
Eventually we found some on a roll of 25m and bought the lot. Now we definitely have enough. Sewing complete we could admire our handiwork. And sleep in comfort.

we used the beautiful kikoy fabric from Kenya to cover the mattresses. It is 100% cotton and still nice and soft
Jude makes a bed extension for Jon so he has more space lengthwise

the 2 mattresses in place, Jude has added a piece of fabric with velcro to attach to the front of the mattresses so they can’t separate when they are in the open position
We have tested it already and it is extremely comfortable. We’re looking forward to spending many nights in this bed!

this is what the bed looks like in the open position, plenty of space (almost a king size bed)

with our sheets added, very comfortable! We’ll add a duvet as well for colder nights