Awning
We spent quite a bit of time researching awnings. One of the reasons was that we don’t have a lot of space on the wall to put it on, and the other is that Jon didn’t like the ones where the legs attach back to the wall, ruling out quite a few of them. We also didn’t want an electric one as it would just add to the complexity of the electrics and we didn’t think we needed it.
We started looking for the ones that don’t need legs. We had seen a home made one at the Abernteur Allrad and had seen a few at the 4wd show too. They looked great and we loved the idea of not having to pull out any legs. We found a great looking one from South Africa and tracked down the company that sold them in Australia, and as with lots of these things, they were located on the Sunshine Coast. Sunshine and Gold Coast are places we often have to drive to for specialised items.

this is the South African awning, it looks great but too much reinforcement needed on Lara to make this work

one of the awnings we looked at, measuring to see if it would work to open the door with that angle
We placed an order and put a deposit down. It would take a few months for it to arrive, but one day we drove to the shop to discuss how they recommended mounting it on the side of a campervan. Turns out they didn’t…. After some great discussions with a few people we came to the conclusion that putting it on Lara would require an enormous amount of steel to be added to the interior of Lara to help with the bracing. We didn’t like that idea and would certainly not have been able to add all the weight of the steel that would have been required, so we cancelled the order and got our money back.
Back to phase 1 – research.
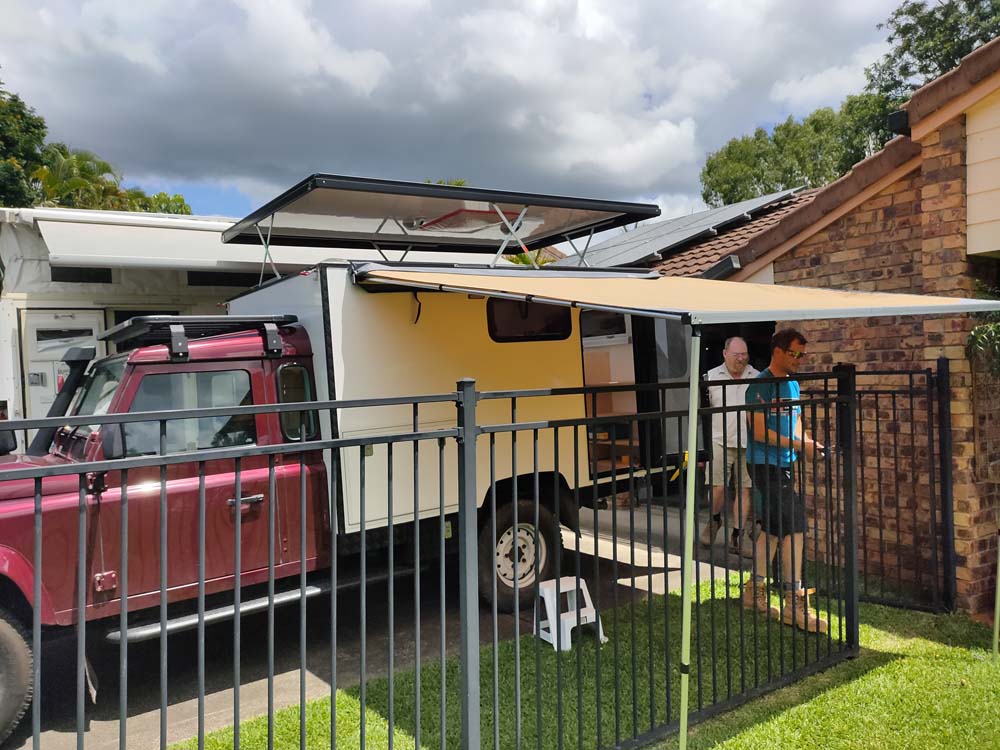
We spent many more hours trawling the internet to see what else was out there that we liked. But in the end we decided to go back full circle and buy the updated version of the awning we already had on the white Lara. They have a newer, slightly bigger version now. So we now have an ARB awning 2.5 x 2.5m. It fits on the side of the palace, we can reach the zipper and can manage to pull it out without any issues and we just love the simplicity of it, and the ease of setting it up.
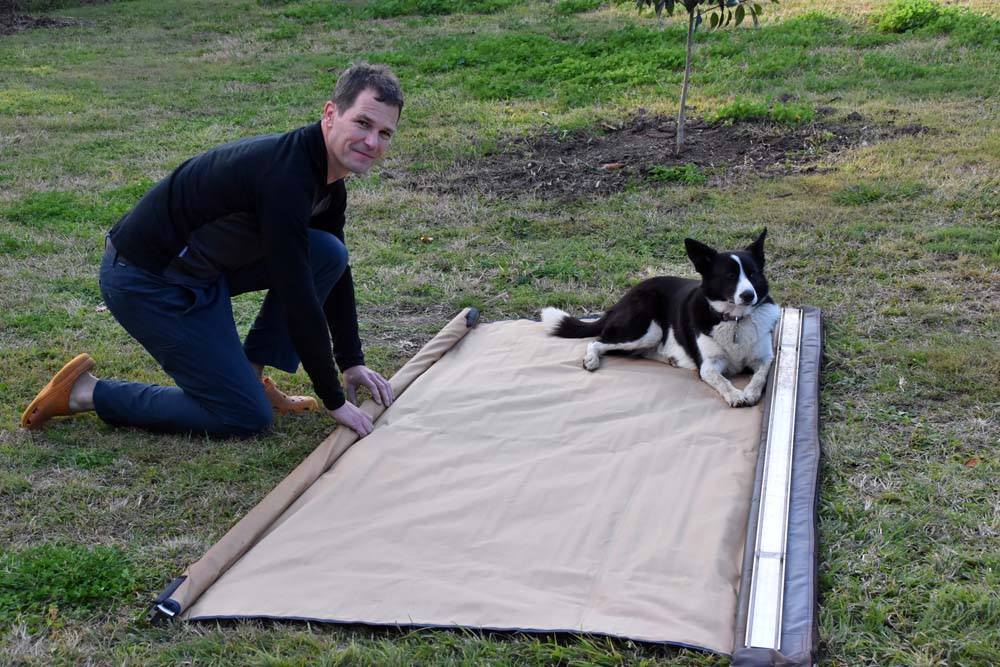
Ruby approves our choice of awning – the simple but very effective ARB awning
The poles are tucked away inside it all, so you don’t have to store anything in a separate location. It is all tucked away inside the canvas cover. It doesn’t weigh much either, just 12kg which is great.
As we knew we were going to mount an awning to the side we had steel plates inserted into the walls on the passenger side. They were placed at strategic locations and luckily they worked out. Roland taught Jon how to tap into the steel plates and soon the awning was up and ready to be used. We have used it a few times during the build to create a shady spot to work on the kitchen hatch and ladder (Lara was sometimes parked in the sun to allow her batteries to re-charge), but we haven’t used it on a camping trip yet, but we will soon.
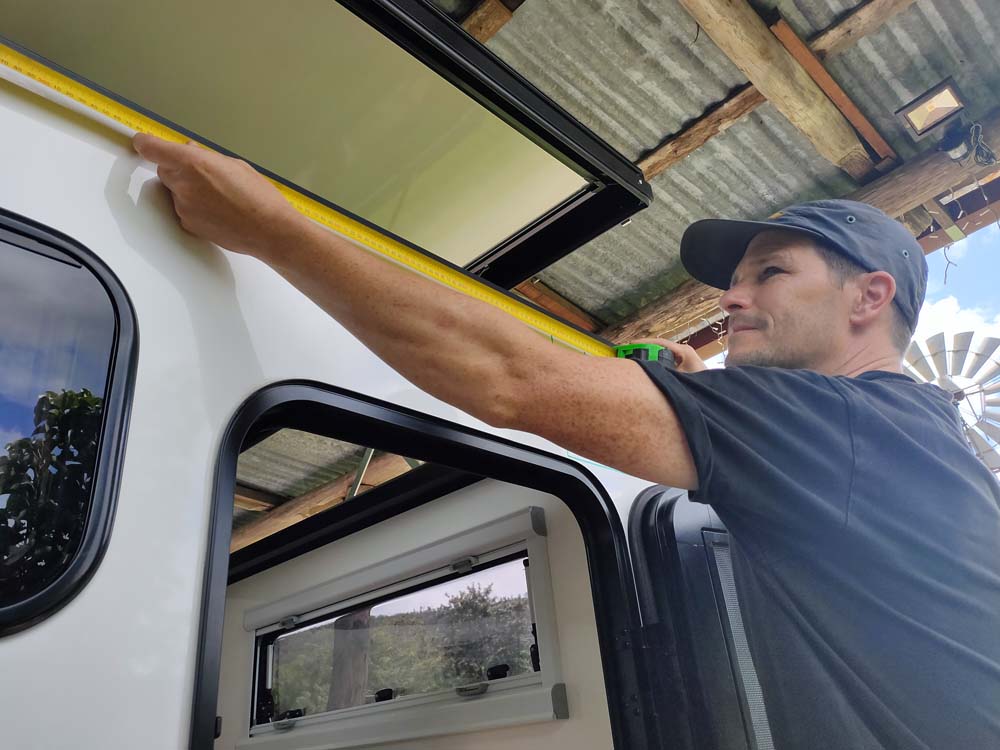
measuring where the screws need to go
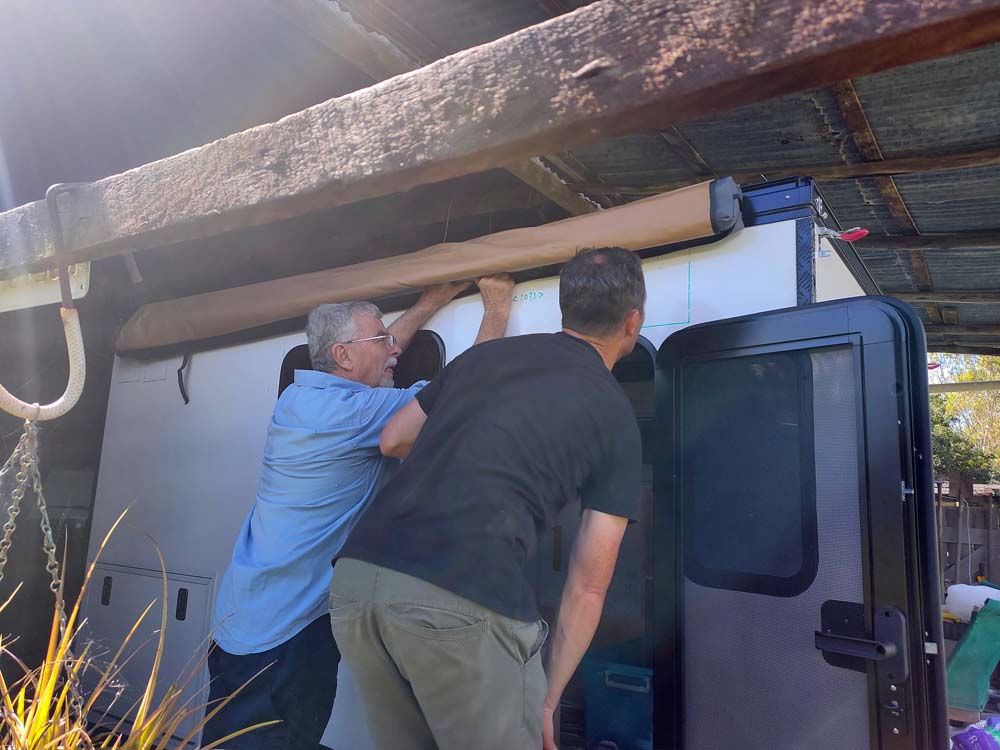
Roland helping Jon with the awning and teaching him how to tap into the steel plate
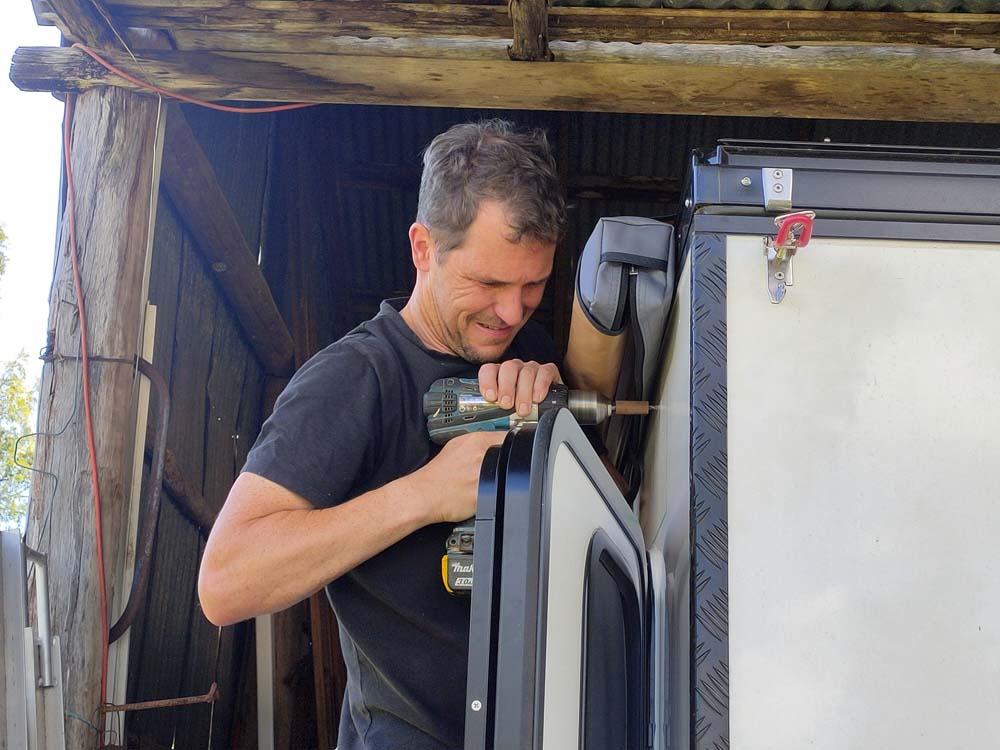
first drilling the hole
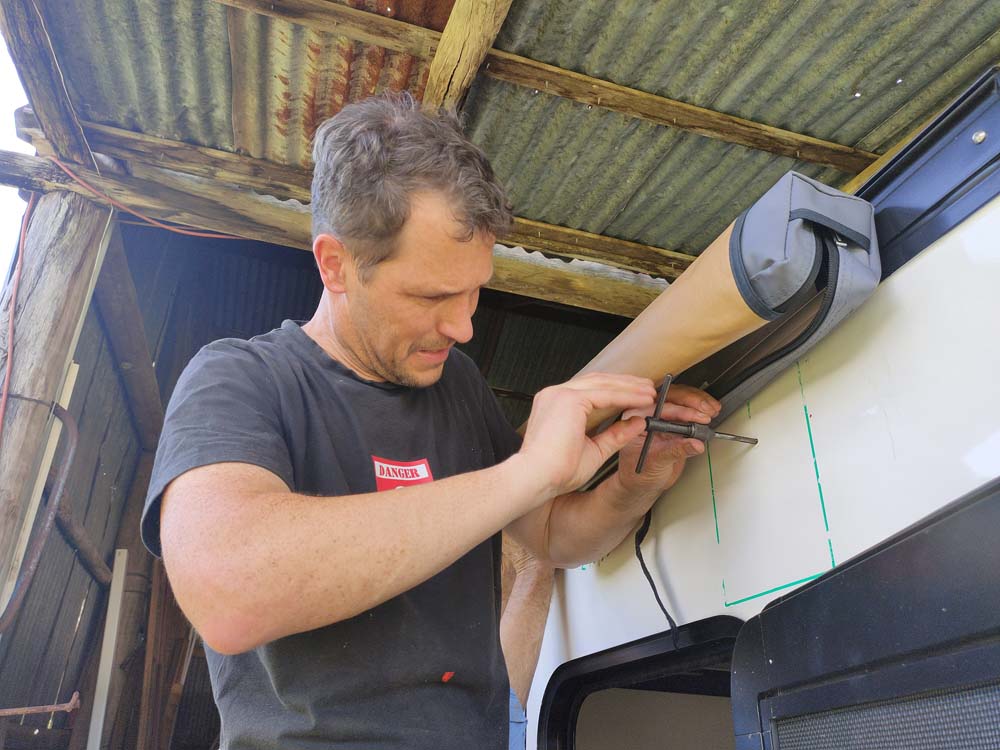
then you tap the steel plate, meaning you create the thread for the screws

drilling the last holes, note the homemade stopper to ensure the drill wouldn’t go in to deep and come out on the inside wall
using the awning at John M’s place in the early days when working on the electrics