Our sub-frame
Once we had taken everything off, it was time to turn our heads to building. And to do that we had to start from the base – the sub-frame.
We now had the exposed chassis in front of us, so Jude set to drawing and measuring to come up with something we could use to base the first draft of the frame on. This drawing was converted into an excel drawing and then the fun began.
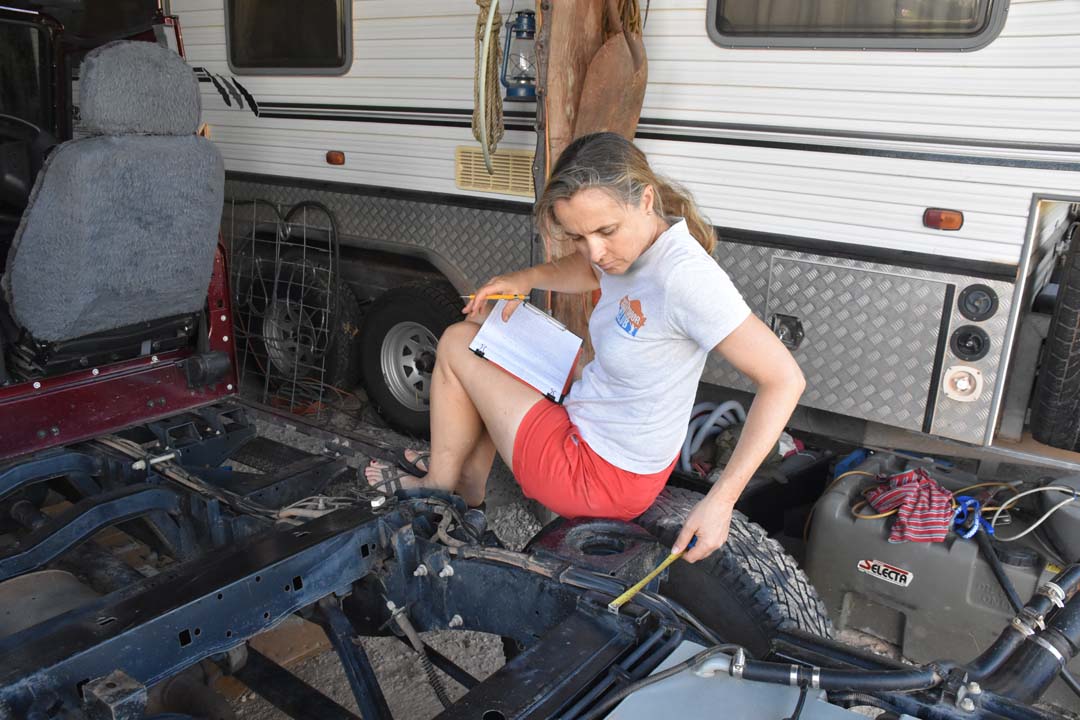
Jude measuring everything on the chassis so she can draw it to scale

After drawing the chassis on paper, Jude then made it in excel. And then the different versions were made from that, we went through quite a few different ones before we finalised the design
We learned a whole heap about Land Rover chassis, and especially of course the Defender one. It’s a hodgepodge of different height brackets, mounting points and cross sections. Nothing is in a straight line and it feels ‘all-over-the-shop’.
You already know one of the load bearing brackets had completely been shorn off by the tray and the other side severely damaged, so we were keen to not use those 2 brackets and instead focused on the others available to us.
The Defender’s converter’s manual we found online taught us a lot, it really proved invaluable. We discovered the difference of load bearing points and attachment points. We were trying to determine where we would attach our frame to the chassis, and where we would simply rest the frame on its load-bearing points, but nobody could tell us if we should mount the frame rigidly to the chassis, or if we should allow for some movement.
We also had to determine if we would make the sub-frame out of steel or aluminium. Hugh created a 3D drawing of the frame and Mingyuan was really helpful with helping with the decision of steel or aluminium as she is a material specialist. She even made us several bubble charts like the one below. Aluminium being lighter and rustproof was our preferred option, however, after calculating the difference in weight we realised it wasn’t that much difference. We also thought that with a steel frame we would have a better chance of finding someone on the road, should we ever need it, to repair. But, as steel rusts, we were going to have it hot-dipped (galvanised) to protect it.

bubble chart from Mingyuan – very cool and very useful
We went to talk to a few people who could possibly help us making the frame, and in the end settled on Paul from PRP sheet metal who loves birds and camping too, he even built his own yurt to live in which is pretty cool. We would have loved to use Luke again from Davies Sheet Metal in Milton, as he was so helpful last time we prepared the white Lara, but in the end the experience of Paul won.
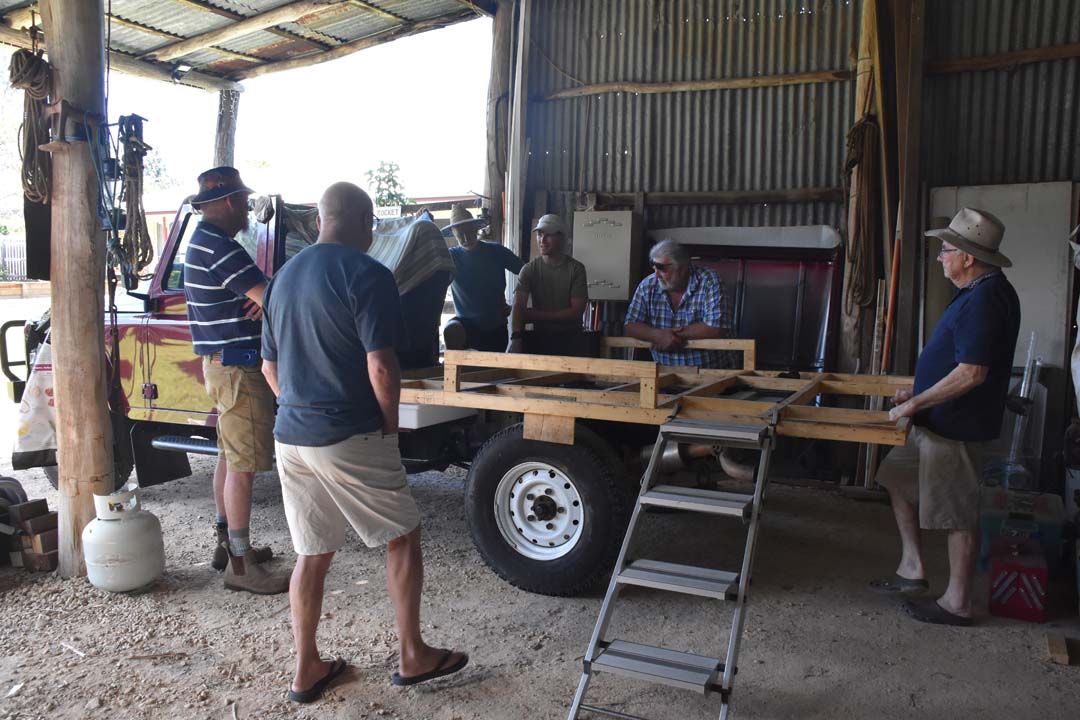
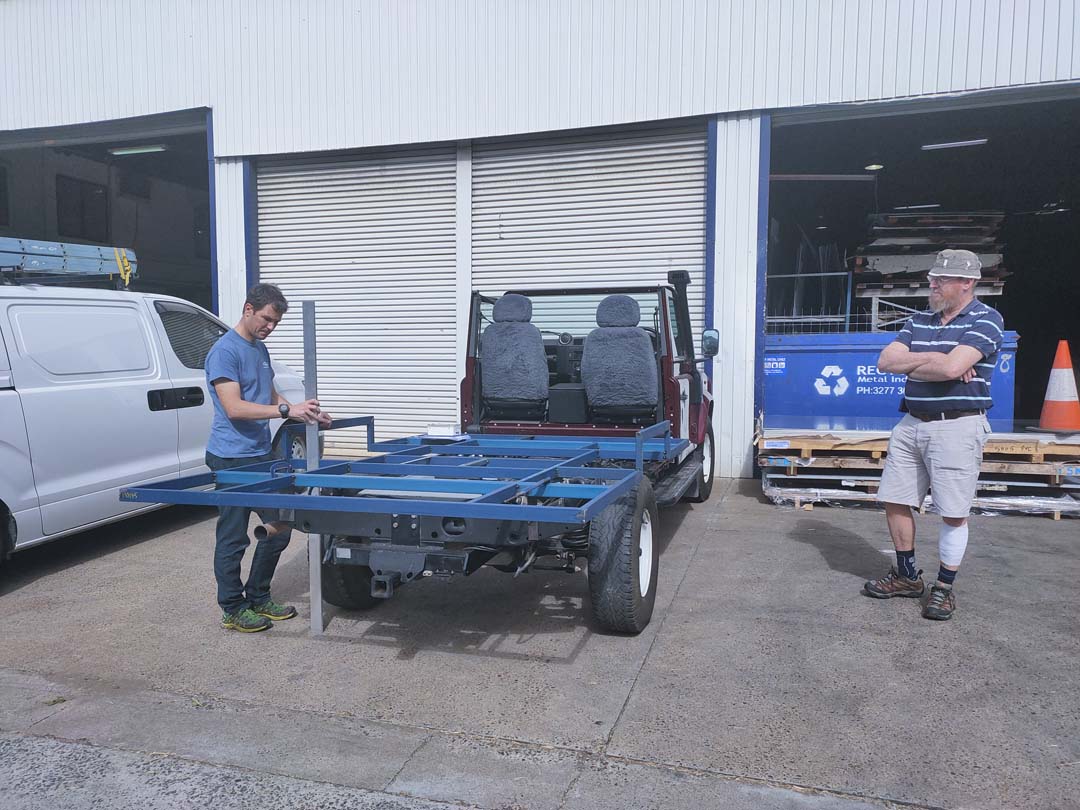
But before we could have the real sub-frame made, we went through quite a few iterations of drawings, and then Roland came up with the idea to mock up the sub-frame with wood. We thought it was a great idea and so we started taking pallets apart (scrounged from the local Stihl shop who was quite happy for us to take a few), measuring beams and sawing them to the correct length. Very quickly we had the outline of a frame and we walked it over to Lara. It looked great.
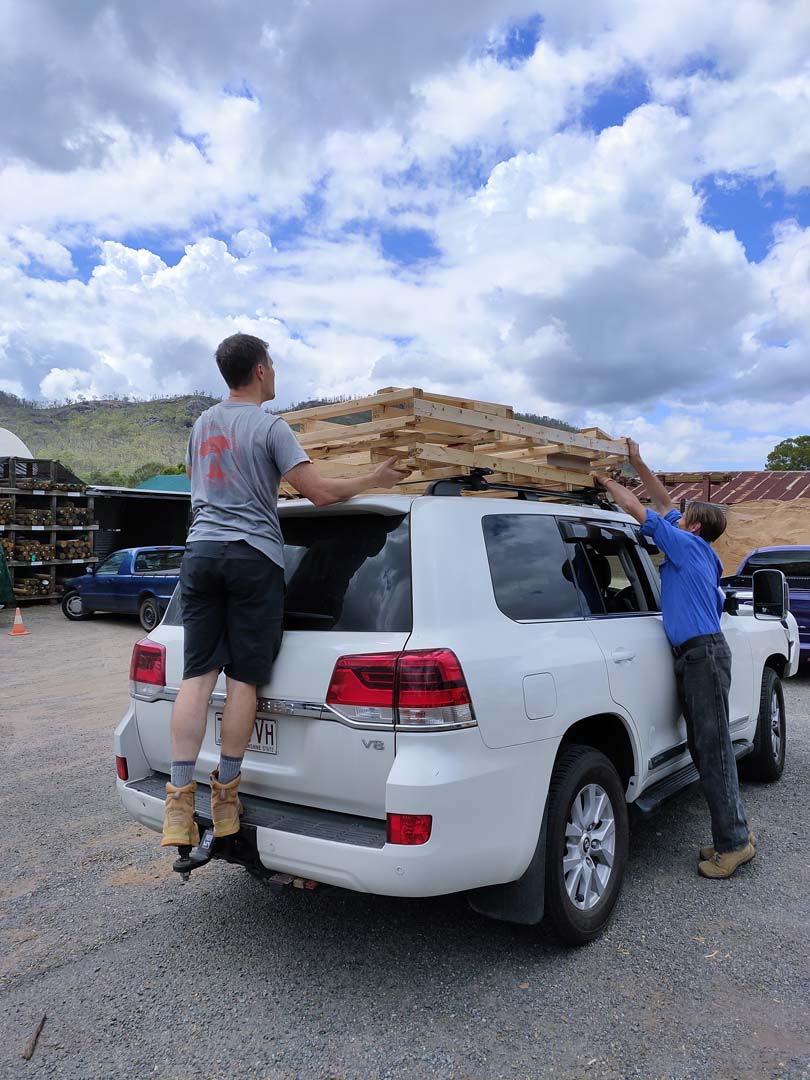
Jon and Steve loading the pallets that were going to be the base for the sub-frame mock-up

Putting the outer frame together

And then it is on, it is great to see what it will (roughly) look like when it is finished
Jon and Roland in the very early stages of the sub-frame mock-up built

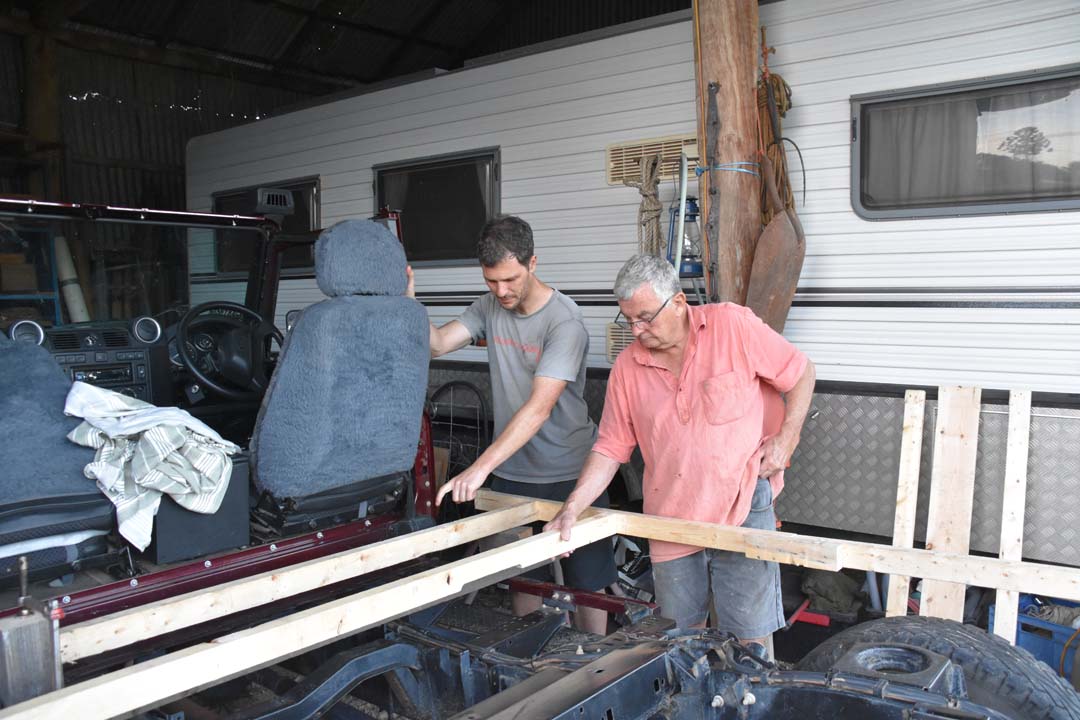
discussing the first mock-up of the sub-frame with Roland and Steve
Since then we have spend weeks pouring over our wooden sub-frame, often chatting with Roland and calling John M (our engineering consultant extraordinaire) whilst trying to finalise the other components of our build as they all need to ‘work’ together. It is surprising how many times we have changed things, moved cross-beams around or added them. One of the more noticeable changes was to chop off 200mm of the length of the palace and 185mm of the width. We didn’t want too much overhang, and the box was also sticking out quite a bit from the cab (left and right). Having the car here to measure things meant we could actually check and see the realities of our drawings.
Whilst drawings were updated and adjusted (and Jude kept reminding everyone we needed to be conscious of weight), we tried to find solutions for all the ‘issues’ we discovered along the way. We also removed the step into the body, added wheel arches and measured maximum lift of the wheels to ensure we had enough clearance (again the converter’s manual provided all the necessary information).
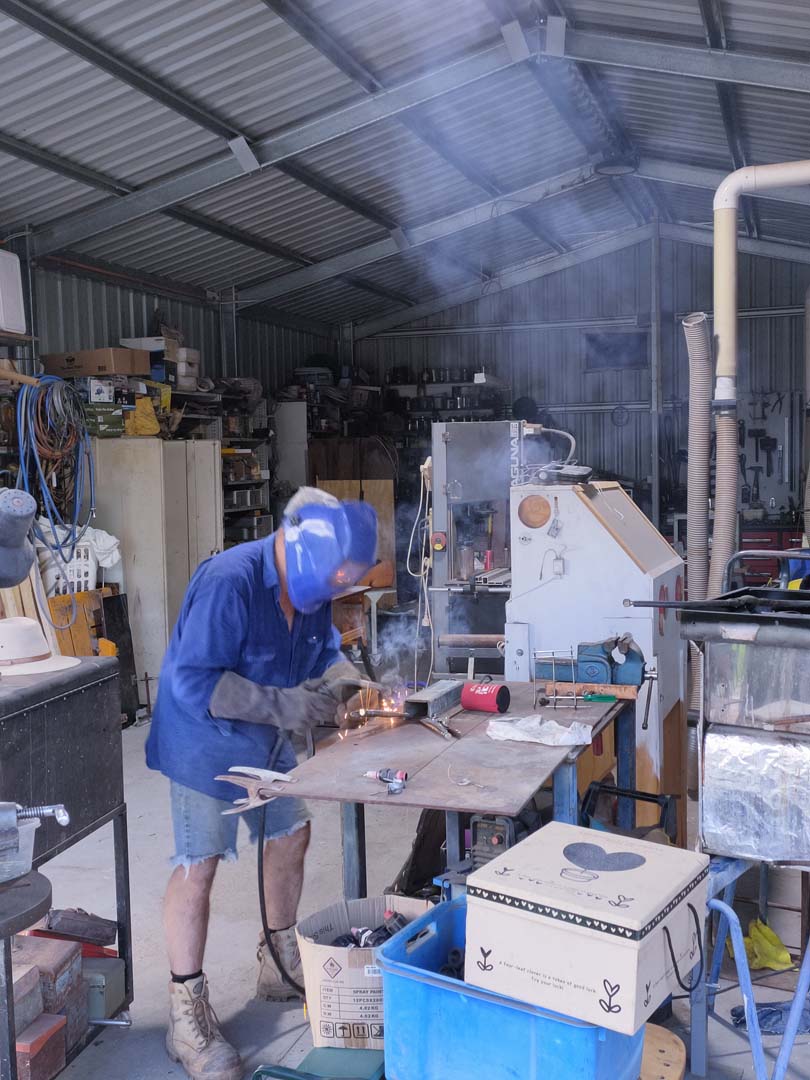
Roland mocks up a bracket, amazing to watch
We also had to come up with solutions for the sizes of doors we could find, the location of the awning, what kind of step we would use to get into the palace (quite a distance from the ground), how we were going to deal with the fuel intake (which is going to be located behind the actual wheel arch of the frame), trying to find out if we could have hatches where we wanted them, and most importantly, how we were going to fit the water tank underneath the frame. That was another ‘oopsie’ moment when we realised that the front of the frame had been siting way too high above the chassis on wooden blocks. We counted ourselves rich, thinking we had plenty of space there to put a water tank. But when we used the invaluable converter’s manual to work out how high above the chassis the ‘level’ for the frame was, we realised we only had just over 100mm….
Needless to say that despite the sub-frame looking very simple and straightforward, a lot of thinking (by many people) and behind-the-scenes research has taken place to get us to the point where we can now say that we are ready for the real thing made of steel!
our consultants all putting in their 2 cents – John M, John C, Guy, Jon, Rob and Roland (missing Miles and Ian)
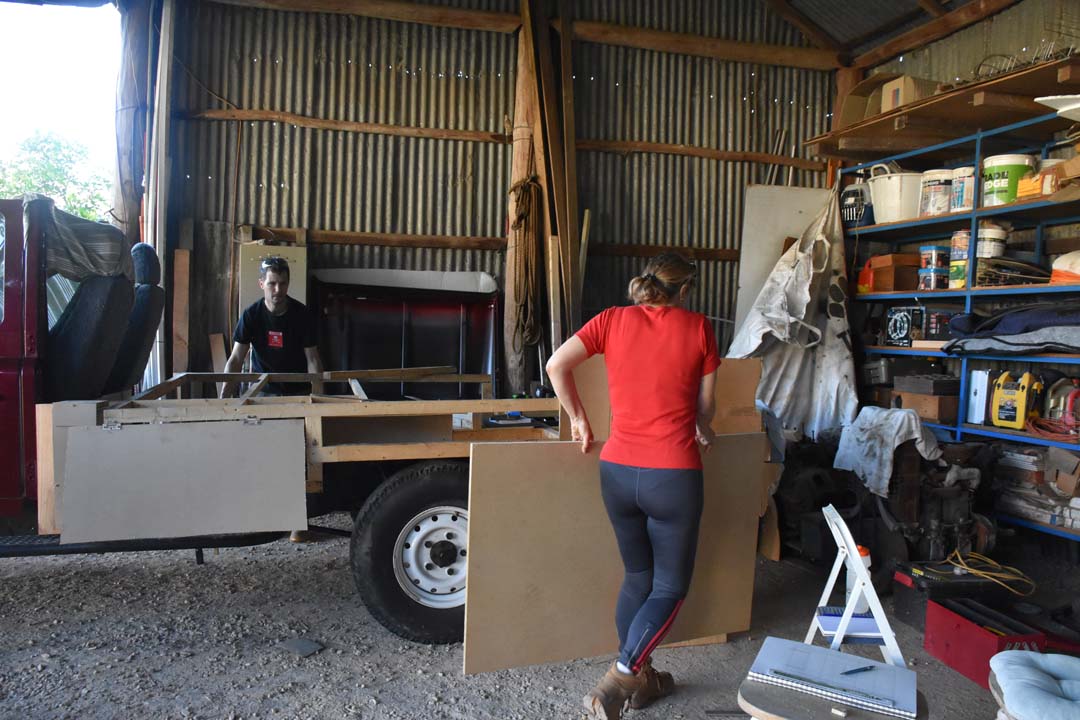
these are the advanced stages where we were trialing different options for the rest of the build. We are converting this version in what was going to be the final version
To get Paul to make the frame for her, we had to drop her off which required us to load her onto a trailer (she has no roof, no rear wall, no lights and no license plate at the moment). Luckily Ingo has a car trailer that is long enough (just), so one early winter morning we drove her onto the trailer and set off to Brisbane. She was left behind with Paul and we departed with an empty trailer. It is very exciting to finally get some real work on the car done!

Lara is driven onto her trailer, she is off to get her frame made and fitted
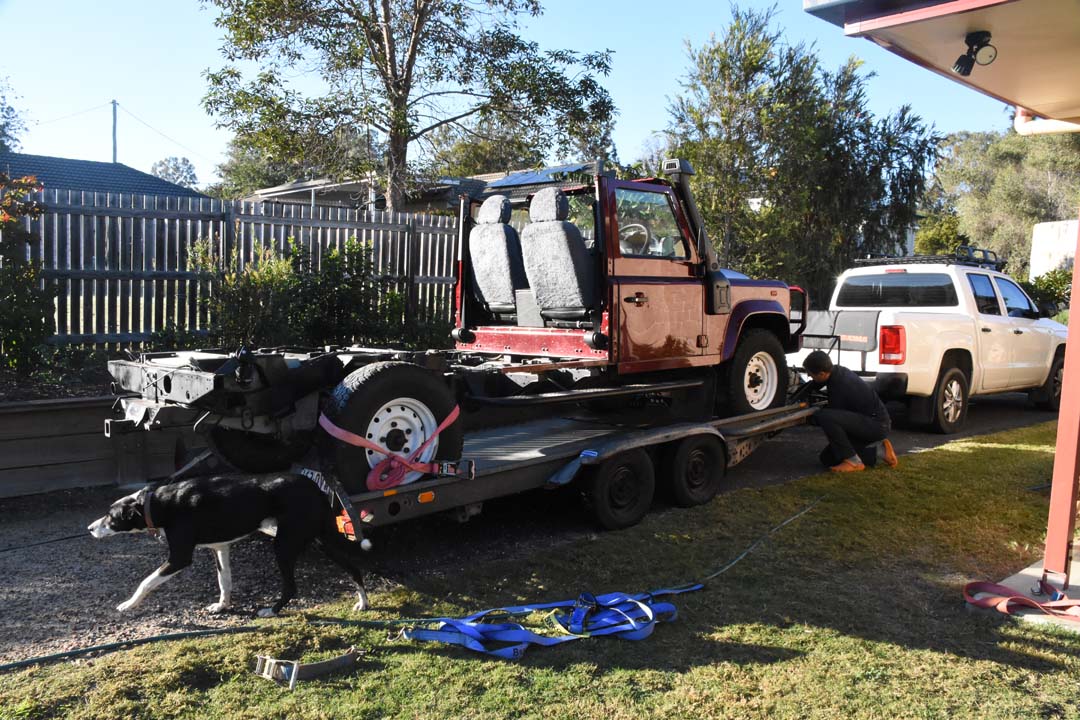
strapping her down, Spike has to check it all
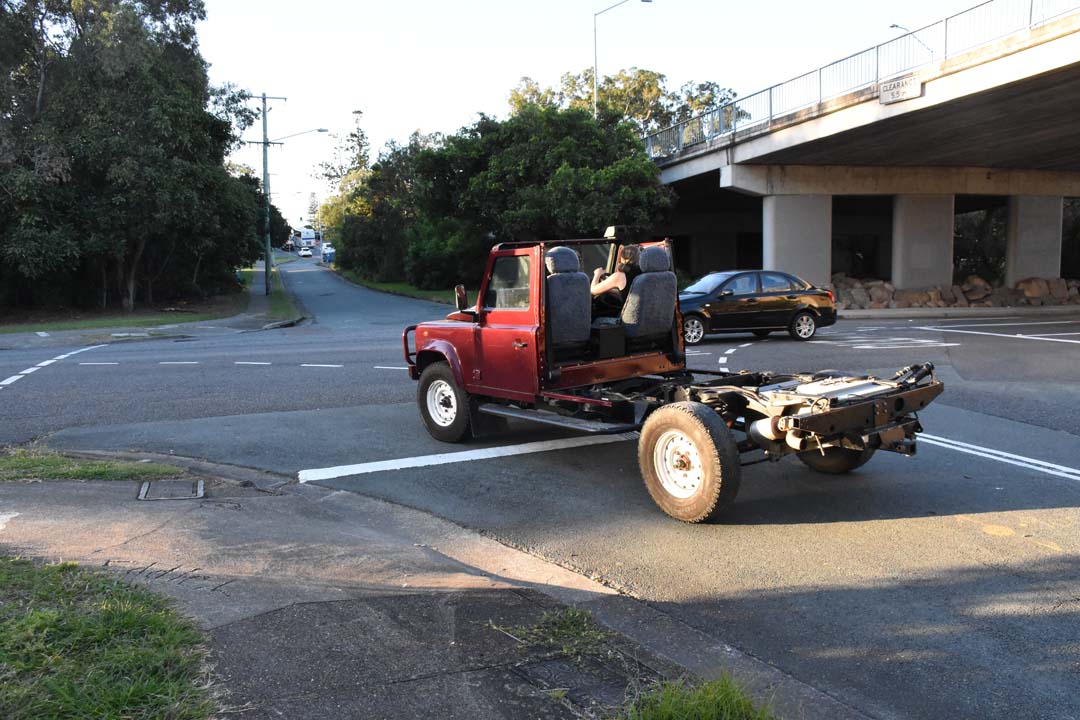
she is on the road, driving her the last bit into the workshop
Jon and John checking the sub-frame – it looks great!

Jon and Paul looking at Paul’s handiwork – no longer is there a wooden frame, but finally a real metal one
And here is the end result: a sub-frame made of steel, attached to chassis, galvanised and ready for the floor to be added!
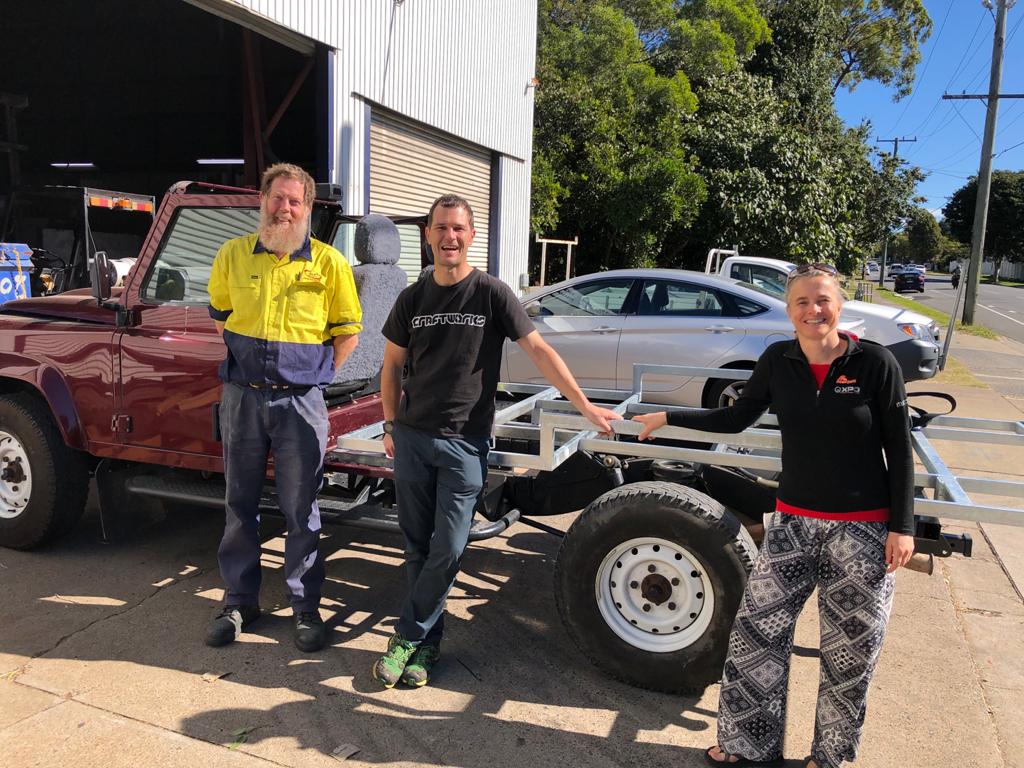
Lara outside the workshop, see how the frame is now all shiny and galvanised – all ready to be loaded onto the trailer to go home. Phase 2 has been completed!
Succes met het bouwen maar dat zal wel goed komen gr Theo sr
dank je!!!! gaan we proberen, dit weekend beginnen met de vloer…. het eerste ‘echte’ bouwen begint eindelijk!
Looks great J&J!
thanks D&G 🙂 hope all is well in your corner of the world! we are seeing more restrictions lifted now summer is arriving for you, must feel great.
Wow, what a serious amount of work! I’m sure you will get your return in a serious amount of fun! So cool!!!!
🙂 yeah, it is a million and one jobs for sure! But so satisfying when one is ticked off, and especially when we get to the end of a big phase like this, it feels really good!
Wat een ingewikkeld karwei! Knap werk hoor, goed bezig. Héél veel succes en vooral plezier bij de voortgang van de bouw!!
dank je wel!! ja, inderdaad zeer ingewikkeld, komt heel wat bij kijken! We gaan deze week beginnen met de vloer leggen, dat wordt echt ons eigen werk eindelijk.